
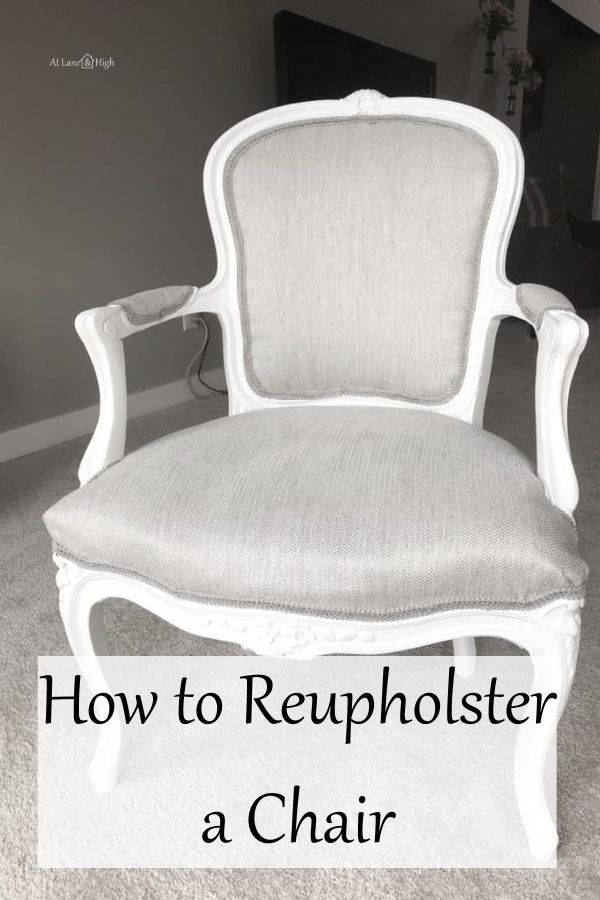
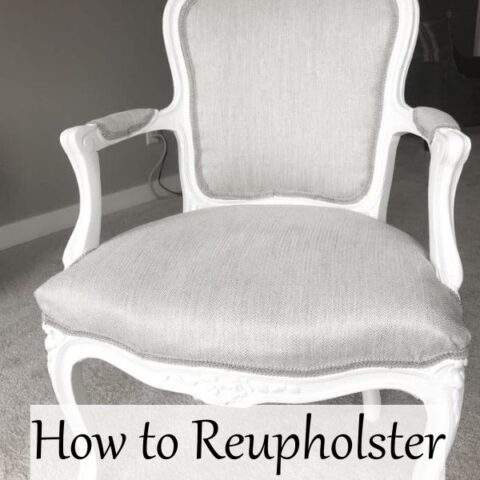
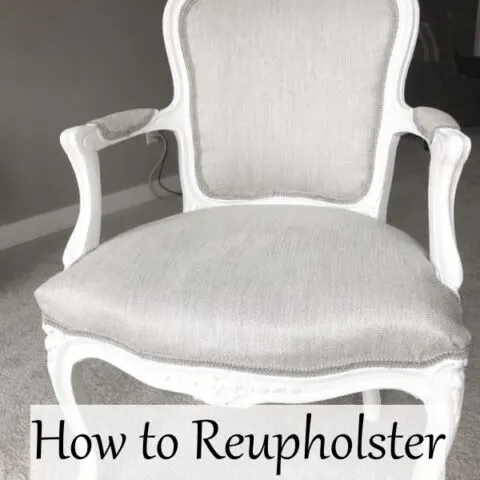
Today I am sharing how to reupholster a chair. I got this cute french chair from Facebook Marketplace and it just needs a makeover, a facelift if you will. If you have a chair that needs a little love then you have come to the right place.
I recently updated this post so if you were looking for how to paint wood chairs or how to refinish chairs then click the respective link and it will take you right there.
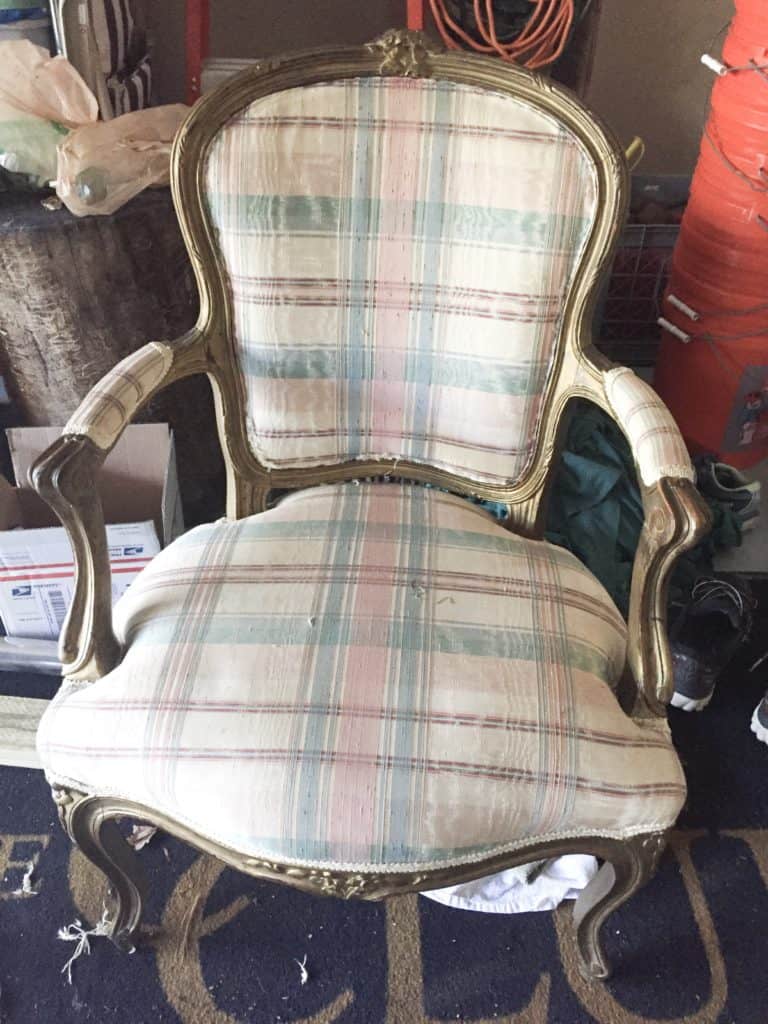
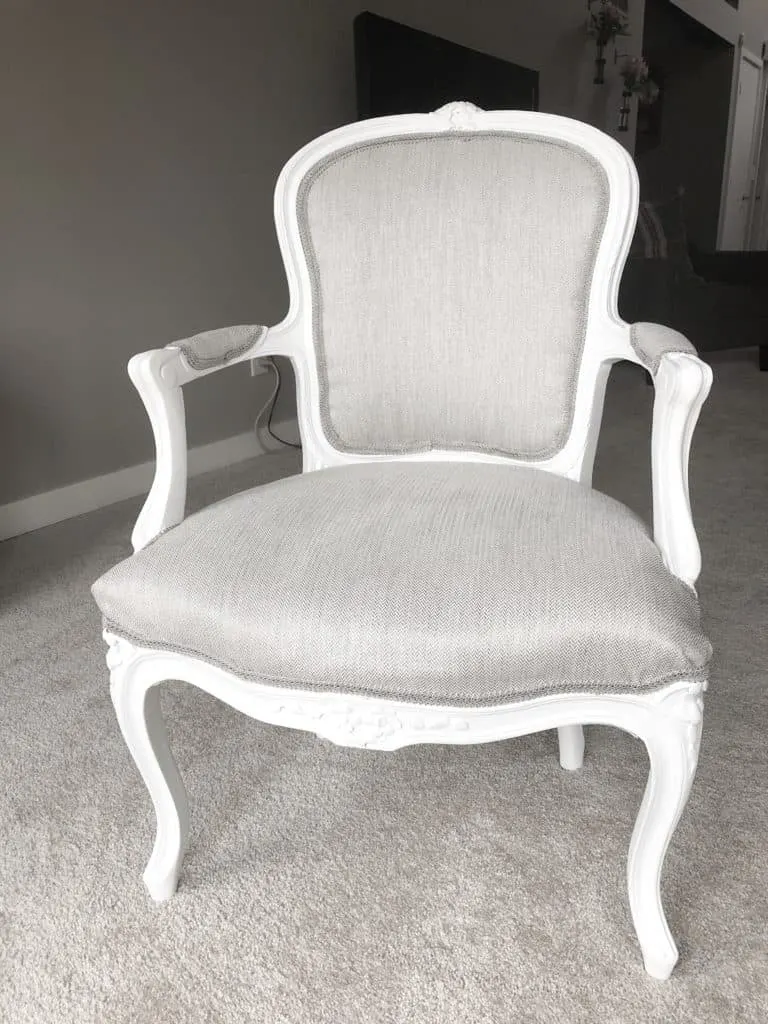
I found this great chair on Facebook Marketplace for $20! I tried upholstery for the first time and I am so pleased with how it turned out! So let’s get into how to reupholster a chair!
*This post contains affiliate links, see my disclosure for more details.
What you need to Reupholster Chairs
- Upholstry Removal Kit
- safety goggles
- fabric
- fabric trim
- hot glue
- glue gun – I like this one because it comes with glue sticks and a carrying case and is a great price!
- staple gun – this combo unit from Home Depot has been a life saver. I have used it sooooooo much!
- paint
How to Reupholster a Chair
I really need a chair for my vanity and I wanted something comfy, not just a wood chair or a bench.
I wanted this chair to do double duty. I want to be able to sit in it to watch tv, to sit at my vanity, or even for my husband to sit in when we talk.
When I saw this french chair on FB marketplace for $20 in the town I live in I jumped right on it.
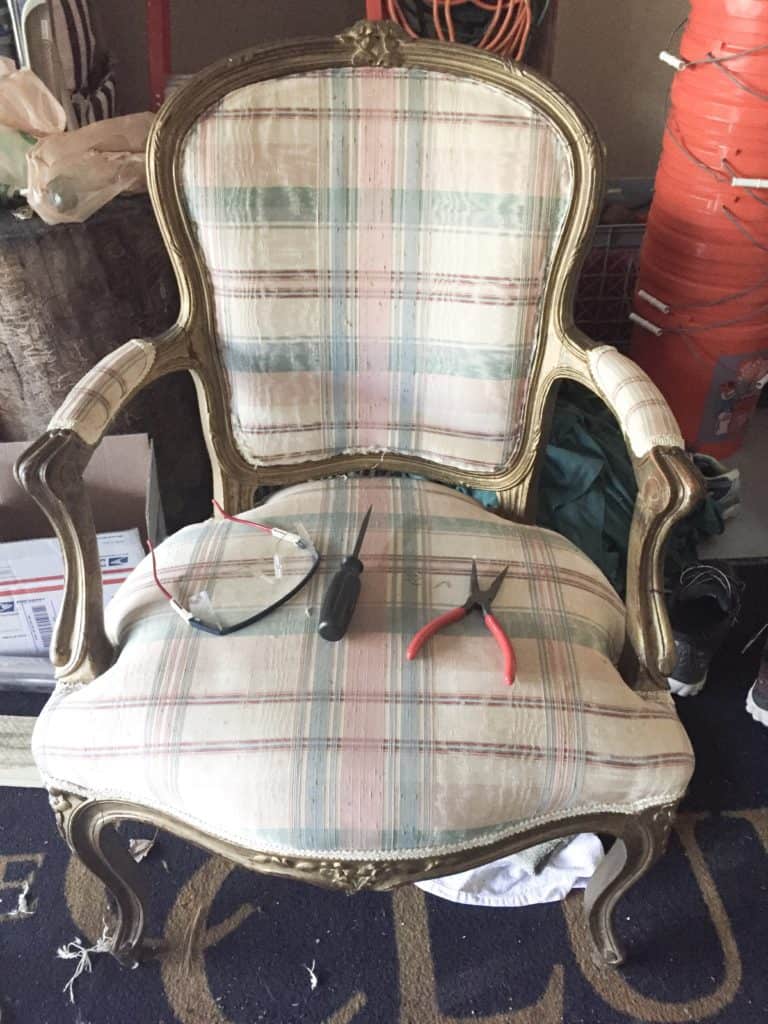
Remove Old Fabric
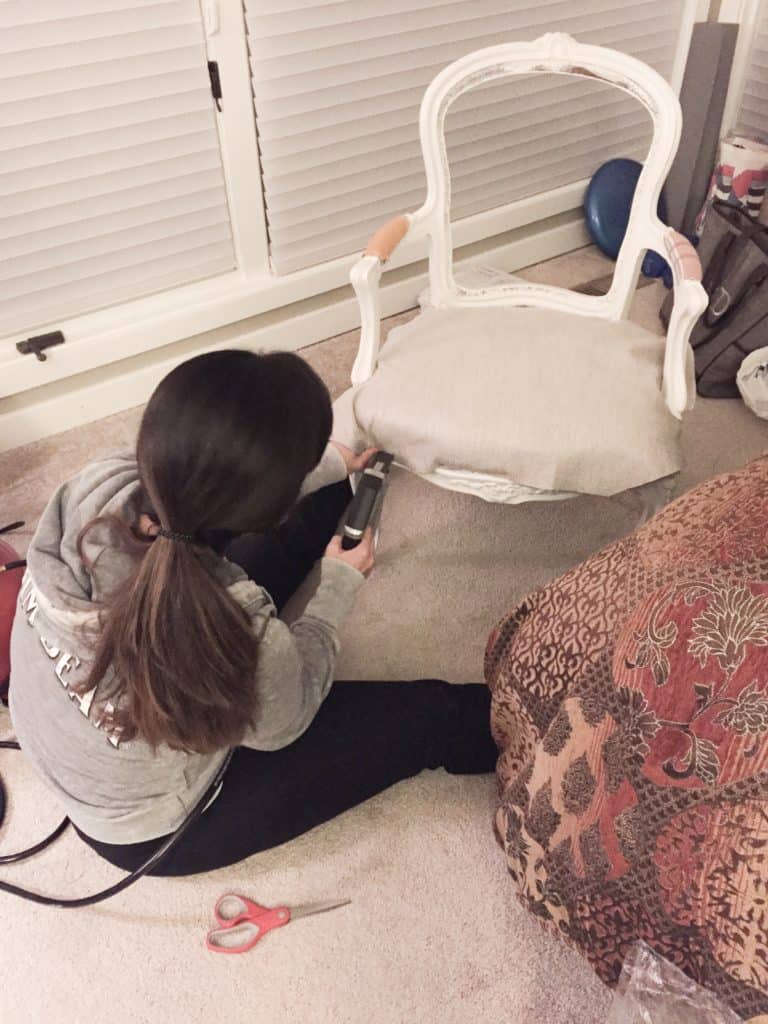
It’s time to remove the old fabric but make sure you do not rip up the old fabric, you want to have it to use as a template to cut out the new fabric.
First, remove the edging that is hot glued around the edge of the fabric. This is used to cover up the staples. Once that is done time to remove the staples.
I did not have any fancy tools, just pliers and a very small screwdriver for when I couldn’t get the pliers under the staples. Make sure you wear safety goggles because sometimes those staples go flying in all directions!
Honestly, I do not suggest going this route to remove the staples. My hands hurt for a couple of days after removing them. And I only did one chair!
Instead, I highly suggest purchasing this really inexpensive tool that is made for removing upholster. I always say, when you have the right tools it makes a project so much easier!


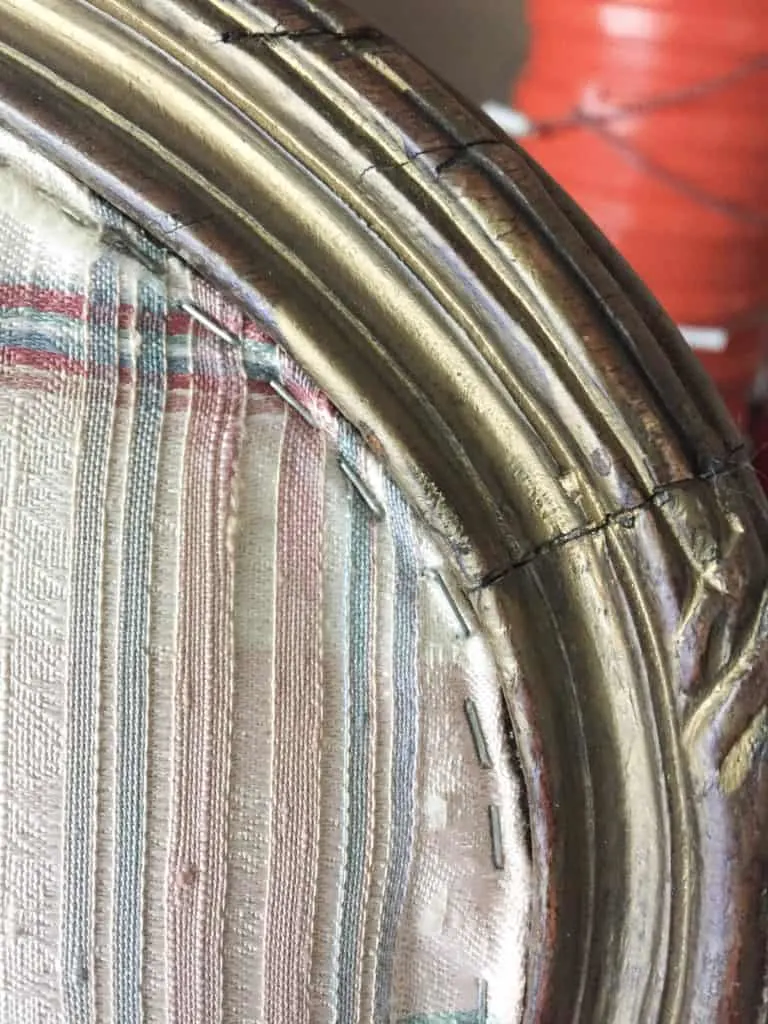
Whoever had upholstered this before went a little bit staple happy! I tried to get most of them out but there were some that just wouldn’t budge. So I left them.


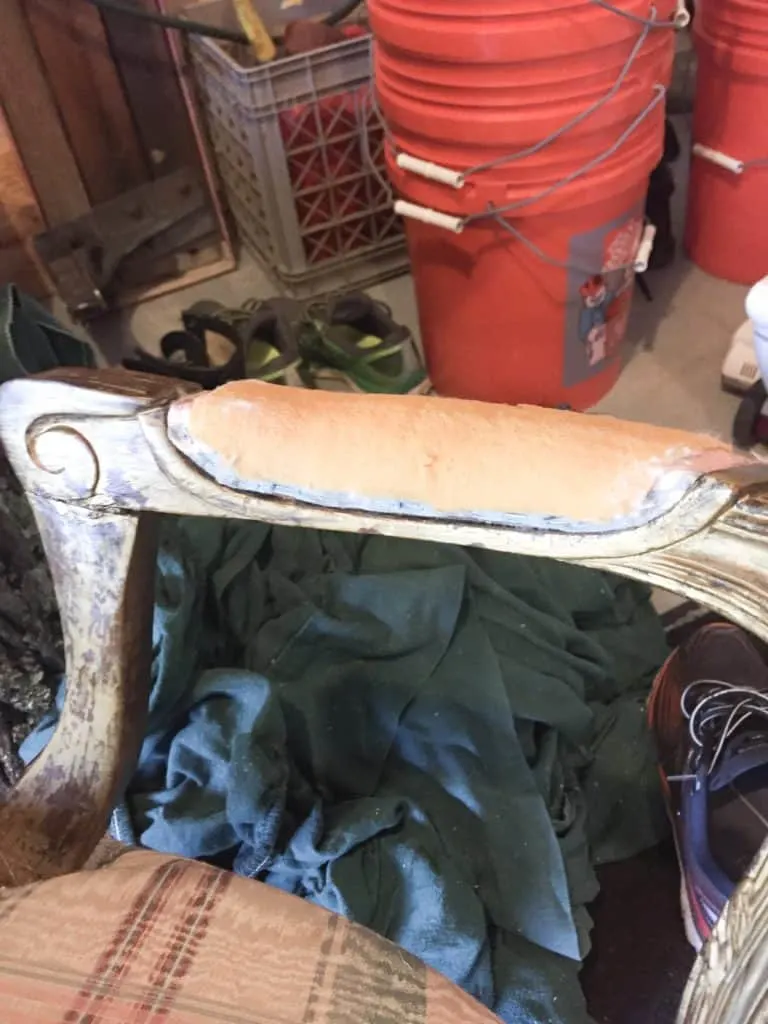
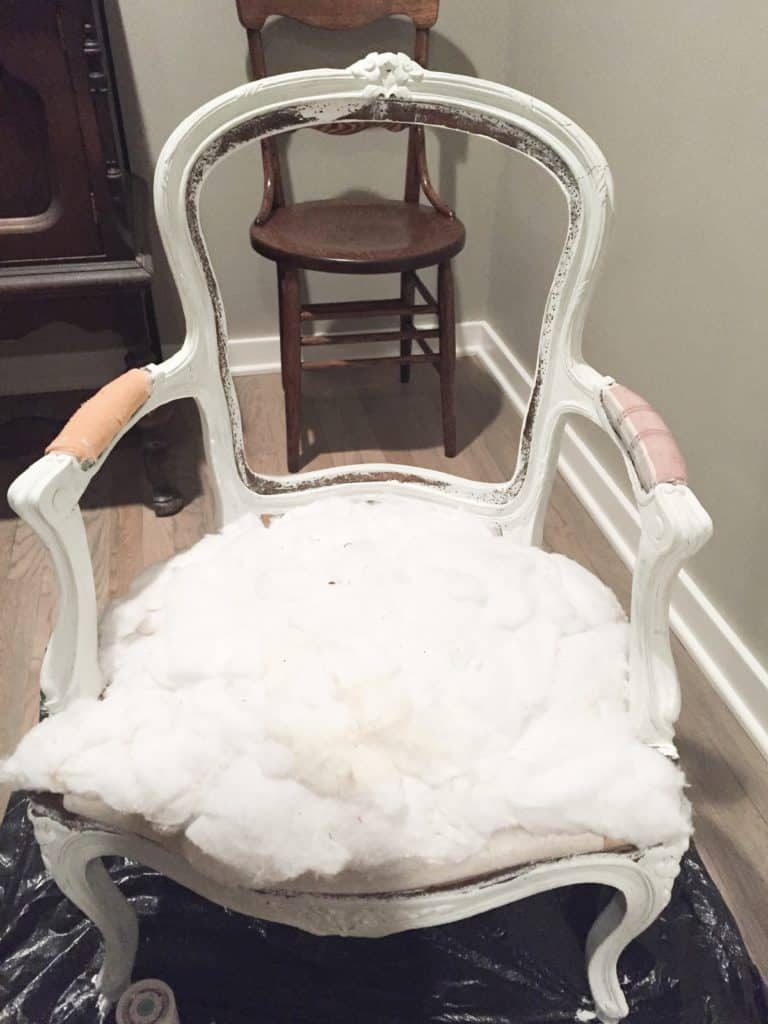
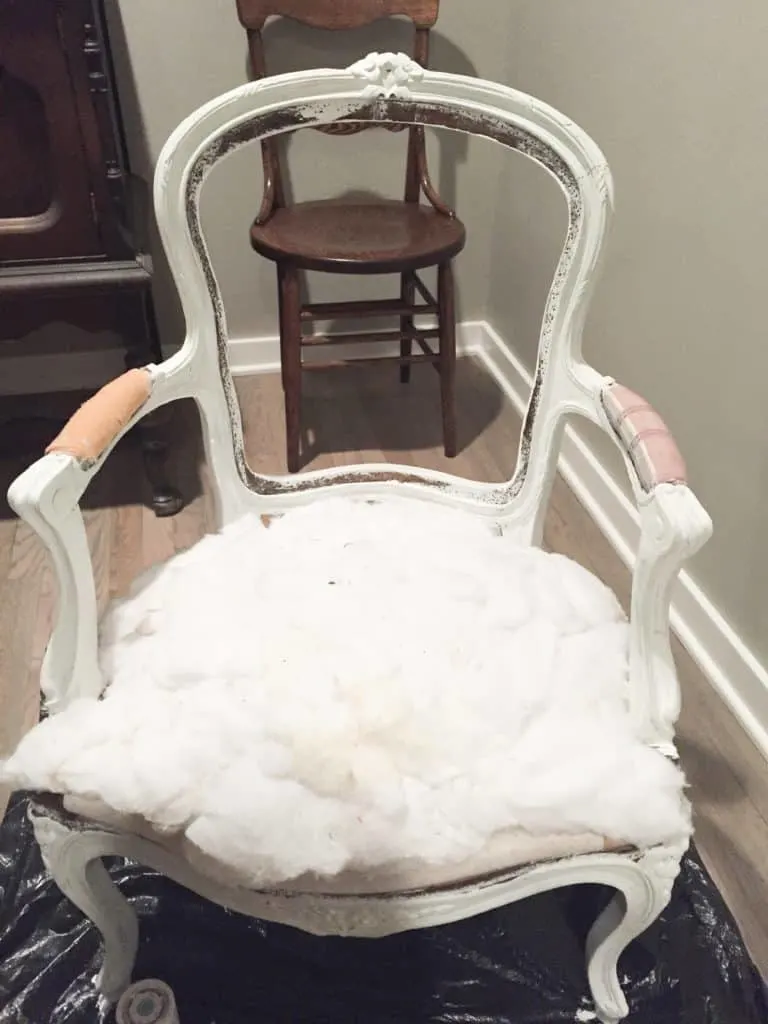
Once you have removed the fabric replace any batting that is not in good shape.
Paint the Frame
Once I got all the fabric and staples out I painted the chairs. I did a chalk paint in white, it was Martha Stewart brand and I also used the wax from the same line. After I put the wax on the chair turned blue!!!!!!

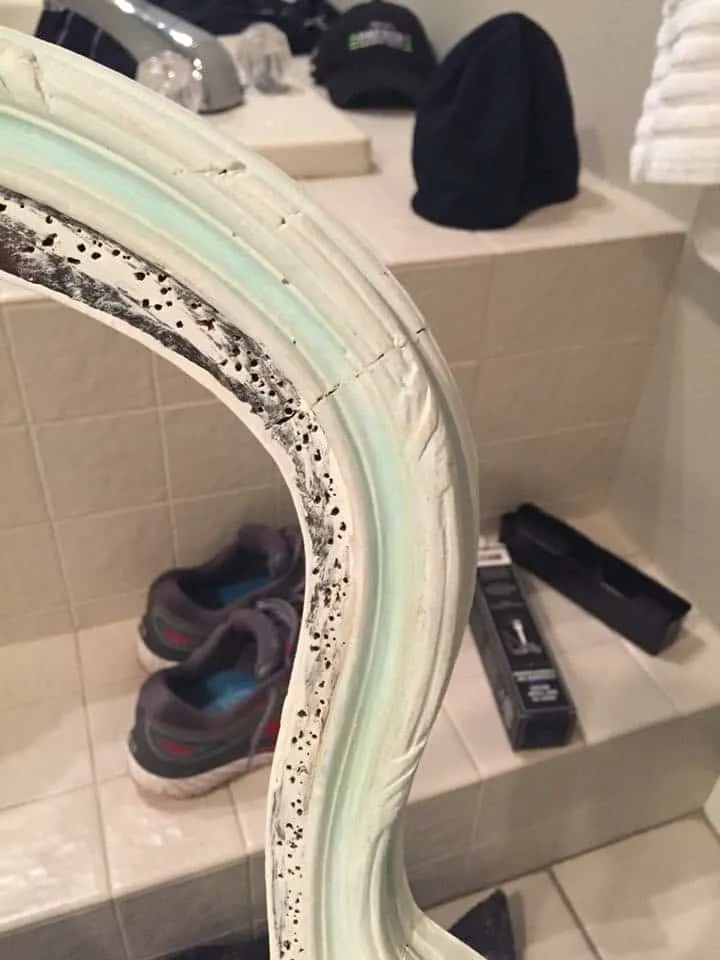
My friend Melissa over at Create and Find posted this picture in one of her furniture flipping groups on Facebook and we found out that it wasn’t gold paint that was on the chair, it was gold leaf.
So it basically oxidized and turned blue! 😂 And this had nothing to do with the paint or wax I used….would have happened no matter which chalk paint I used.
To fix this I used Kilz stain blocker and painted the chair white. It did the trick and the chair was once again white and killing all that blue oxidation.
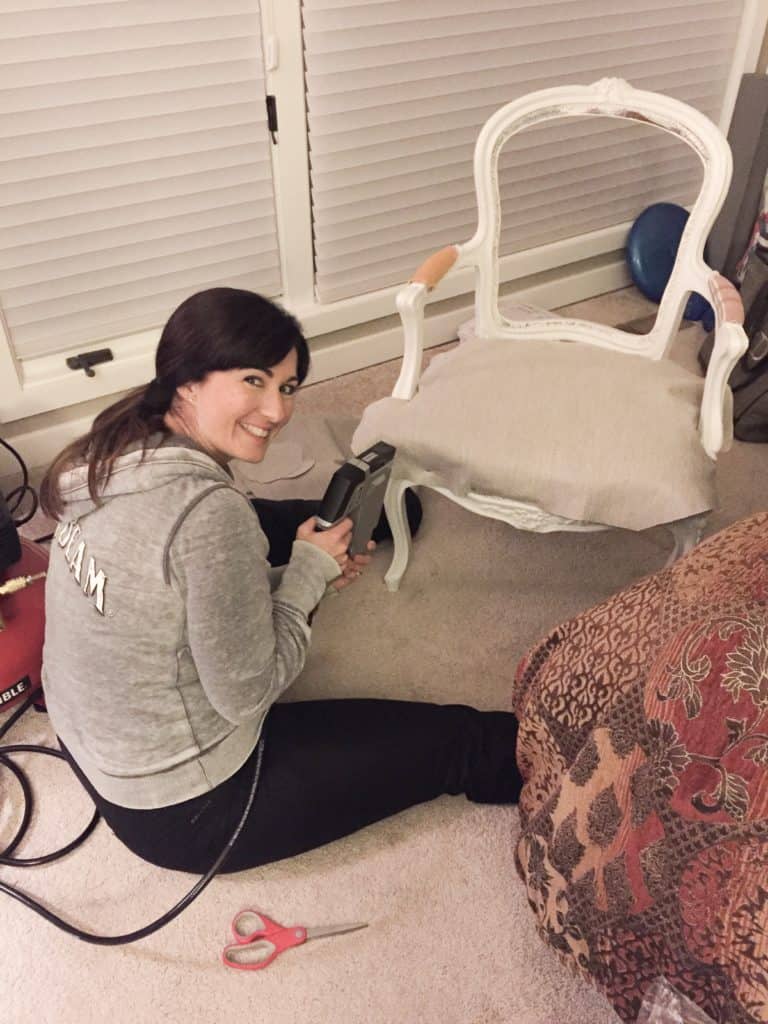
Add new fabric
Now the upholstery, this was my first time so I chose a fabric that didn’t have straight lines like plaid or stripes. I heard that those are really hard to make sure stay lined up so leave those for when you are more experienced.
For this chair, I got about 2 yards of fabric and used the pieces I had removed as a template to cut out the new fabric pieces.
I replaced some of the batting, the old stuff was falling apart, then laid the fabric over the new batting and stapled once in the front, once in the back, and then each side, making sure to pull the fabric tight then staple.


Once I finished all four sides I filled in between stapling down the fabric to the wood chair. Pretty much used the same process for all the parts, bottom, back, and arms.
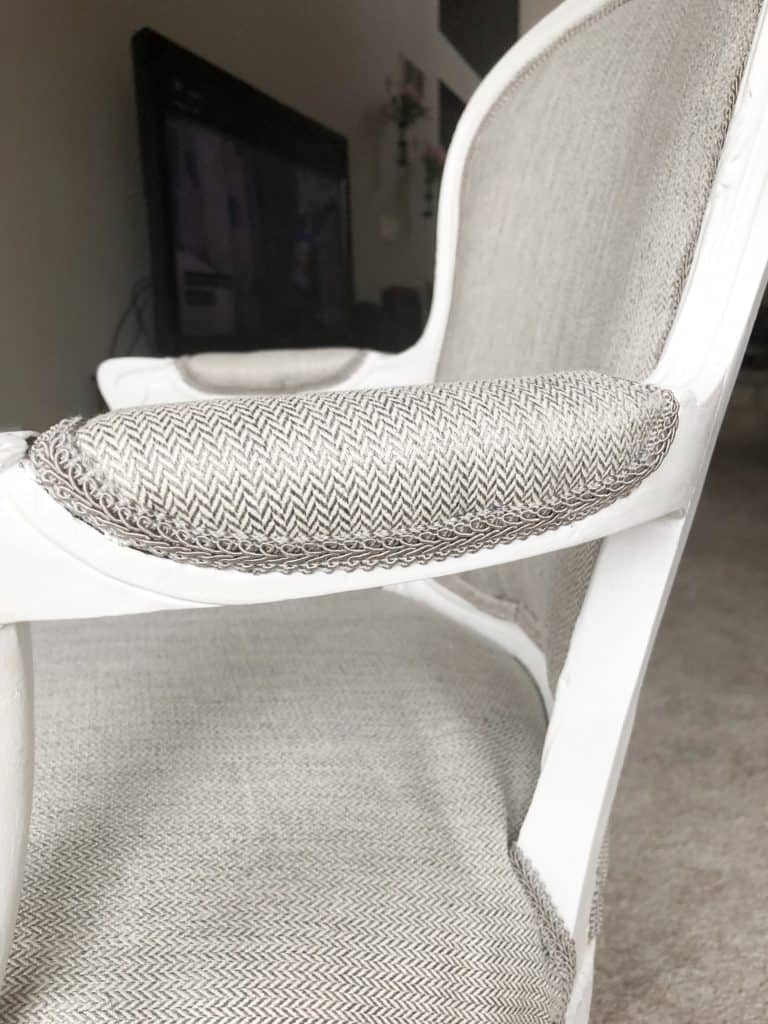
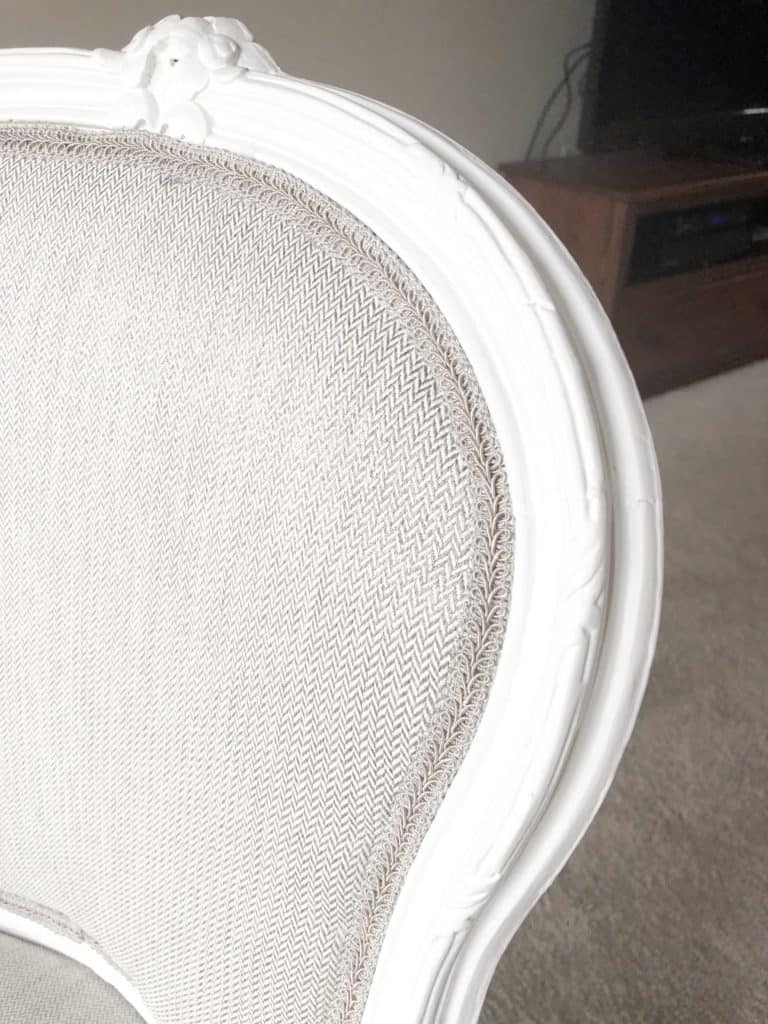
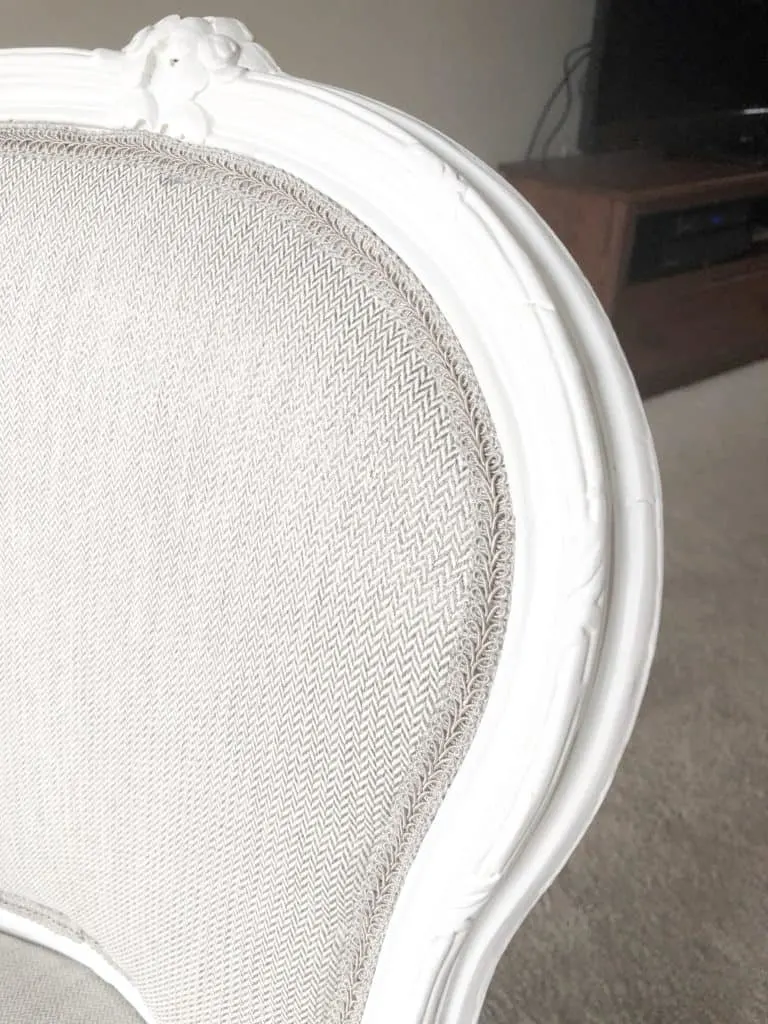
Add Trim To Cover The Staples
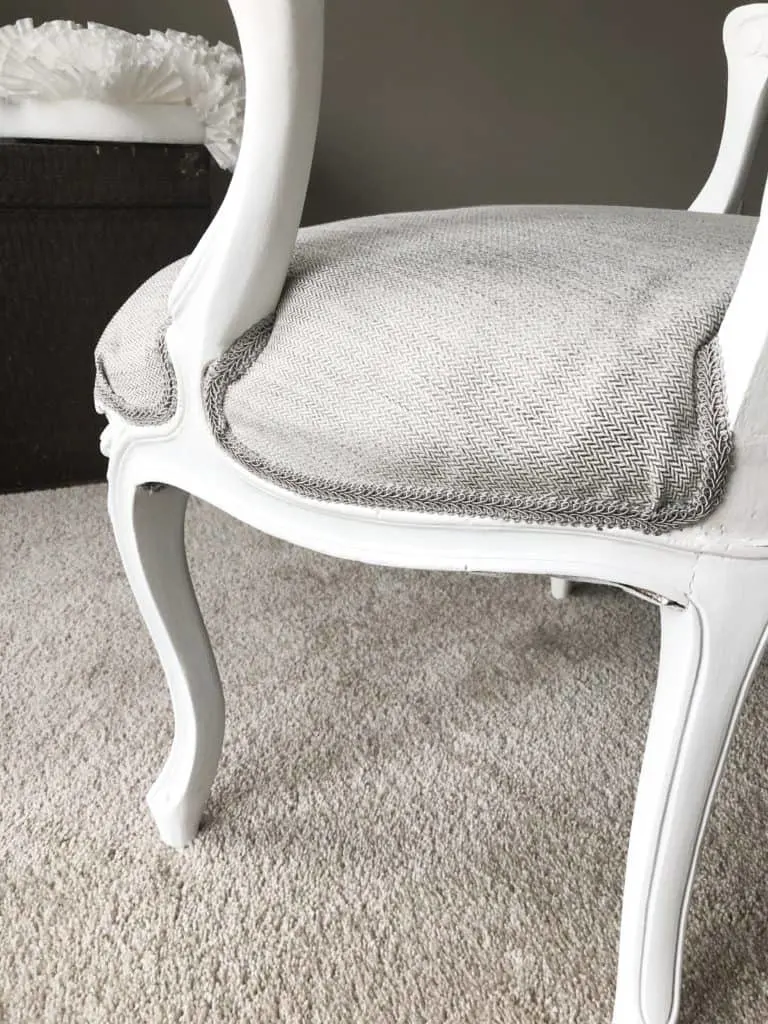
I used a fabric trim that I purchased from Joann Fabrics. Make sure you measure before you go purchase it, you buy it by the yard just like the fabric. I couldn’t believe it but my chair needed 6 yards!
Using hot glue I started the seat in the back and went all around putting the trim over the staples and once I got to the back I folded the end under so it was a nice seam and glued it down. Repeat this for the back and arms.
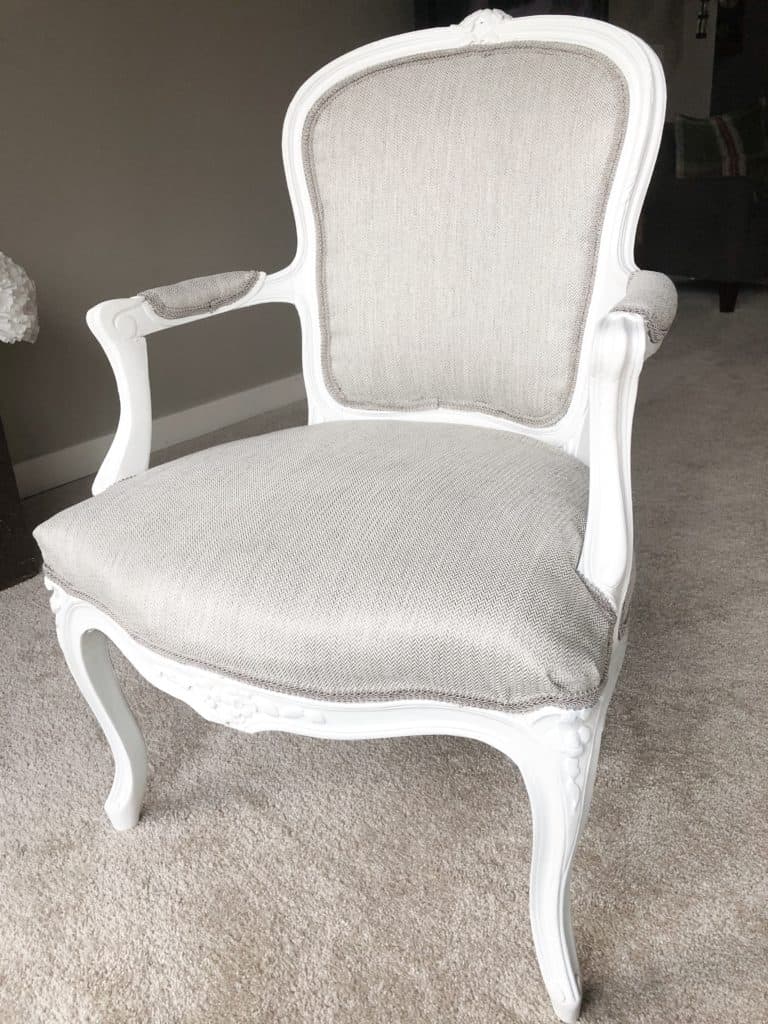
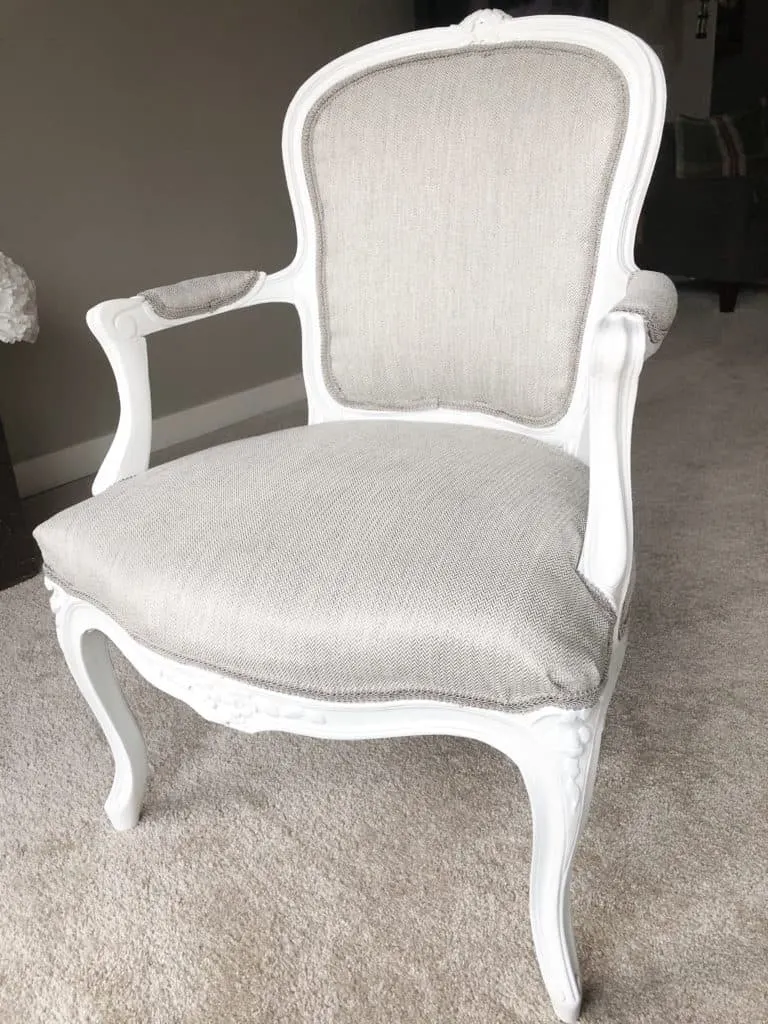
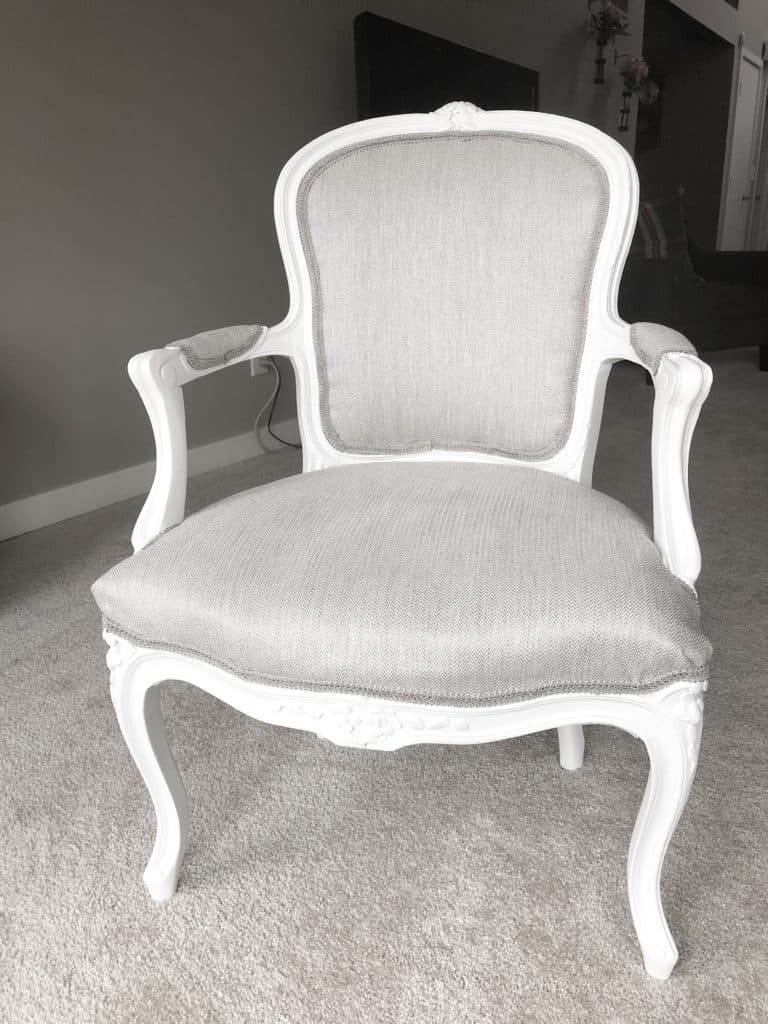
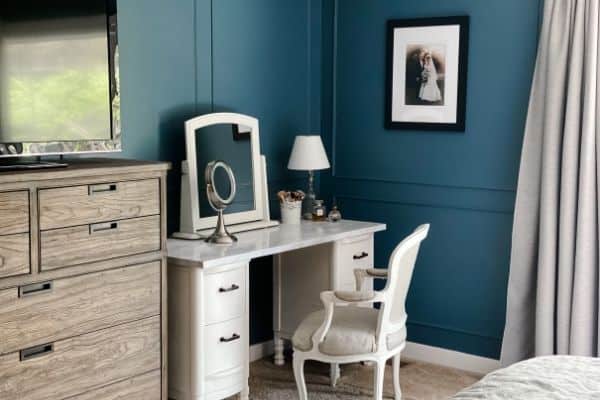
I am totally in love with my new chair! It’s making such a nice addition to my bedroom.

While I had the glue gun out I was working on a coffee filter wreath which you can see in the background. That tutorial is right here!

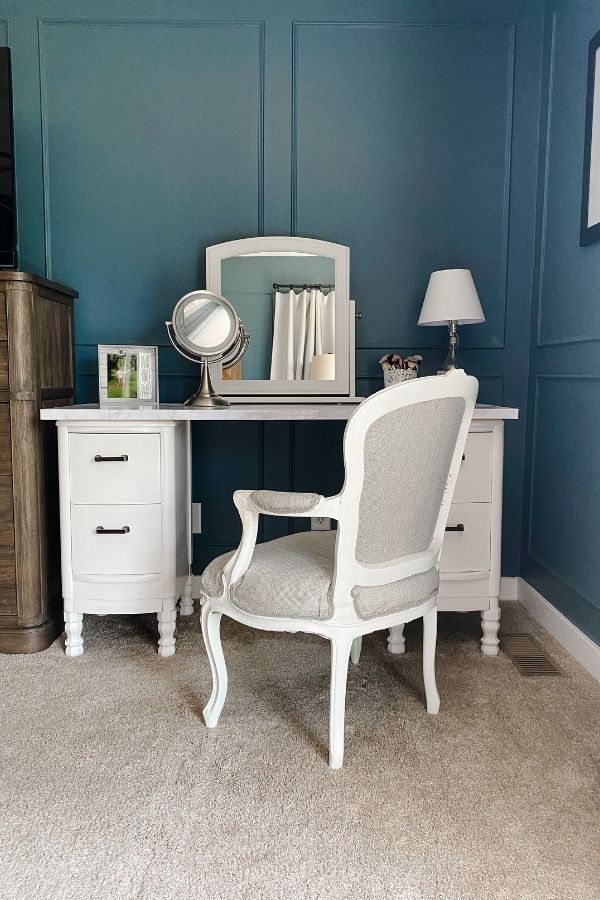
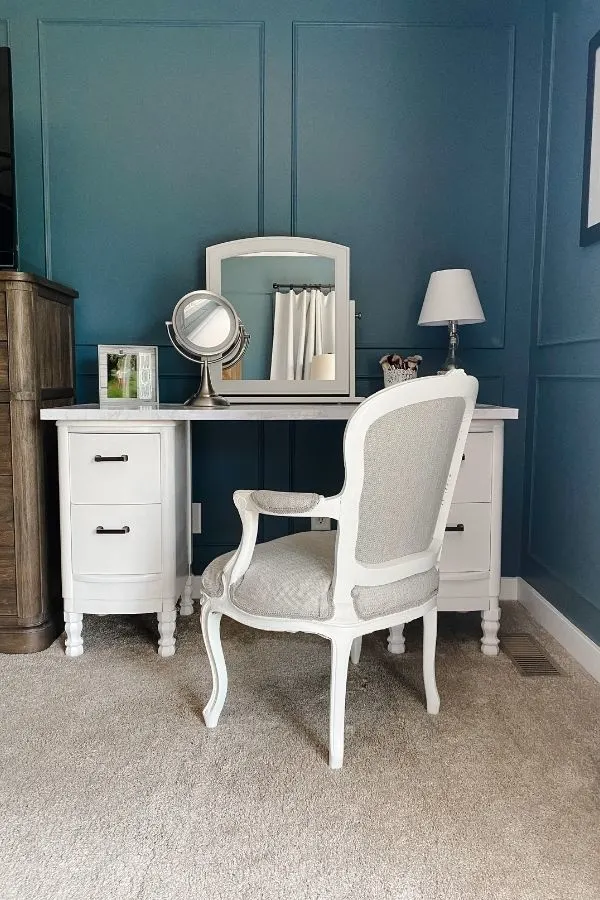
No more blue!
Here is the most updated view of my vanity now that I repurposed an old antique vanity and added a new top with contact paper. You can also see I added picture frame molding to the walls and painted them Sherwin Williams Smokey Blue. I just love my moody master bedroom!

FAQ regarding how to upholster a chair
Is it hard to reupholster a chair?
Not at all! I think if you have the right tools it can be a really easy project.
Can I reupholster a chair myself?
If I can do it then anyone can do it! Seriously, I reupholstered this chair all by myself and I love how it turned out.
What is the average cost to reupholster a chair?
This depends solely on how expensive a fabric you choose. You do not want to pick a fabric that is meant for clothes it won’t hold up at all.
You need an upholstery fabric and they can range in price from $10 a yard to sky’s the limit. You can find coupons to Joann Fabrics all the time and that’s my go-to place on buying fabric.
How do you reupholster a chair without removing the old fabric?
If you only have one layer of fabric on your chairs you can totally just go right over it without removing it. You just need to be careful of stapling over the old staples.
This is the reason I usually remove the old fabric, because of all the staples.


How to Reupholster a Chair
Learn how to reupholster a chair and take it from ugly to beautiful!
Materials
- fabric
- trim
- batting if necessary
- paint
- staples
Instructions
- remove the old trim to expose the staples
- using the upholstery removal kit remove all the staples
- pull the old fabric off the chair keeping it in tack to use as a template for new fabric
- clean chair and paint if applicable
- allow 24 hours to dry
- using the old fabric as a template cut out the new fabric
- using the staple gun attach with a staple in the front, then the back, then one on each side keeping the fabric tight
- fill in around the rest of the fabric with more staples
- using a hot glue gun attach the trim around the edges to cover up the staples


As a licensed Real Estate Agent and an avid home decorator, I strive to give my clients the very best I can when it comes to staging, selling, and decorating their homes. I have lots of experience with paint color choices and love to DIY my home so I can have everything just the way I want it. I share my ideas and projects with the world in the hopes that I can help others have their homes just the way they want as well.
Toni
Friday 20th of August 2021
Hi! What color did you use for the chair you painted? It looks so good!!
Leanne
Saturday 24th of April 2021
Hello! Did you use spray paint for the black chairs or regular paint? :)
atlaneandhigh
Monday 26th of April 2021
Hi Leanne! I used regular paint but last summer when I painted my outdoor furniture I used spray paint and it was soooo much easier! I recommend going that route.
Erin
Friday 15th of March 2019
I love that you have several different styles in one post! I am going to *try* to do an upholstered one this week. Is the reason you didn't sand the chalk paint? If you were painting, more like the dining room chairs, would you sand really well?
atlaneandhigh
Wednesday 20th of March 2019
Yes Erin that's exactly right. With Chalk Paint, you don't have to sand unless something is in really bad shape. Good luck with the upholstery!
Lane Rivers
Saturday 9th of February 2019
I just inherited an old French Country chair. You have inspired me to reupholster the chair!
atlaneandhigh
Monday 11th of February 2019
Yeah! That's great Lane!
Fiona
Monday 16th of April 2018
Wow what a great job on these! I especially like the grey/white upholstered chair.
atlaneandhigh
Tuesday 17th of April 2018
Thank you so much Fiona! That's my favorite one too;)