It’s really fun to add some dorm room wall decor using photos from home. They make being away from home for the first time a little easier to handle.
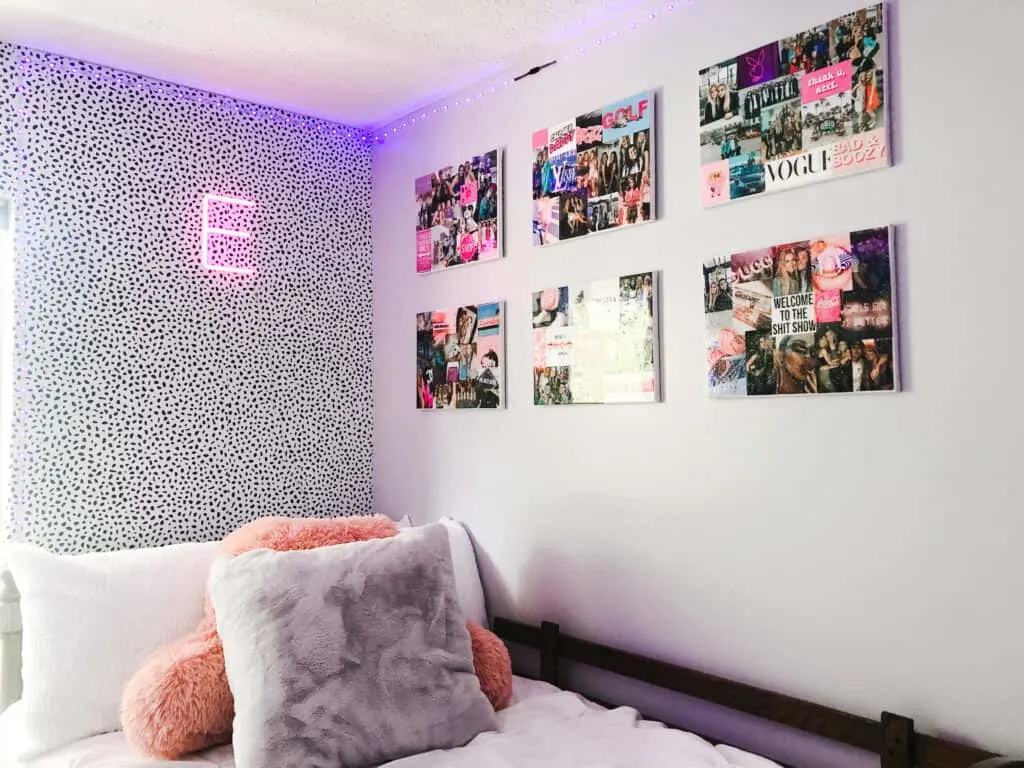
My daughter created this gallery wall in her room at her sorority house using photos that she got from the internet and photos of her family and friends.
These canvases are really lightweight and easy to hang using command strips or nails, whatever the requirements are for your dorm.

*This post contains affiliate links. For more details see my full disclosure.
Dorm Room Wall Decor
The first thing you need is photos printed of your family, friends, or just things you love. My daughter prints everything at our local Walgreens.
Other Materials
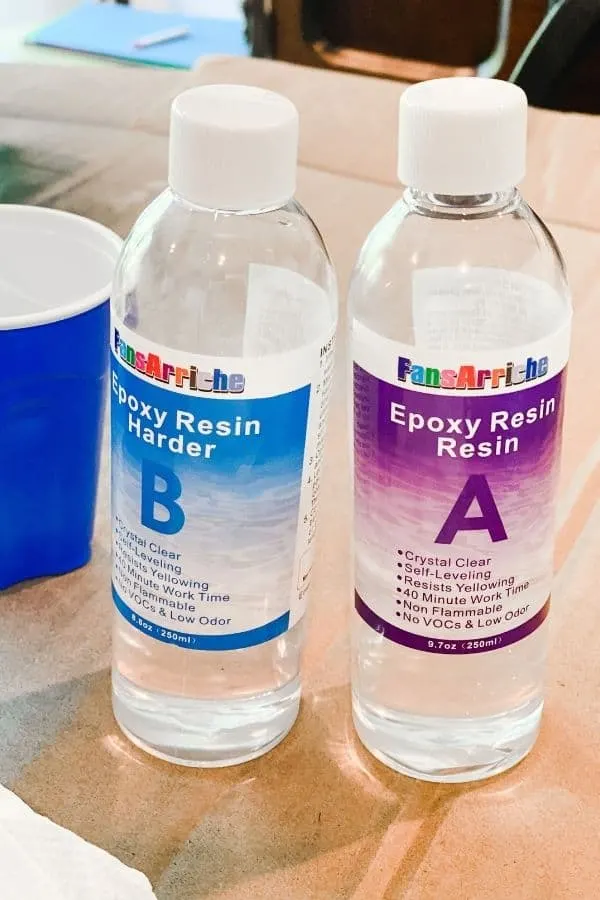
- Two Part Epoxy Resin – We got this one from Amazon and were able to do 8 canvases in all.
- Blank Canvas
- Mod Podge – this is an essential product for crafters, I feel like I buy it by the gallon if possible!
- Foam brushes – another essential for crafting. They are super cheap so you don’t feel bad about throwing them away
- Cardboard or drop cloth – to keep your surfaces from getting ruined.
- plastic cups – we used these small solo cups leftover from a party.
- Your Choice of Colored Glitter – we used gold
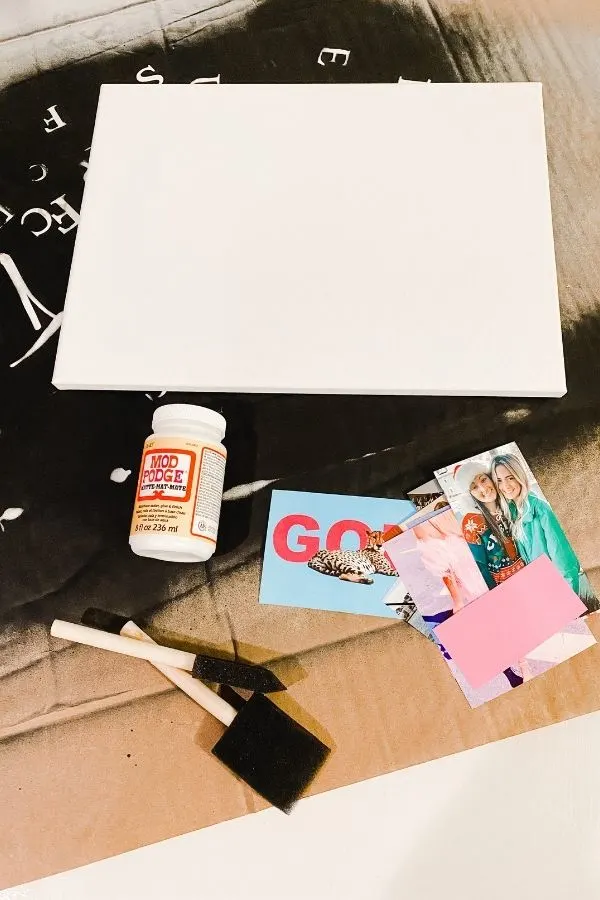
Step 1 – lay out the photos and decide what the final product will look like
Take all your photos and lay them out on the canvases. Make sure you like the way they all look.
When you have that finished take a picture of each canvas with your phone so you can easily reference it later.
Step 2 – adhere the photos to the canvas
Now that you have them laid out how you want them, take the photos off and put a layer of mod podge on the blank canvas. Put the photos back on the canvas, using the photo you took to remember exactly how you want them.
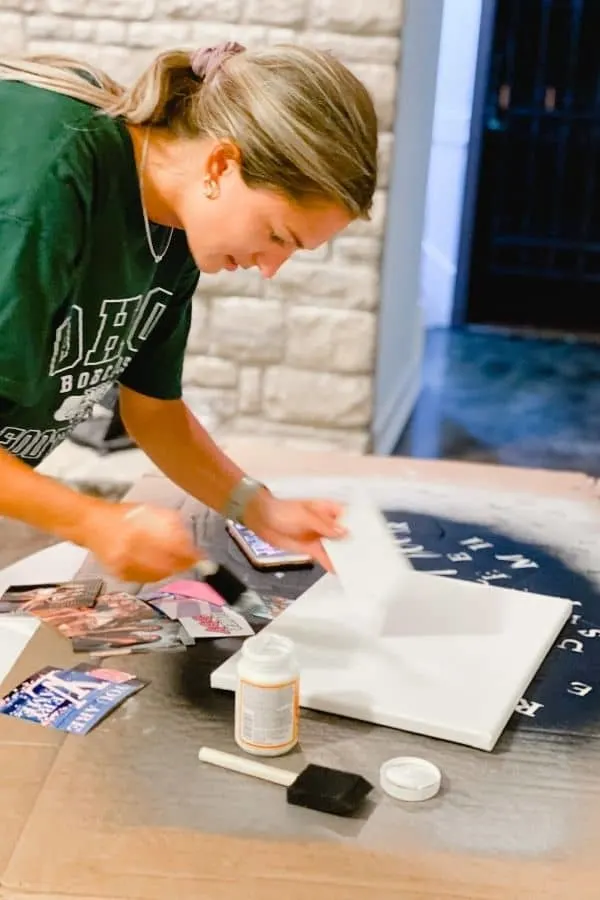
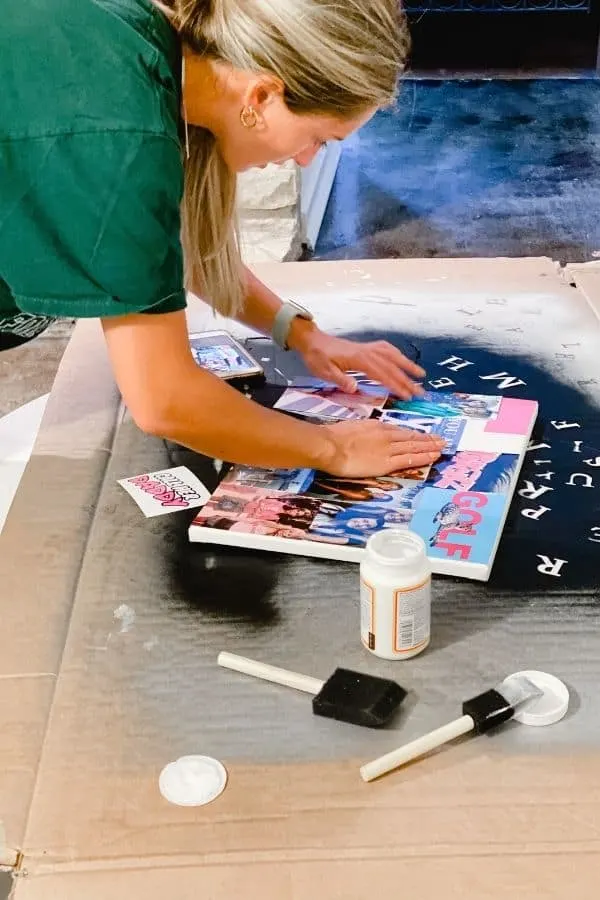
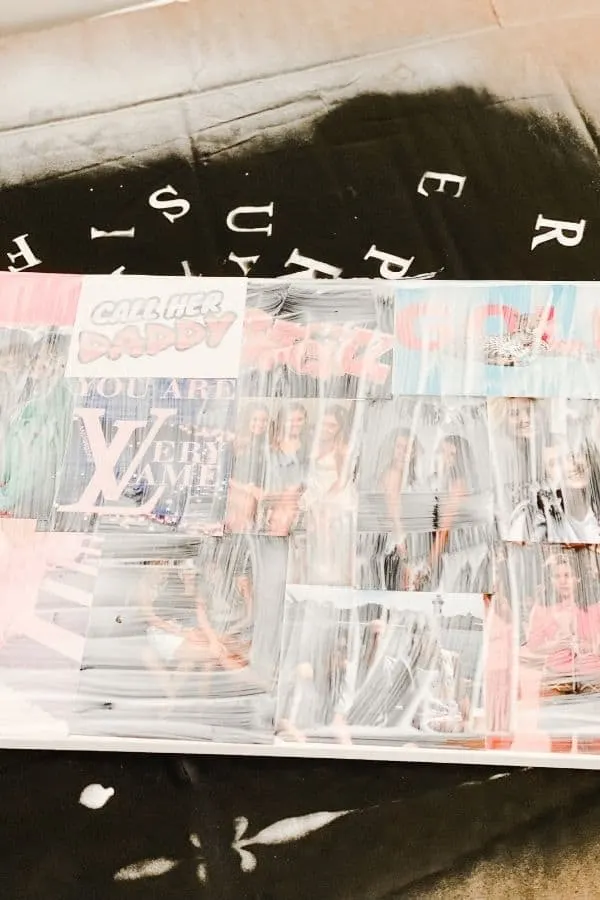
Once you have the photos down put another layer of mod podge over the photos to adhere them. Don’t worry if it looks cloudy, the mod podge will dry clear. Here is what ours looked like before drying clear.
Step 3 – Mix the epoxy and add to the canvas
Follow the directions on your package of resin. Our packaging had us mix equal parts together before pouring it onto the canvas.
We used a plastic cup to mix ours (with a plastic spoon). We also added glitter to the resin mixture at this point. Adding glitter is completely optional.
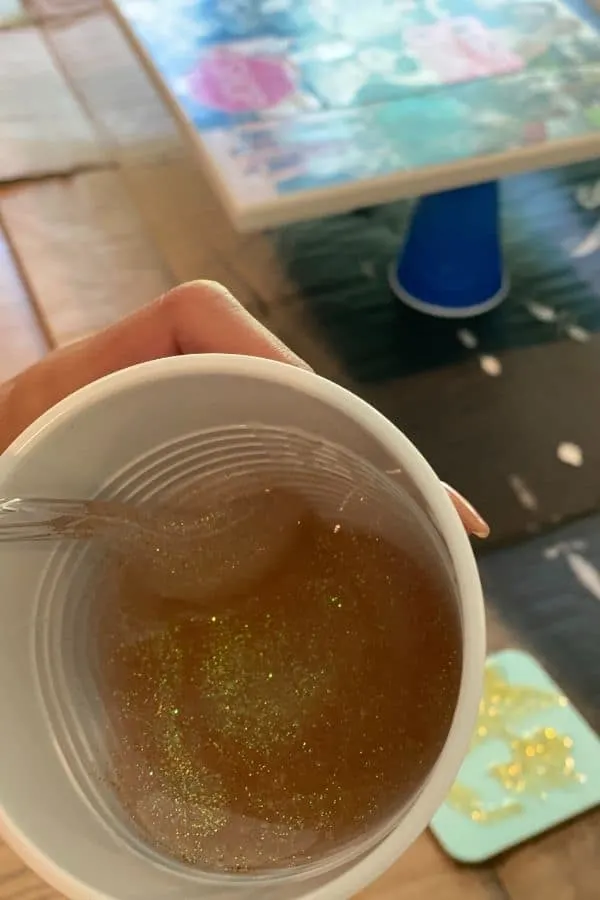
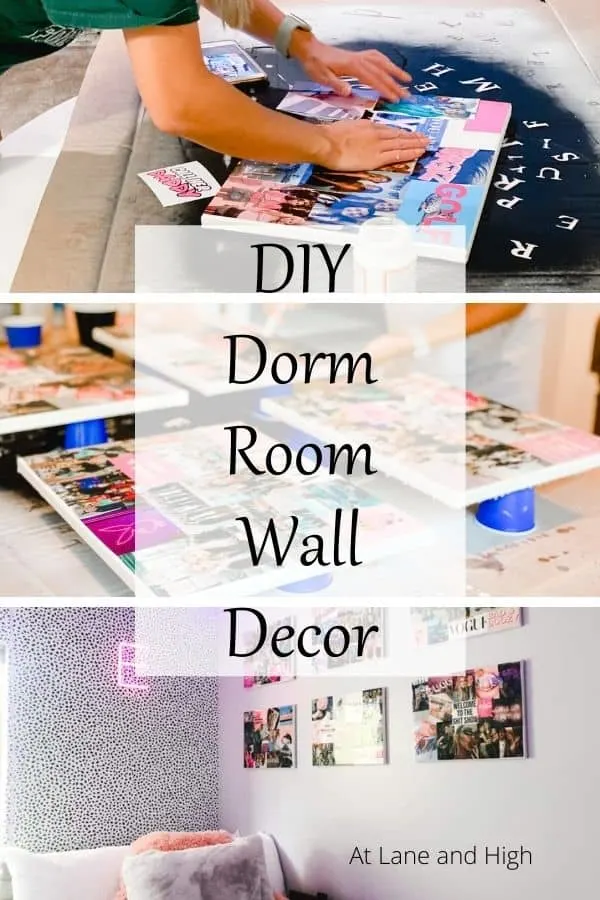
To keep the canvases from sticking to the cardboard we elevated each canvas with plastic cups turned upside down.
Now pour the mixture of resin and hardener onto the canvas and spread around with the foam brush. Make sure you get the sides of the canvas.
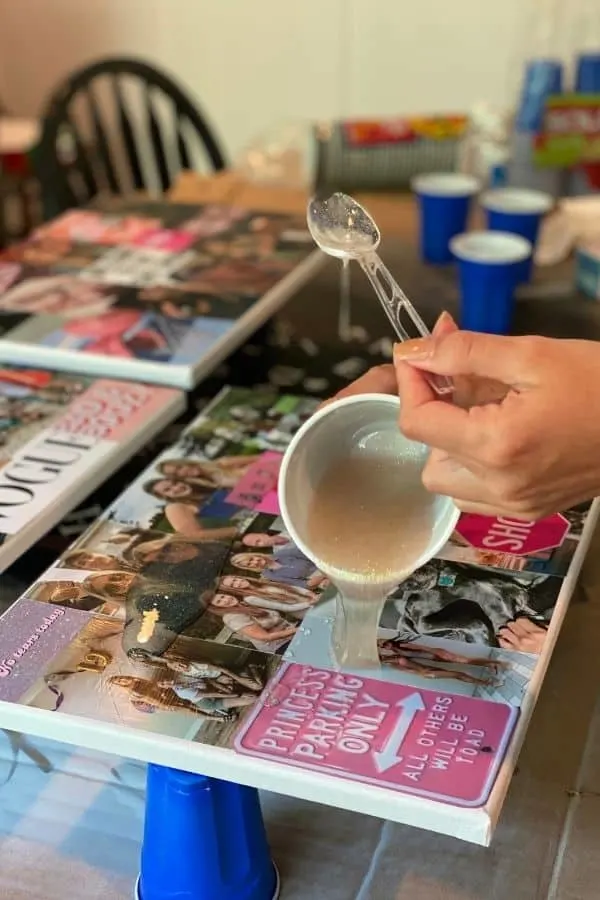
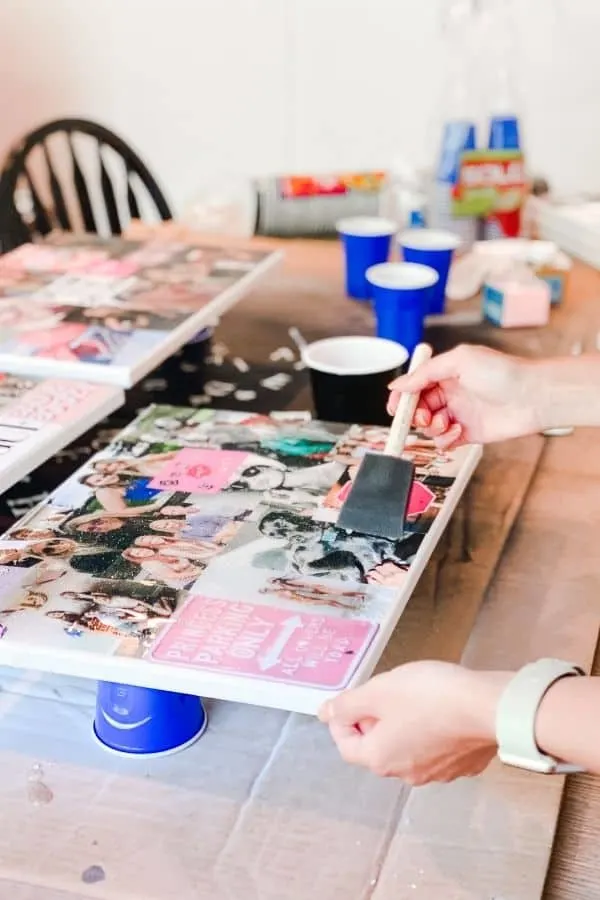
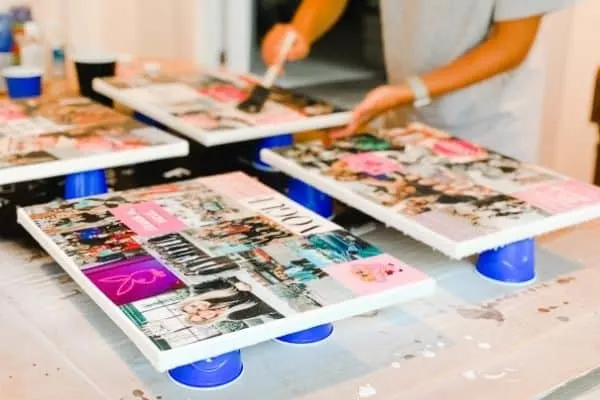
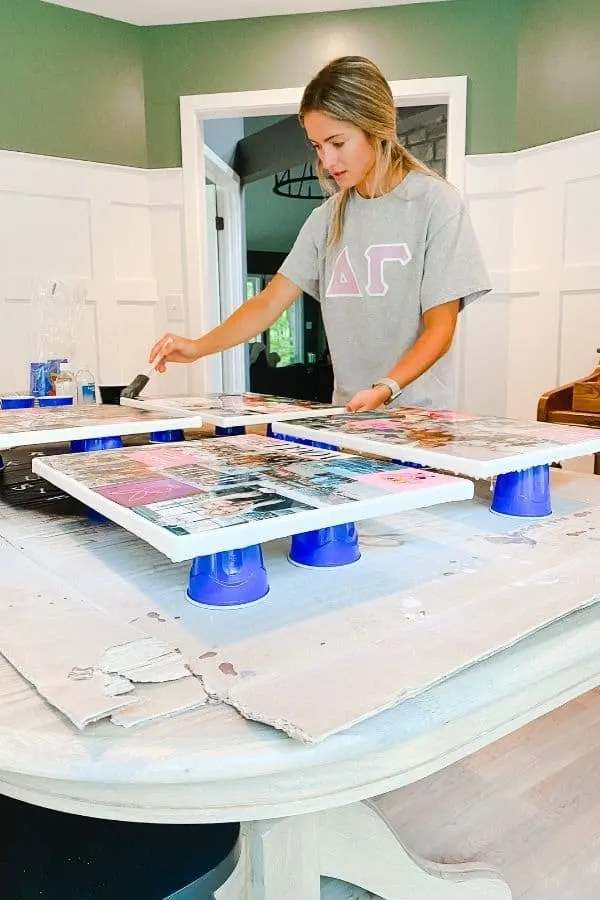
Allow to dry fully per the directions on your resin package.
If you want the complete list of what you need for living in a dorm click the image above and I will send it to your inbox!
The final product
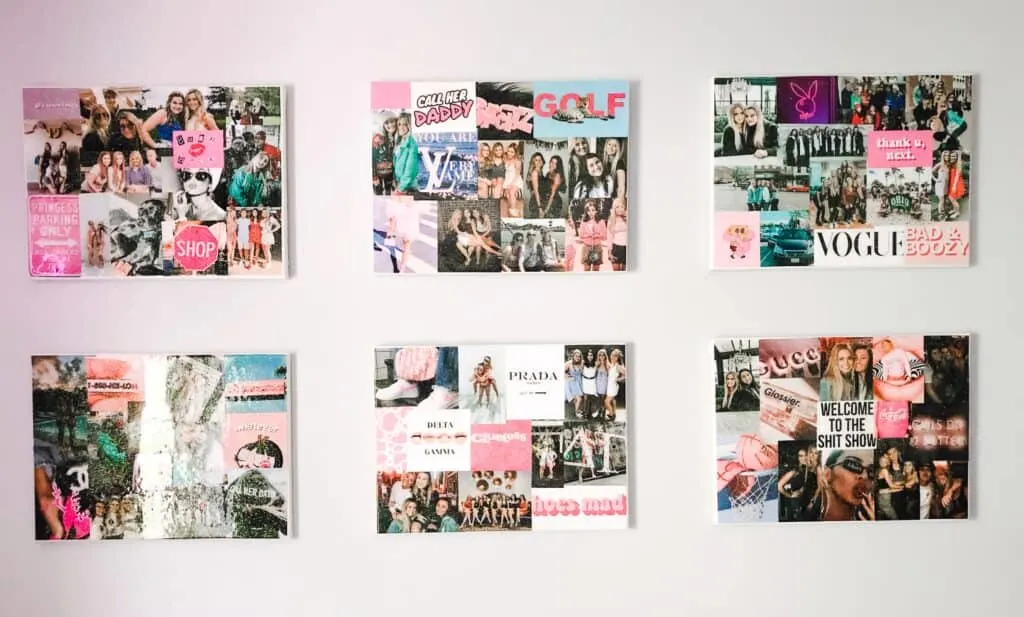
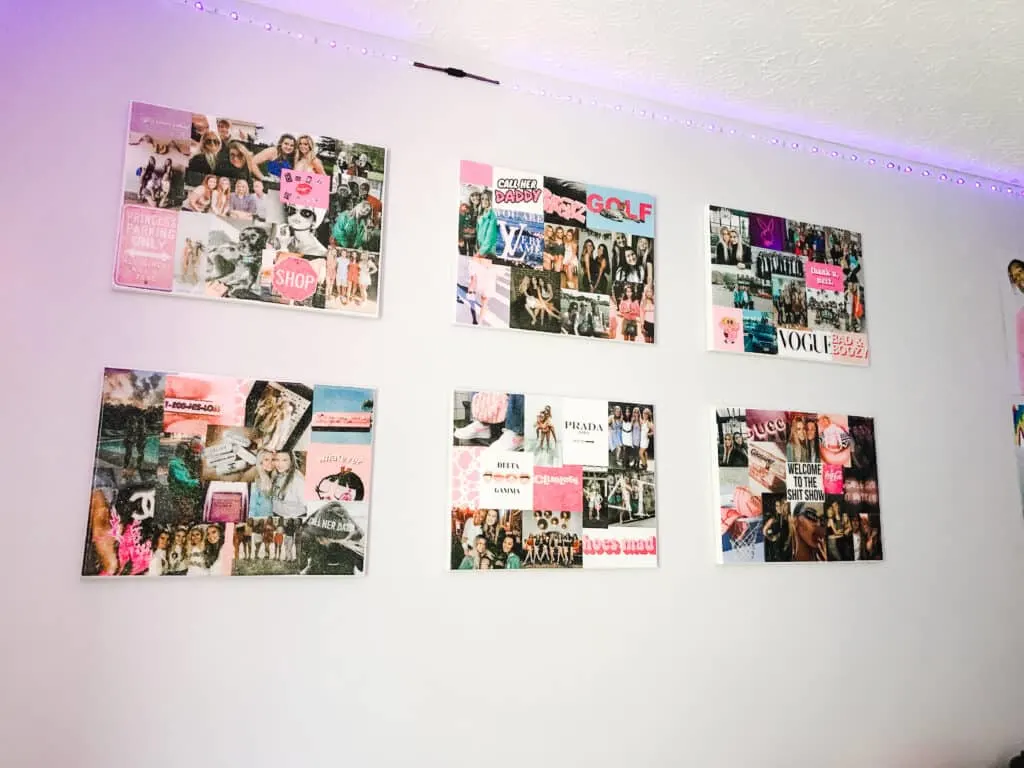
Here is the final product! I love the shininess and addition of the glitter. This makes the canvas of photos look more professional. Everyone in Erin’s sorority loved them so much they had her make some for them too!
Due to the pandemic I was unable to go into her room once she got it decorated so she took a few photos with her phone so you could see them hung up in her room.
Other College Dorm Room Posts:

I hope you love the dorm room wall decor we created with photos from home. She feels so much more comfortable with her friends and family photos being close.
As a licensed Real Estate Agent and an avid home decorator, I strive to give my clients the very best I can when it comes to staging, selling, and decorating their homes. I have lots of experience with paint color choices and love to DIY my home so I can have everything just the way I want it. I share my ideas and projects with the world in the hopes that I can help others have their homes just the way they want as well.

