How to Build a Rustic Wood Frame
Have you seen the beautiful farmhouse signs online and wondered if you could make one? Well, I am here to tell you that yes…you…can! Today we will go over how to build a rustic wood frame two ways, with mitered corners and box corners.
*This post contains affiliate links, see full disclosure for details.
Materials and Tools You Will Need
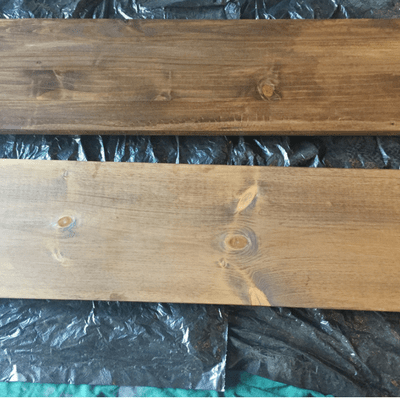
You need wood, you can use barn wood for your frame if you have some authentic stuff but I just buy a 1X2 from Home Depot in 8-foot length.
I bought two of them for this project to show you how to build both types of frames.
There are manual tools that you can use if you don’t have power tools but I highly suggest at least using a nail gun. It makes things sooooo much easier.
- Miter Saw
- tape measure
- pencil
- wood glue
- nail gun
- nails
- stain – here is what I used and this is another one that I would recommend
How to assemble your Rustic Wood Frame
The first thing you should do is to stain your wood.
I chose to do this now and when I did the box joints had some cuts that weren’t stained and I had to go back and touch them up.
You can choose to wait til the frame is done is done. It’s completely up to you.

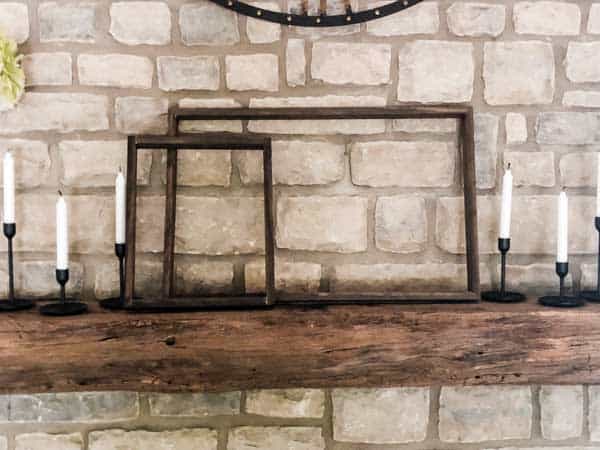
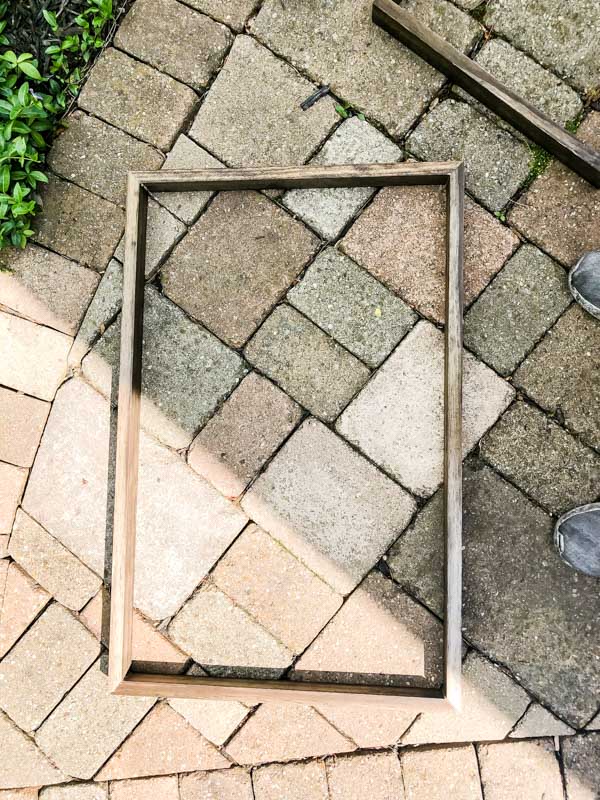
Wood frame with mitered joints
This is the harder of the two types of joints, the box joint is much easier. But this one has a more professional look and the box joint is more rustic. It’s all up to you which one you want to do.
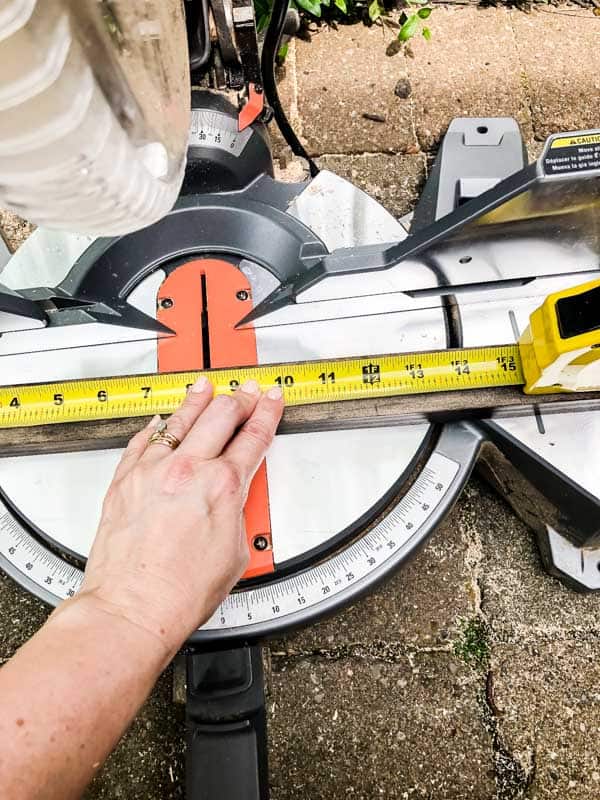
First, you need to know your measurements for the frame both length and height.

Turn the miter saw to a 45-degree angle and make the first cut. Turn the miter saw to a 45-degree angle the other way and make another cut at your desired measurement.
Would you like to save this?

Continue to do this for the three other pieces. I dry fit everything to make sure it looked right.
Now apply wood glue on the joints, when this dries it will be very solid.
Next, get out the nail gun and put a nail in the top pointing down into the side piece of wood and then in the bottom pointing up into the side piece of the frame.
Wood frame with Box Joints
As I said, this way is super easy. Measure the dimensions for your frame and cut the side pieces. They should be cut at the exact same measurement. Do the same for the top.
Using my nail gun I put two nails in the top going down into the side pieces, and again on the bottom going into the side pieces.

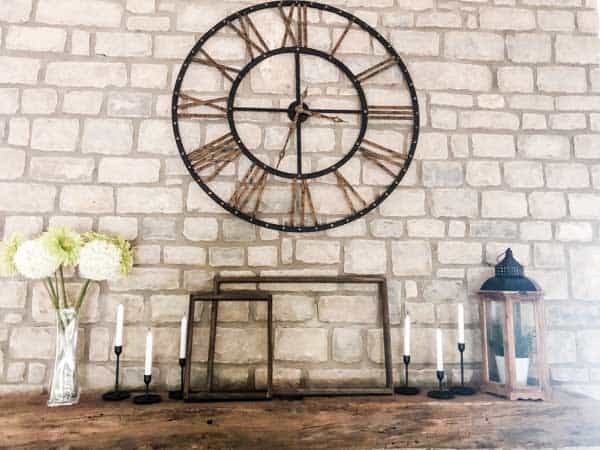
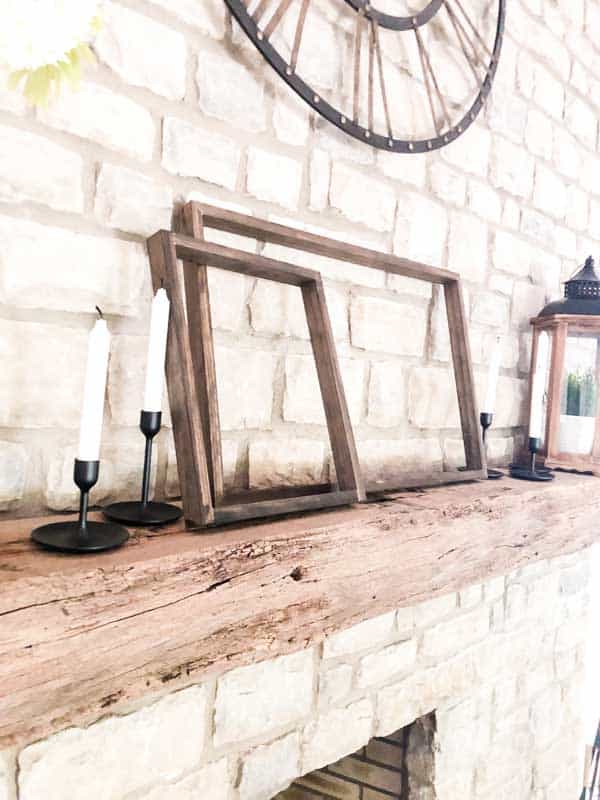
The Finished Product
Here you go, the finished product!
Ideas on how to use your new Rustic Wood Frames
- You can create a printable or download one from a blogger who creates them and staple to the back of the frame.
- You can use shiplap and nail it to the back as I did with the leftover stuff from my Farmhouse Laundry Room.
- Chalkboard would be great in a Barn Wood frame. You can buy pre-made chalkboard from Home Depot.
- Canvas or Wood that has been painted and has a saying or design on it would be great. I did this in my first ever Cricut Project.

I hope you feel inspired to create your own Rustic Wood Frame and make something really cool for your home!

As a licensed Real Estate Agent and an avid home decorator, I strive to give my clients the very best I can when it comes to staging, selling, and decorating their homes. I have lots of experience with paint color choices and love to DIY my home so I can have everything just the way I want it. I share my ideas and projects with the world in the hopes that I can help others have their homes just the way they want as well.