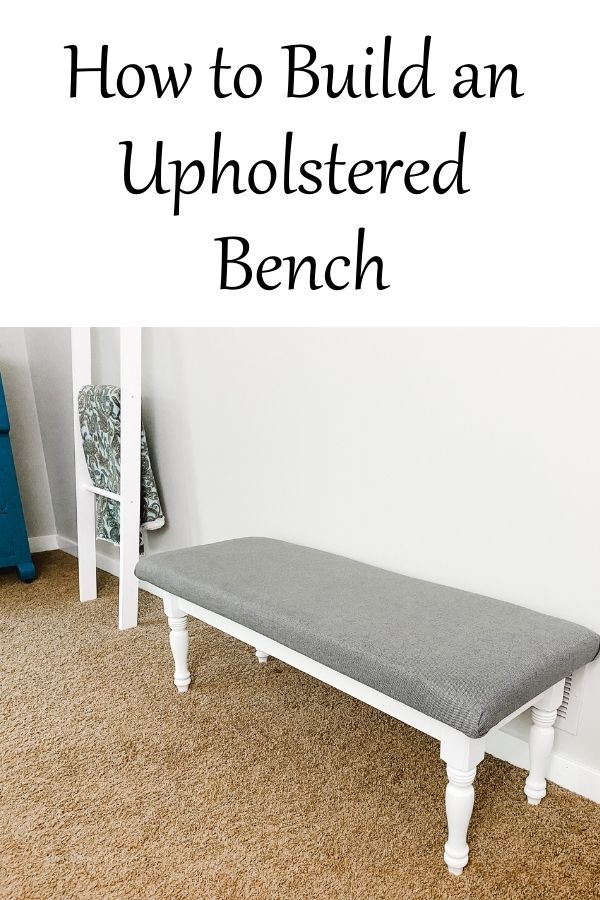
DIY Upholstered Bench
Today I am going to teach you how to build a bench. A DIY upholstered bench is a great way to combine form and function. You get the function of adding a place to sit and also something to add personality to a room.
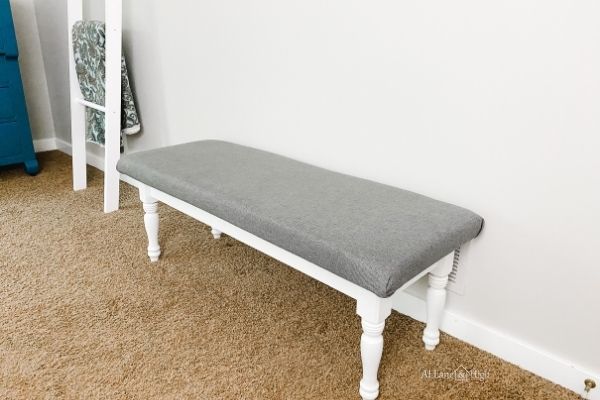
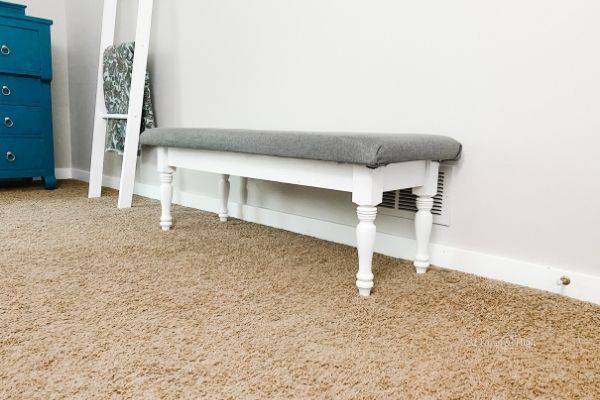
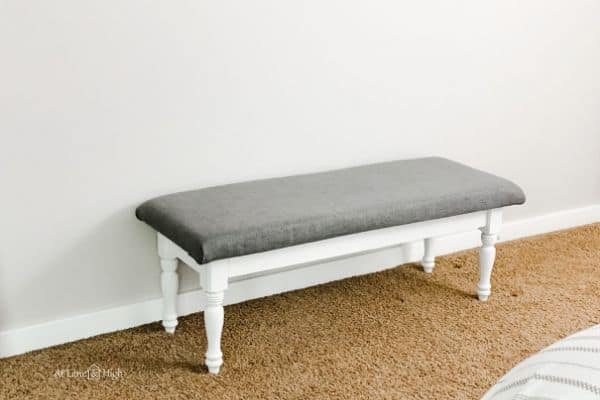
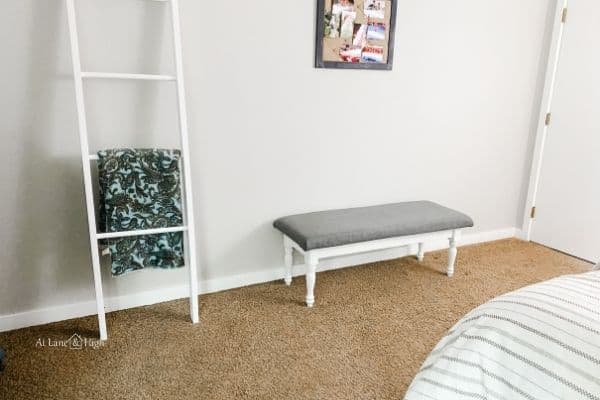
The beauty of benches is you can put them anywhere, in an entryway, at the end of a bed, the possibilities are endless! This is the bench that is in my guest room reveal post. It was really easy to make and looks great in the room.
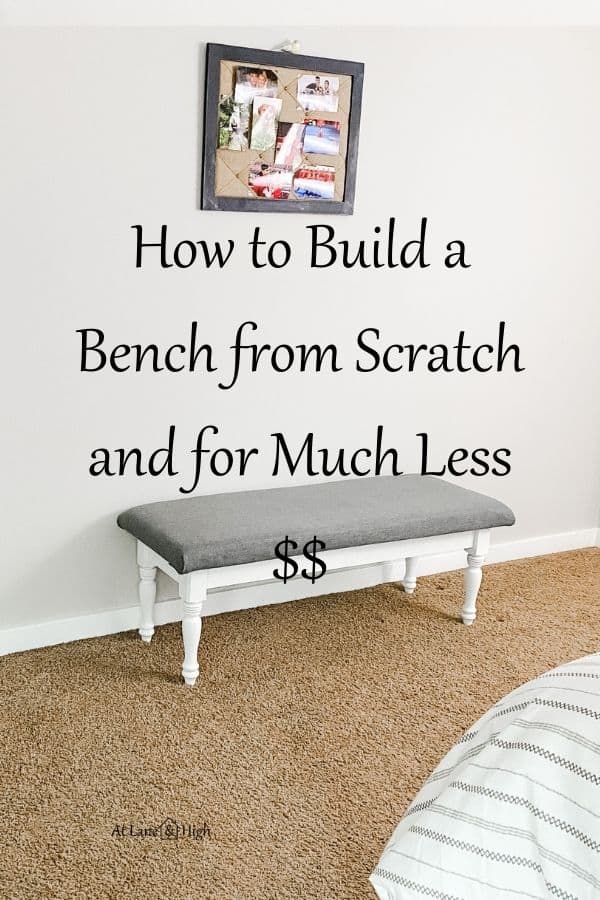
Building a bench is super easy and so much more economical than buying one. The benches I looked at cost anywhere from $150-$200 and I was able to build mine for $70!
*This post contains affiliate links. For more details see my full disclosure.
Is it easy to build an upholstered bench?
You bet it’s easy. I would classify this project sort of in the middle of easy and medium. It’s not as easy as doing crafts but it’s definitely not all that hard.
If you have the right tools then this project is about as simple as it comes. And I will share with you ways that you can easily save money on this project.
Where can you use an upholstered bench?
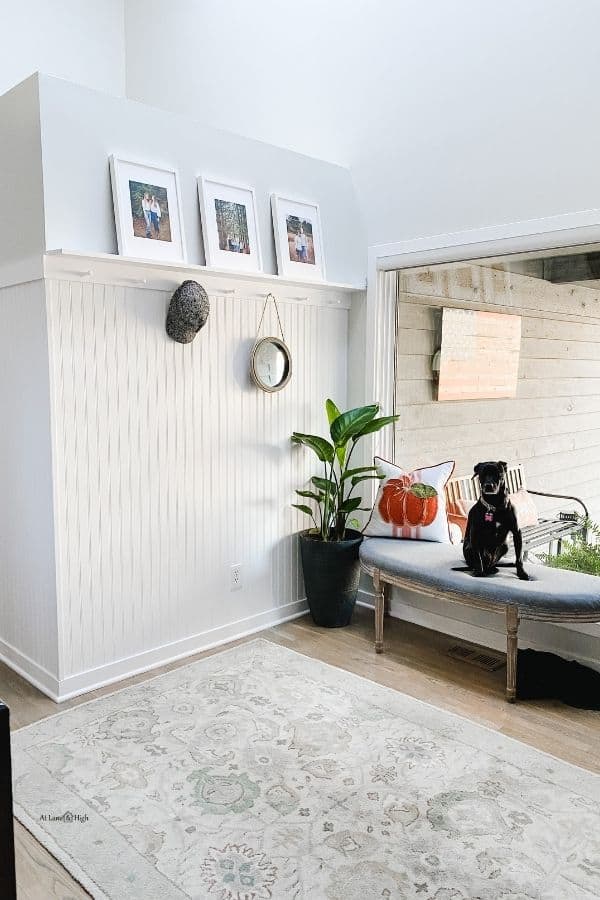
I use an upholstered bench in my entryway to protect the window sill from my dog’s nails. She loves to sit there and patrol the neighborhood (insert laughing emoji here). I love being able to sit down and put my shoes on and off.
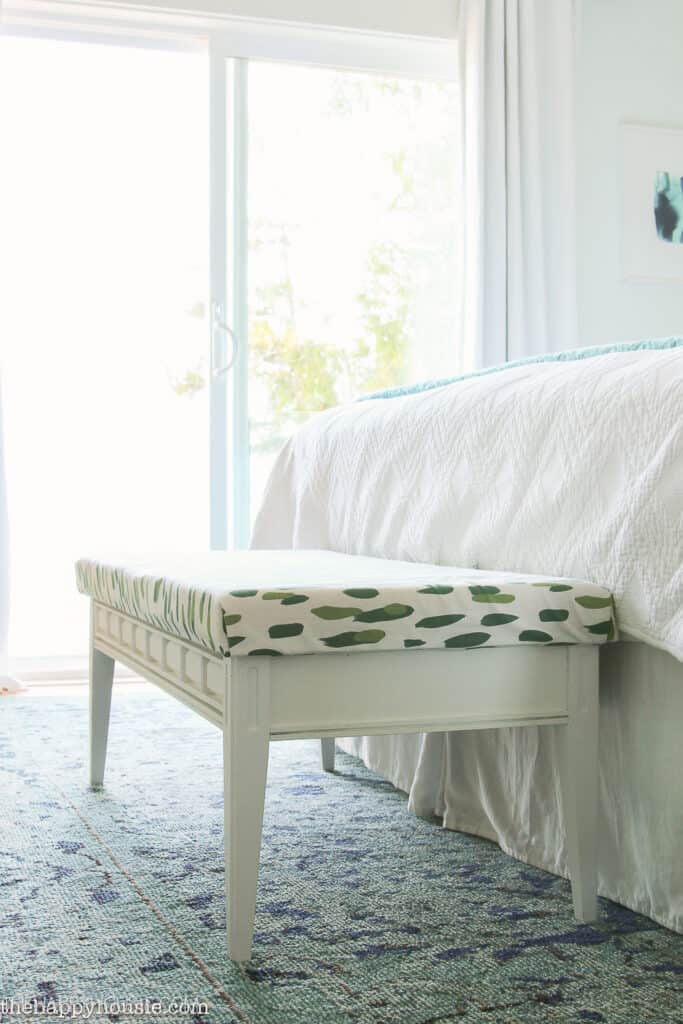
Many people put benches at the foot of the bed. It is great for sitting down and putting socks and shoes on/off but it also is perfect for holding extra blankets that you may or may not need during the night. My Mom has one at the end of her bed so her little dog can get up on the bed easier.
I plan to use this bench in my daughter’s room as a place to put things, sit on, whatever she and her husband need. When they come to visit it helps them have a place to put bags so they aren’t bending over all the way to the floor to get in their things.
How to Build an Upholstered Bench
This project is much easier than you might think. It always makes me so happy when I can take random materials and combine them to create something gorgeous. You can do it too!
Materials
- 4 bench legs
- 1 1×4 in an 8 foot length
- 3/4 inch plywood
- foam
- fabric of your choice
- batting
- primer
- paint ( I used a spray paint that had a primer in it.)
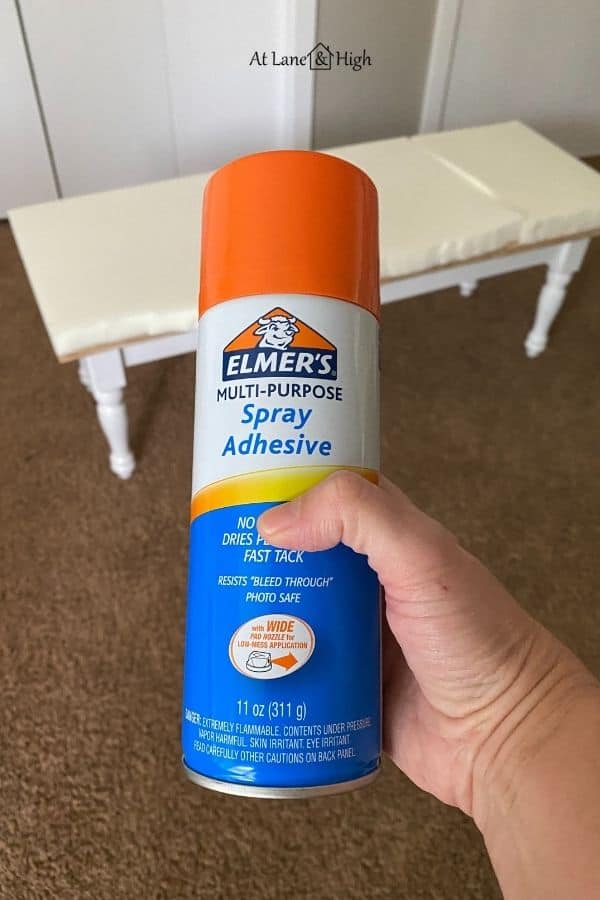
- Spray adhesive
Tools
- Miter Saw – I recently got this sliding miter saw and I am in LOVE!
- drill – This is the perfect drill, no need to charge batteries ever!
- screws
- kreg jig (This is the one I have and I love it!)
- staple gun (I bought these 3 in one nail guns and stapler with a compressor and use it alllllll the time!)
Step 1-Building the Base
Determine the dimensions of your bench and when you purchase your plywood have the hardware store cut the plywood to your dimensions.
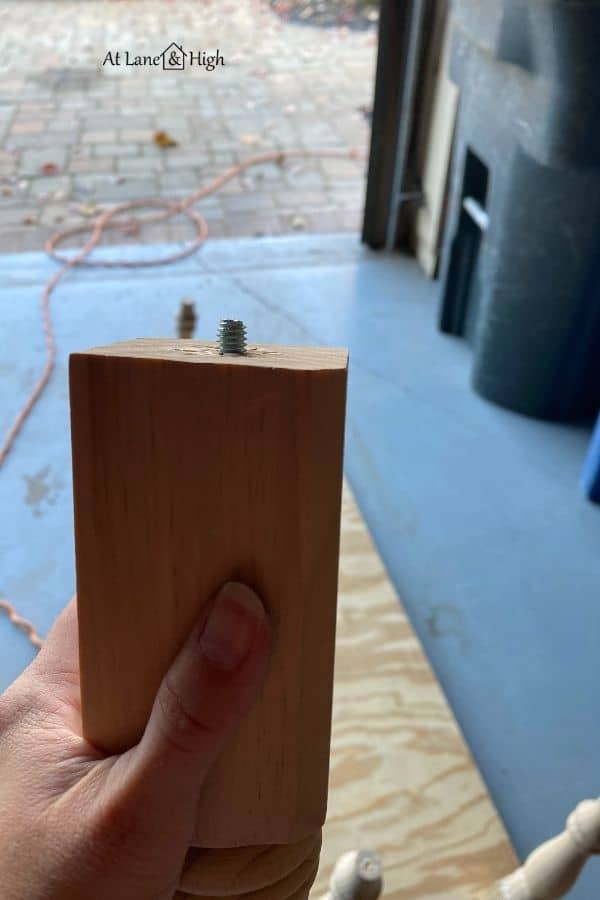
The legs have a screw sticking out of the top. So drill a little bit into the plywood where you want a leg to give the leg a starting point and screw it in.
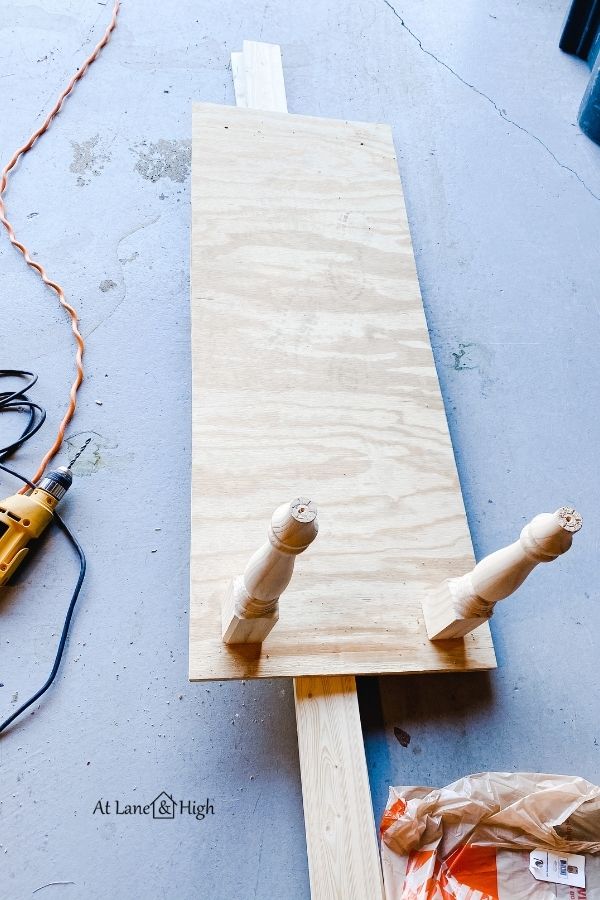
Measure the distance between each leg and cut the 1×4 at those lengths.
Using your Kreg Jig connect the 1×4 to the legs and the plywood.
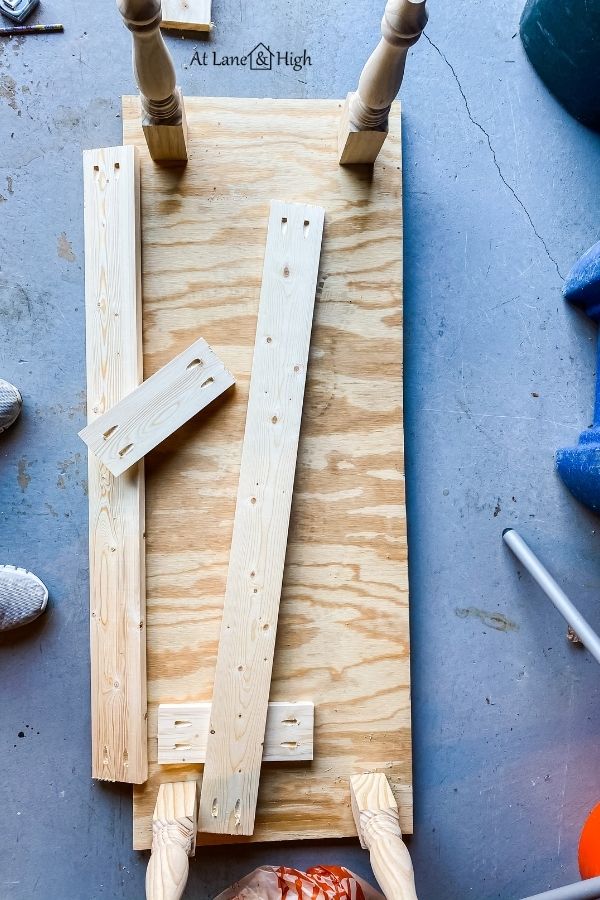
Add a few pieces of wood between the two long runs for more support. How many you need depends on how long your bench is. Mine are about every 10 inches.
Would you like to save this?
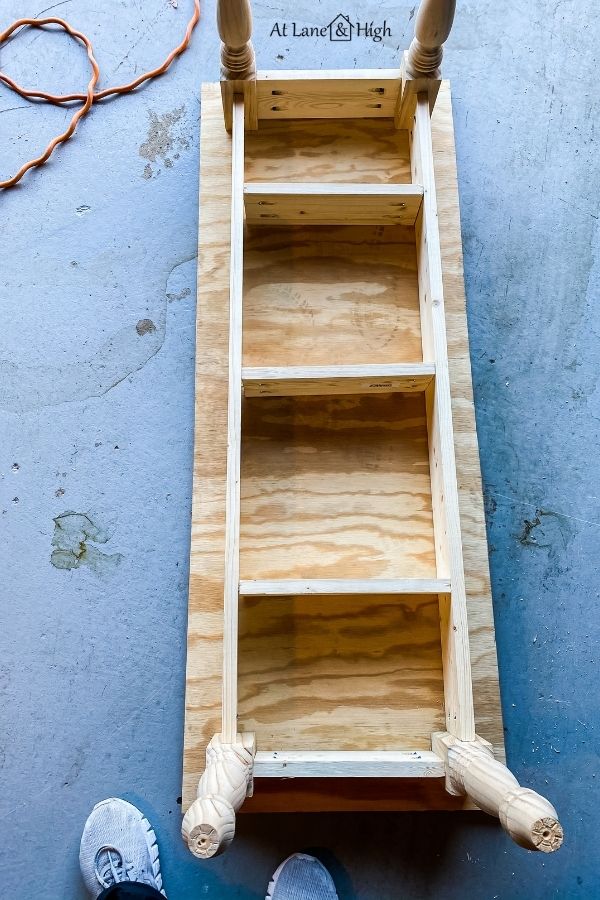

Now it’s time to prime and paint the base the color of your choice.
Step 2-Upholster the bench
For foam, you can purchase upholstery foam from JoAnn, Amazon, or another store but it’s going to be pricey. You can easily jack the price up by $100-200 by purchasing upholstery foam.
I decided to purchase a memory foam mattress topper. But make sure you don’t get the one with gel in it. If you plan on cutting it up then you can’t have the gel.
I was able to do upholster this bench and recover one in my entryway for half the price of what upholstery foam would be for one bench. I love saving money!!!
Cut the foam to the correct dimensions and use spray adhesive to stick it to the plywood.
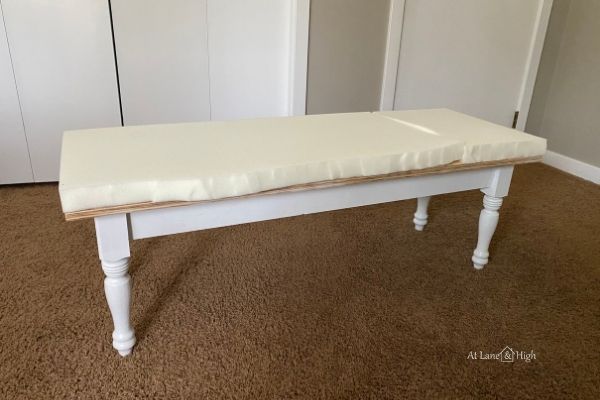
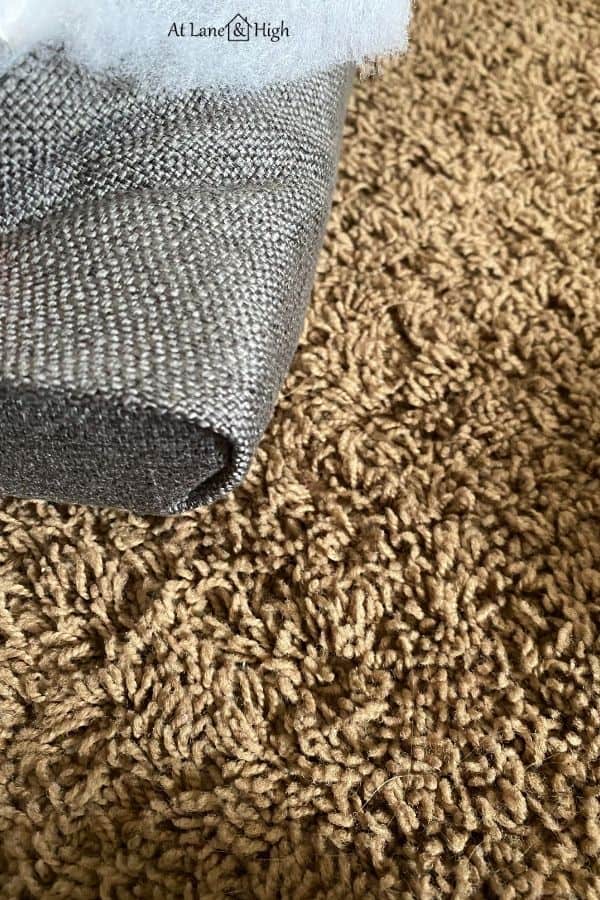
Cut the batting to cover the top and fold under the plywood.
Then cut the fabric to cover the top and fold under the plywood.
Flip the whole thing over and make sure the fabric is straight and smooth on the bottom. Using a staple gun, staple both the fabric and the batting to the underside of the plywood.
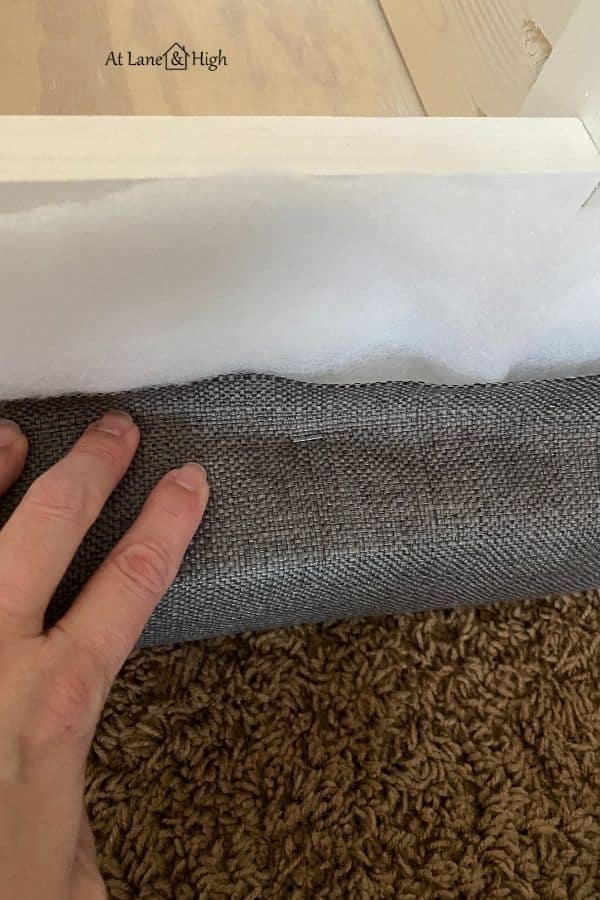
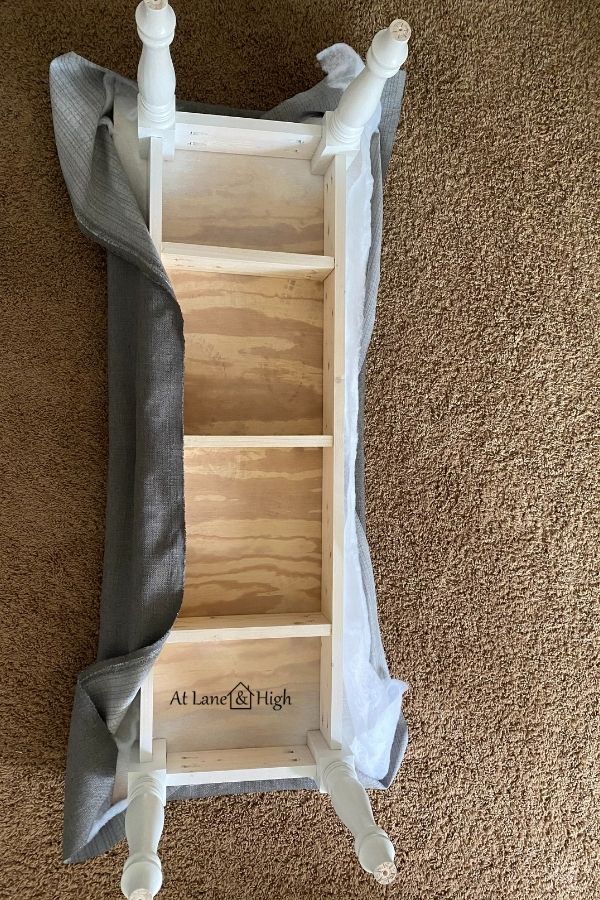
At the corners, I treated them like I was wrapping a Christmas present. I got it as smooth as possible and stapled it down in several places.
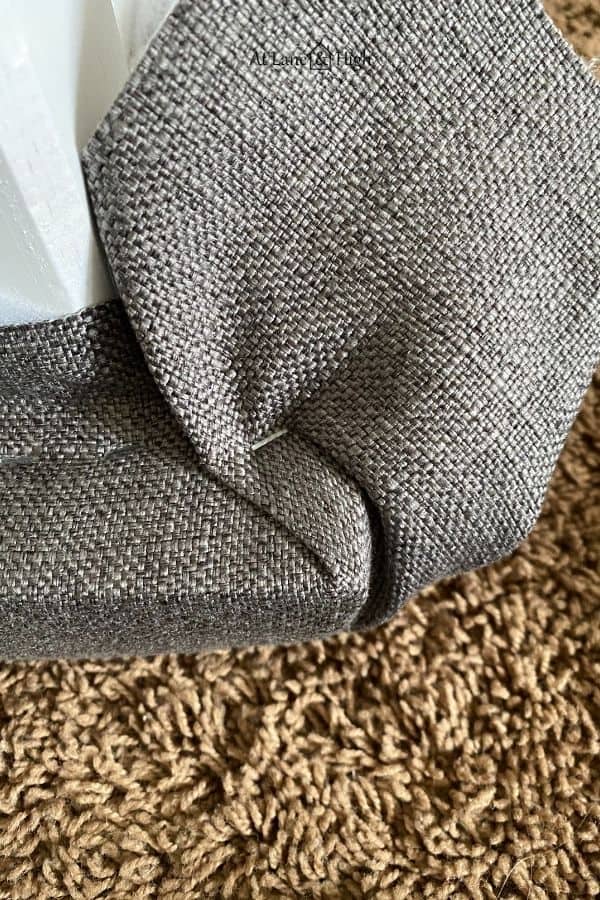
Trim off any excess fabric or batting with scissors.
Flip your bench over and enjoy!
Related Posts From This Room:
- DIY Blanket Ladder
- How to Create a Focal Wall with a Herringbone Stencil
- Guest Bedroom Reveal: How to decorate a room on a budget

How to Build a Bench from Scratch
Learn how to build a bench for your home at half the price of store-bought benches!
Materials
- Fabric
- Batting
- Spray adhesive
- One 1x4x8 piece of wood
- Plywood
- 4 bench legs
- Paint and primer
Tools
- Staple gun
- Miter saw
- Kreg Jig
- Screws
- Drill
Instructions
- Cut the plywood to your desired dimensions for the bench.
- Attach the legs to the plywood at the four corners.
- Measure the distance between the legs and cut the wood to those dimensions.
- Using the Kreg Jig attach the wood to the legs and the plywood.
- Cut a few more pieces to go in between the long pieces for more support.
- Prime and paint the base.
- Cut the foam to the same dimensions of the plywood and using the spray adhesive attach to the plywood.
- Cut the batting and fabric to cover the whole top and enough to go under the plywood.
- Flip the bench over and staple the fabric and batting to the underside of the plywood.
I hope you picked up a few things on how to build a bench. It was super easy and totally doable for anyone. The cost savings is the best part!

As a licensed Real Estate Agent and an avid home decorator, I strive to give my clients the very best I can when it comes to staging, selling, and decorating their homes. I have lots of experience with paint color choices and love to DIY my home so I can have everything just the way I want it. I share my ideas and projects with the world in the hopes that I can help others have their homes just the way they want as well.