How to Can Green Beans
Fresh ingredients are hard to come by at certain times of the year. That’s why I have begun to can and freeze as much fresh fruit and vegetables as I can. Today I am going to show you how to can green beans so you can have fresh beans all year long!
I have been canning beans for close to two decades. I started when my kids were little and we would go to my Grandmothers house and spend the day with her breaking and canning beans. It was a great way to make memories with my kids and their Great-Grandmother.
Now my kids are grown and my husband and I are still canning beans. We have gotten to the point that we can’t even eat the canned beans from the grocery store anymore. They taste awful to us now.
I really like the fact that I can control the amount of salt that goes into them as well. I have really begun to read food labels due to some stomach issues and wow, I can’t believe the junk they put in food!
*This post contains affiliate links. For more details see my full disclosure.
How to Can Green Beans
Beans are usually ready at the mid-end of August. If you wait too far into September the bugs tend to start to get to them. I live in Ohio so if you live in another part of the country (or world) this timing might be a little different. Let’s get into green beans and how to can them.
First, you need to find a local farm and order some green beans. If you live in an area near the Amish you can inquire to see if they have any you can buy. This is what my Grandmother does and she usually pays way less than I do.
Make sure you are specific and order green beans and not string beans.
Green beans come in bushels. Each bushel should yield around 18 quarts of beans (that’s what my Grandmother always says). And remember if you are doing pints there are two pints in a quart so a bushel should yield roughly 36 pints.
How to Snap Beans
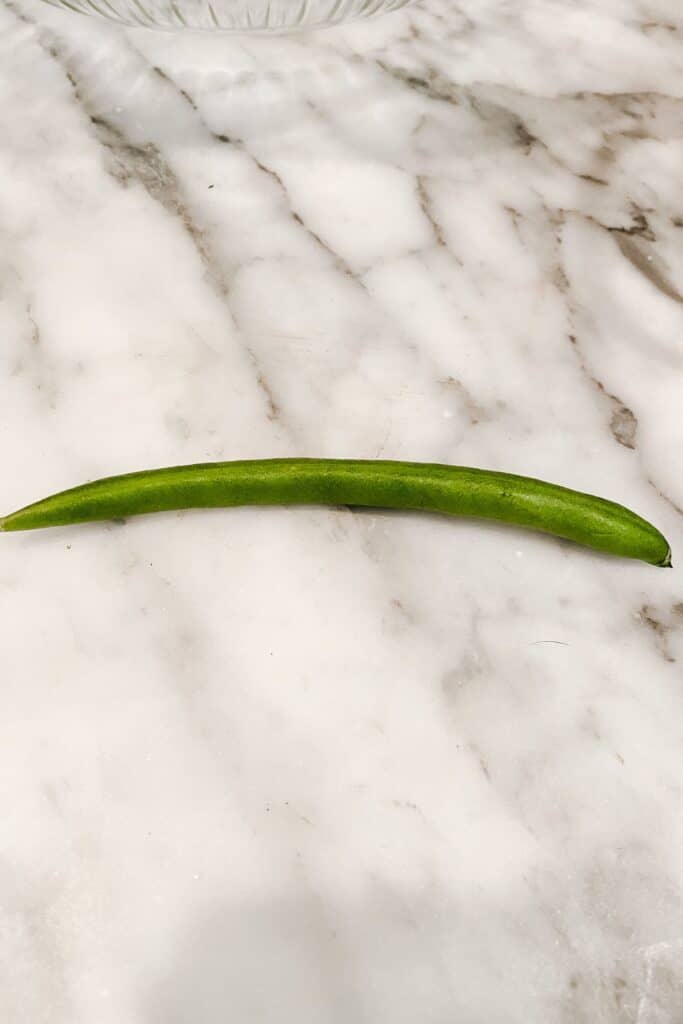
This is what a green bean will look like when you get it. It’s time to start snapping!
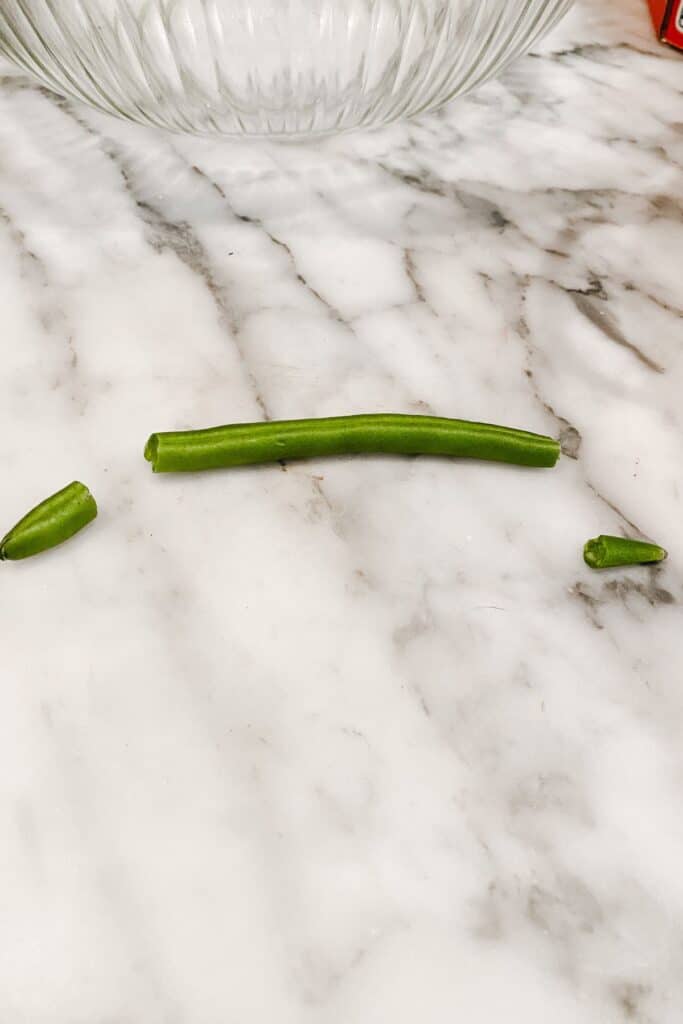
First, you want to snap off the ends and discard them.
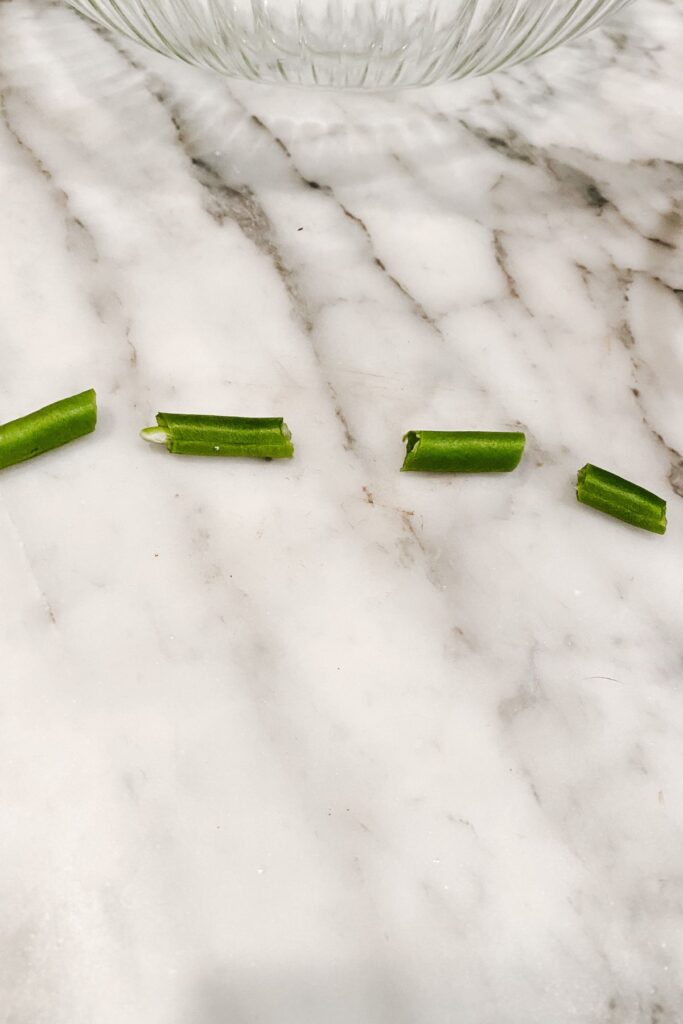
Then you want to snap the bean into small bite-sized pieces.
Typically my husband and I will set ourselves up on the couch with a good show to binge-watch. We have one bowl with the beans in them, another for the discarded ends, and another for the snapped beans.
Putting the beans in jars
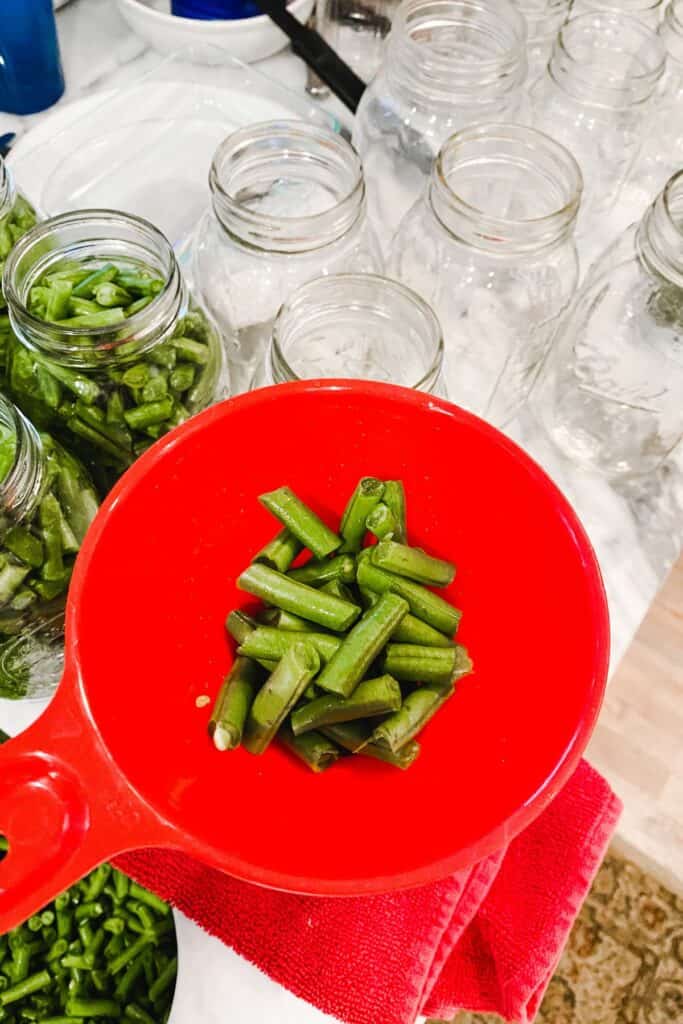
Once you have snapped your beans you need to rinse them well. My Grandmother taught me to rinse my beans three times to make sure they are clean. Then you can put them into jars.

You need a funnel to put them into the jars, if not then you will get them everywhere and have a huge mess!
I put them in and overfill the funnel like this. Then I put my fingers on top of the beans and sometimes to the side and bang the jar up and down on a towel that has been folded up underneath the jar.
Would you like to save this?
This makes the beans pack well into the jar. If you don’t pack them well then after they go through the canner you will have an inch or two of space under the beans at the bottom of the jar.
Pack the beans down and fill the jar until you have a little space between the top of the beans and the jar lid.
Add one teaspoon of salt per quart, half a teaspoon per pint, to each jar. Fill with water and dry off the rim of each jar before putting the lid and ring on.
Running the jars through the canner
Now comes the fun part! Put your jars in the canner close together but not touching. You don’t want them touching the edges of the canner either.
Now this is where I don’t have a specific, I was taught by my grandmother and this is her way. I add about three quarts of water to the canner. As you run your beans through you might need to add more water. Just eyeball it.
You know Grandmothers, it’s never a specific measurement. It’s a dash of this or a pinch of that.
Put the canner on high with 10 lbs of pressure and once it starts rocking turn the temp down to med-med/high and let it go for 20 min. Remove from the burner and once it has completely cooled and the button drops you can remove the lid.
DO NOT REMOVE THE LID UNTIL THE BUTTON HAS DROPPED OR YOU COULD BE SEVERELY INJURED.
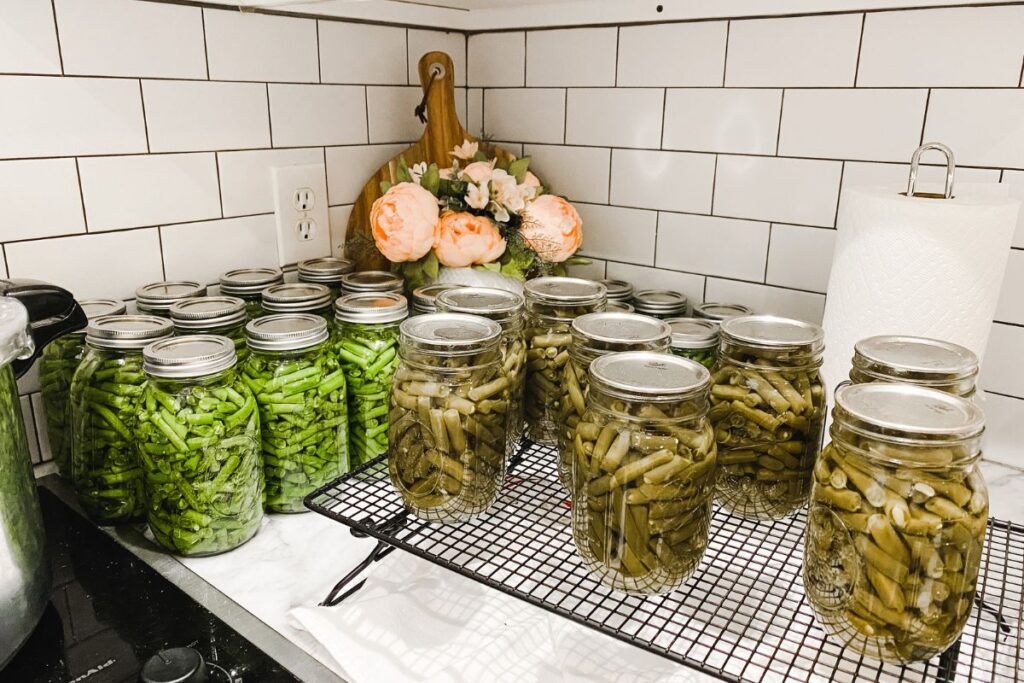
Here you can see the bright green beans that have not been through the canner and the dark green of the beans after they go through. This always amazes me how they change color.
When you remove them from the canner use tongs and be very careful. They will be really hot. I like to let them sit in the canner for 5 minutes after taking the lid off before I remove them to give the water a chance to stop boiling.
Put them on a cooling rack but make sure you put a towel underneath because they will drip extremely hot water. This is to protect your countertops.
As the jars cool you will hear a popping noise every now and then. This is the lid of the jar sealing, this is a good sound. Once they are cool you can put them back in the boxes they came in and keep the next round going.
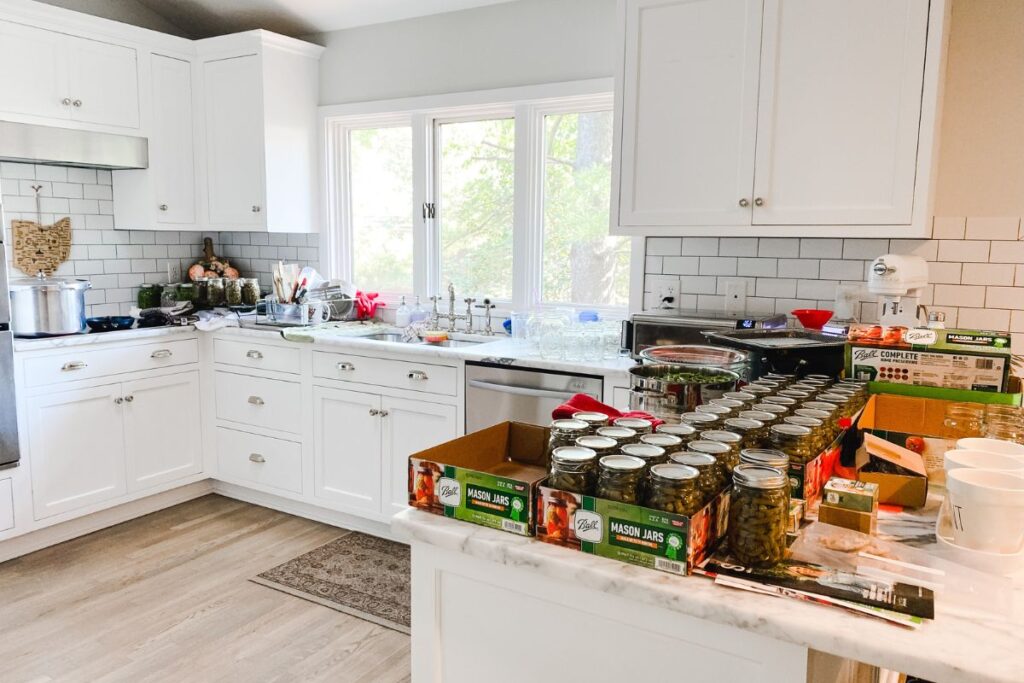
Here are the jars as I am going through the process. Yep, my kitchen does get very messy on these weekends but it’s totally worth it.
How to Can Green Beans Finished Product
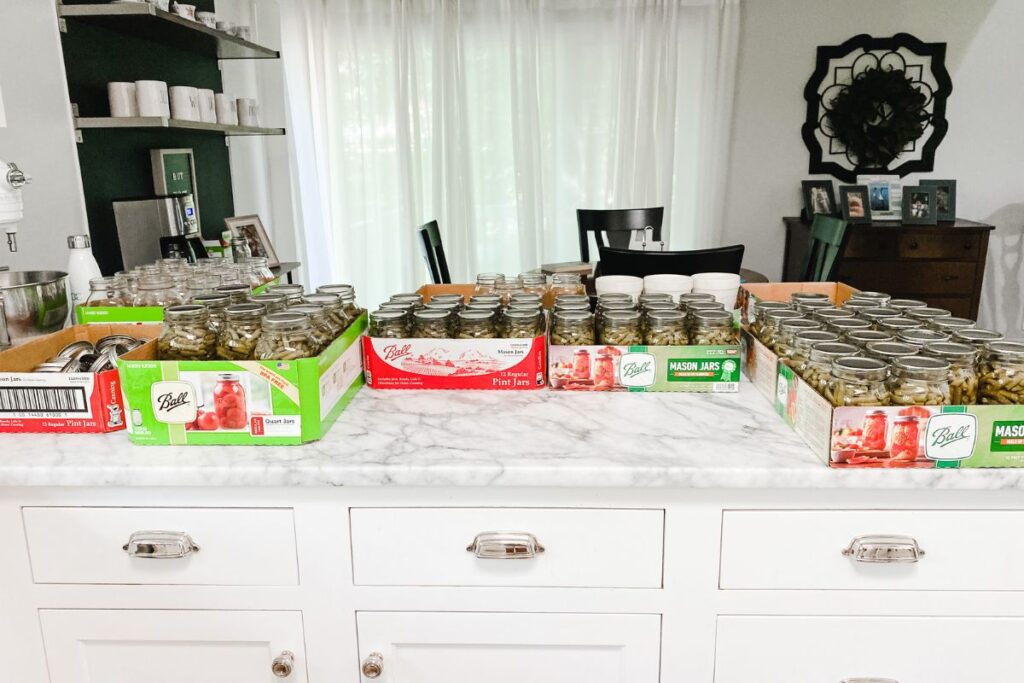
Here are the finished beans. I did three bushels this year and didn’t get close to my Grandmother’s 18 quarts. I think I didn’t do a good job of breaking the bean’s ends off. Either me or my husband took off too much of the bean.
I was about a quart shy per bushel. But that’s okay, I am very happy with the number of beans we have now and I won’t feel stingy when my family asks us to bring beans to every family gathering, LOL. You see, everyone has had them and thinks they taste way better than store-bought beans and they request them!
Other Recipes You Might Like:
- 60 Valentines Desserts to Make Your Sweetie
- 40 Delicious Appetizers for Christmas
- Delicious Cookie Recipes to make This Year


As a licensed Real Estate Agent and an avid home decorator, I strive to give my clients the very best I can when it comes to staging, selling, and decorating their homes. I have lots of experience with paint color choices and love to DIY my home so I can have everything just the way I want it. I share my ideas and projects with the world in the hopes that I can help others have their homes just the way they want as well.