What I Learned As A Beginner Gardener (Part 1)
Today, I am sharing the things I learned as a beginner gardener. This year, I got a plot at our city’s community garden, and I went all in! I started seeds in the winter and planted them in the spring. I built a trellis and pulled a TON of weeds. Today, I am sharing everything I learned (mostly from failure).
*This post contains affiliate links. For more details see my full disclosure.
What I learned as a beginner gardener.
Once I learned that I got a plot at the community garden, I got really excited! I had already placed a huge order for seeds and was really hoping that I didn’t waste a ton of money.
I chose to order seeds from Johnny’s. If you sign up for their emails, they will also send you a really informative catalog. I learned a lot about how to grow the individual plants I wanted to buy.
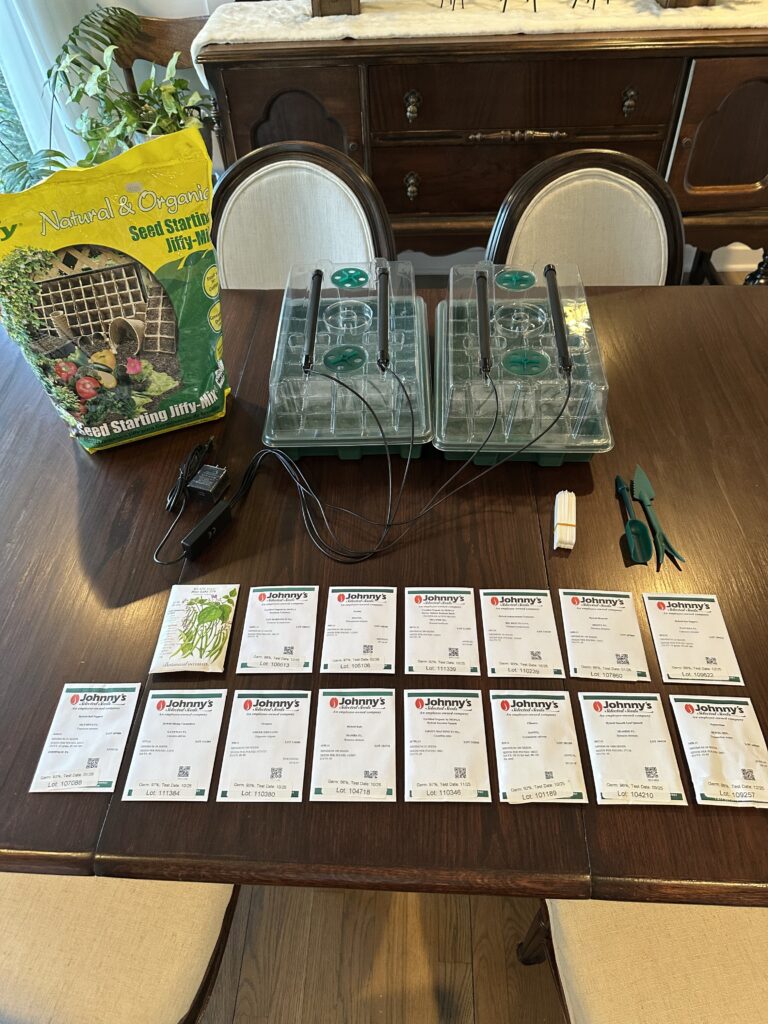
Here are the seeds I purchased:
- Big Beef Plus Tomatoes
- San Marzano Tomatoes
- Basil
- Cilantro
- Bell Peppers
- Cucumbers
- Zucchini
- Kale
- Brussel Sprouts
- Broccoli
- Spinach
- Blue Lake Green Beans
Why did I choose these in particular? Because this is what we eat as a family. I chose them and knew that some would do great, some wouldn’t, and I was looking forward to learning how to grow all of them. Next year, I will probably narrow down exactly which ones I really want to grow myself.
Growing from Seeds
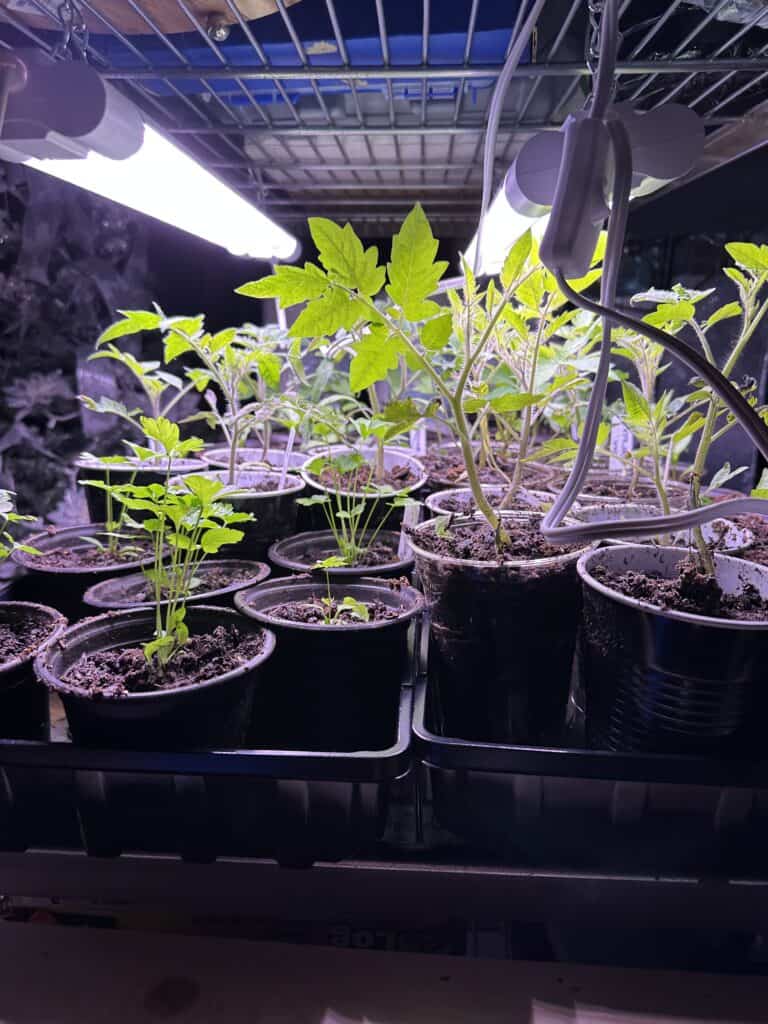
Now that I had the packets, I needed to start the seeds. I purchased this seed starting kit and bought some seed starting soil, which, yes, is essential. You also need a heat mat because most seeds like warmth when germinating. I used my sourdough heat mat, which worked perfectly!
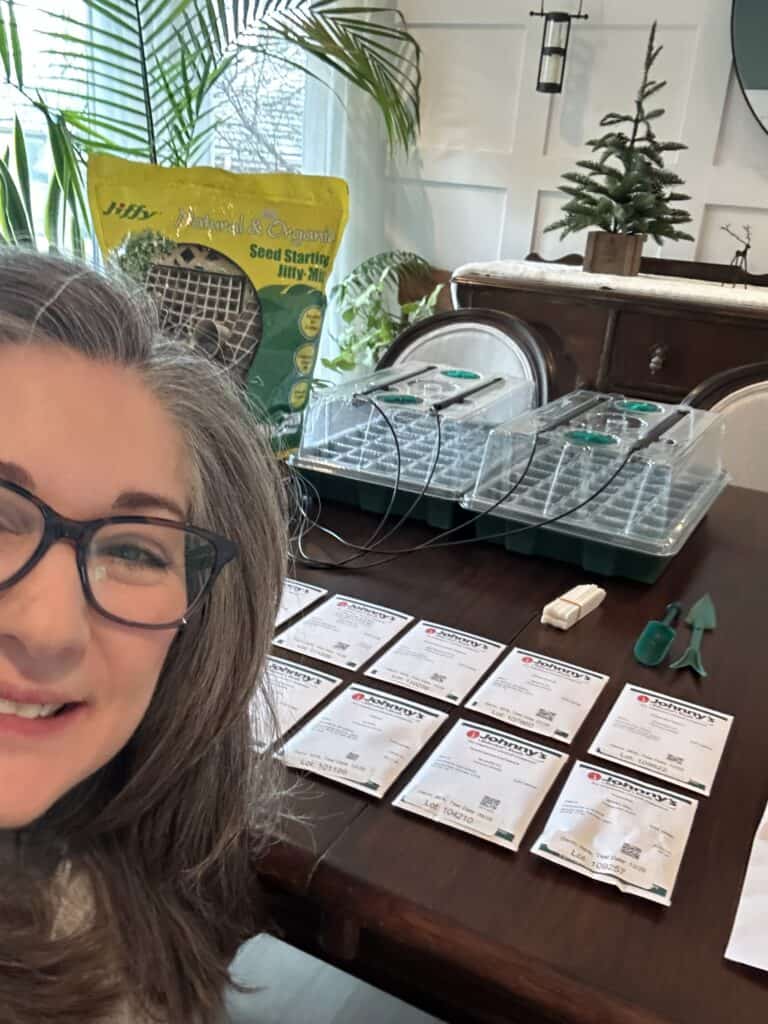
I really liked this kit because it waters from underneath, so you fill up the bottom tray and don’t have to worry. The dome keeps things humid, and the lights mimic the sun.
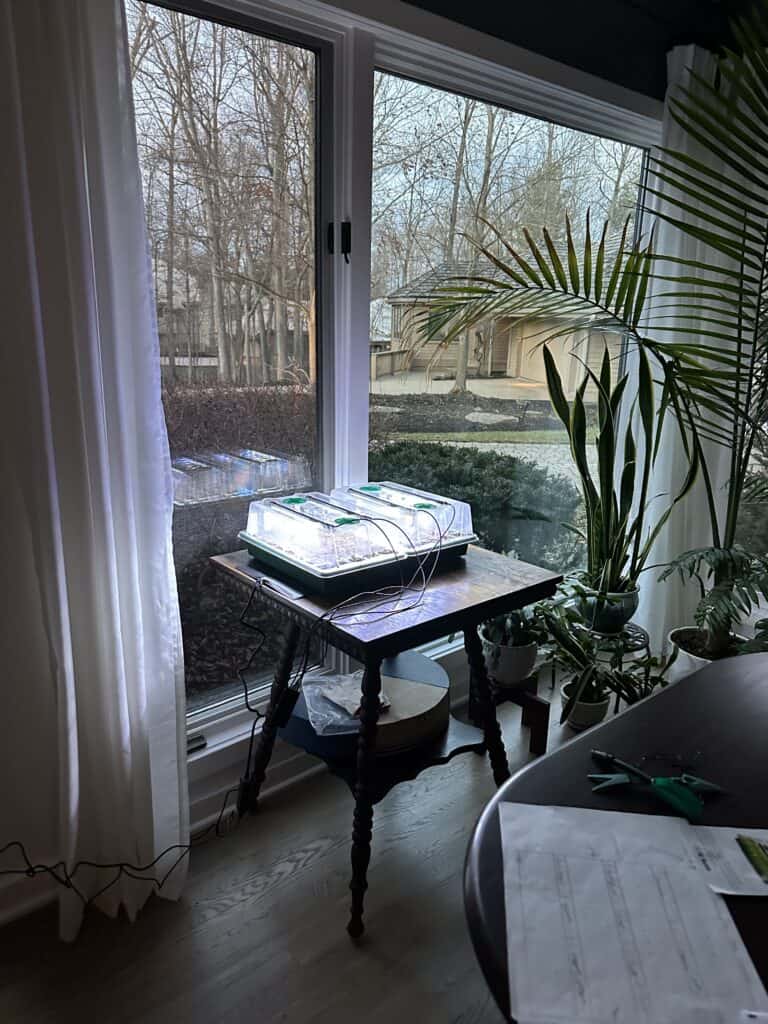
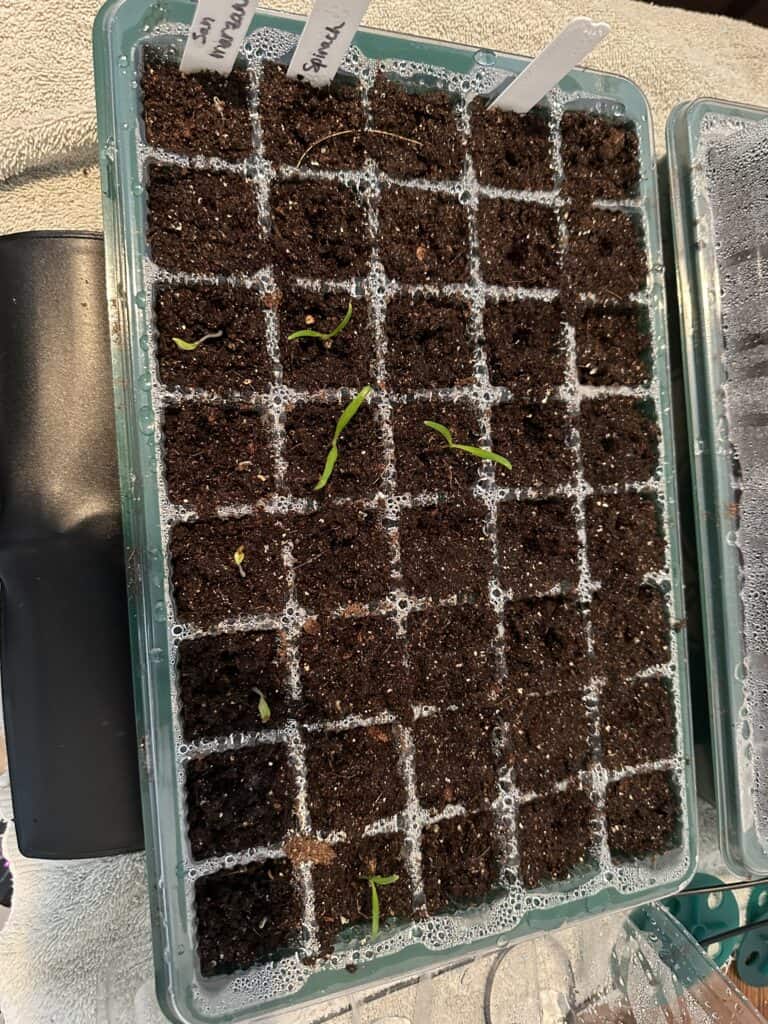
Once the seeds sprout, you need to remove the heat mat underneath. Once they get big enough, you want to up-pot them into larger pots. I purchased these 4-inch round pots from Amazon.
It’s important to make sure you mark which plants are which. I messed this up and had no idea which of my peppers were jalapenos and which were bell peppers! It didn’t really matter, but it could in some instances. I will remember that next year.
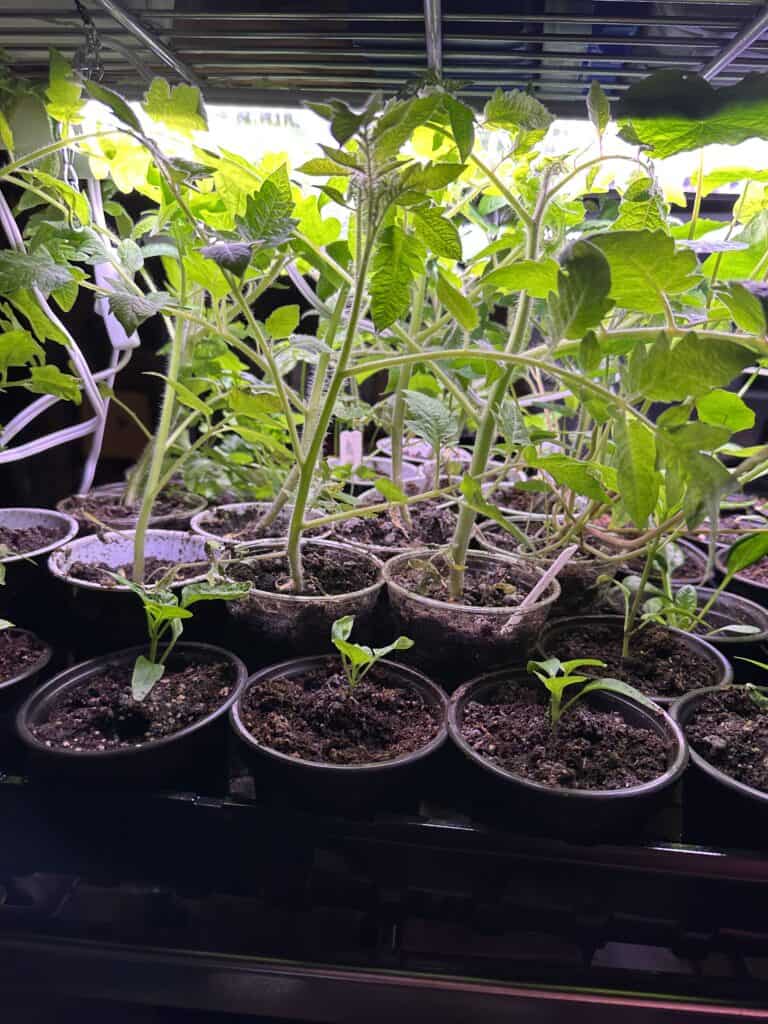
Make sure you keep your plants in a sunny window or use some grow lights to keep them growing happily. Here is what I used and had them hanging out in my basement on some shelves since I don’t really get a lot of sunny windows.
Hardening Off Your Plants
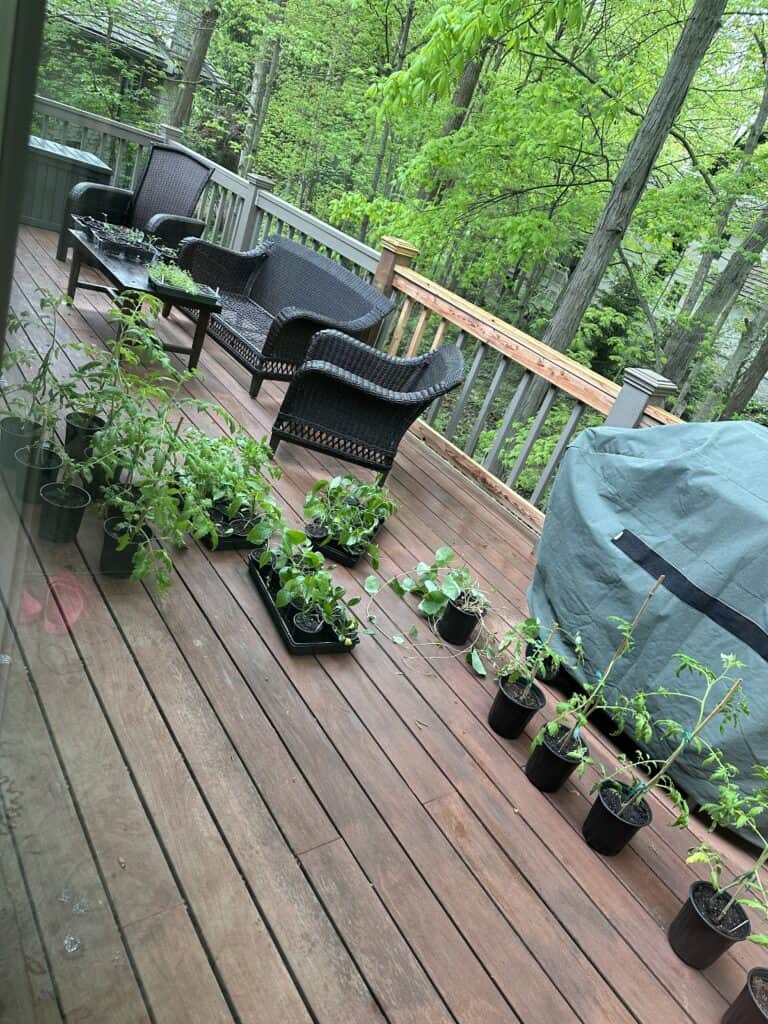
I know you are probably thinking what the heck is that?! Well, basically, your beautiful plants have been sitting in your home with no wind, no rain, and no animals bothering them. When you put them in the ground, they are not going to be happy about the changes. You need to prepare them.
Start putting your plants outside for about an hour a day. You don’t need to put them in a sunny area; just put them out so they can get some of the elements. Slowly increase this by half an hour or an hour until eventually they can hang out outside all day.
Would you like to save this?
This was really important for my plants because our community garden is surrounded by soccer fields, and it’s very windy there. I definitely didn’t harden them off enough; one of my tomato plants broke at the base of the stem from the wind. So make sure you do this step.
Time to Plant!
This is an exciting time! All those babies you have been taking care of, it’s time to put them in the ground. It’s also time to direct sow the seeds you haven’t started yet. Make sure you follow the instructions for each plant, which are on the back of the seed packet.
Make sure you also keep a close eye on the temperatures. A lot of people planted their tomatoes early in the garden, and they all froze in the low temperatures at night.
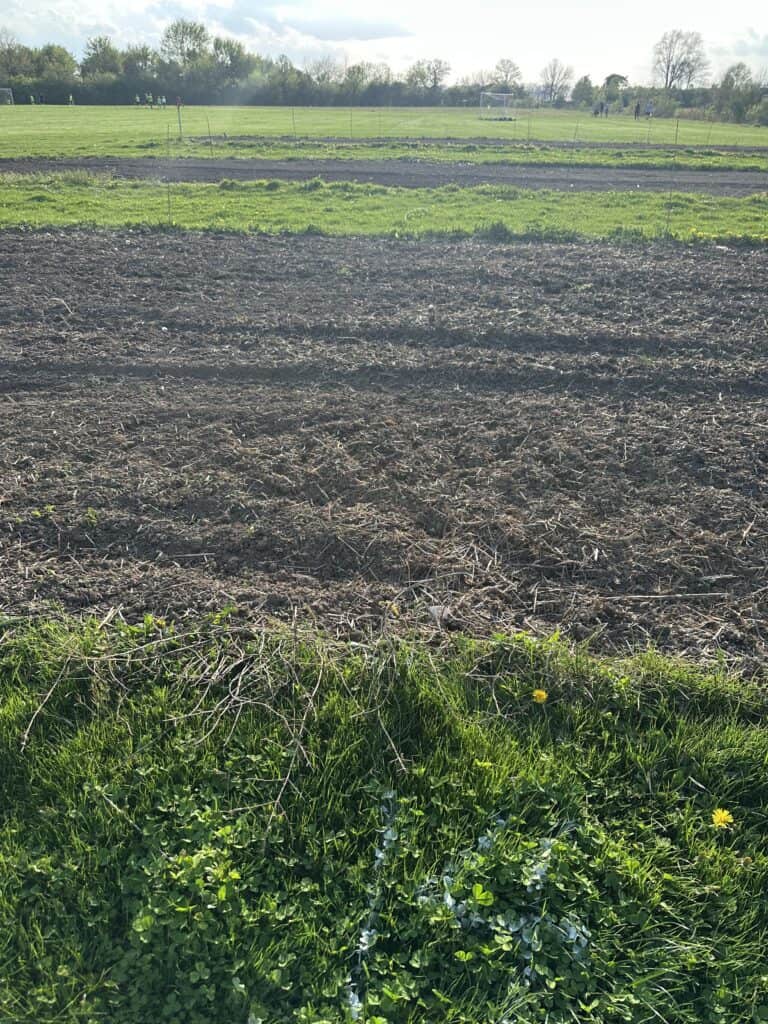
For my garden, I made four rows and three walkways in between the rows. I mounded up the soil and amended it with horse manure. There was a local place giving it away for free, and have you ever checked the price of compost? Whoa, I wasn’t going that route.
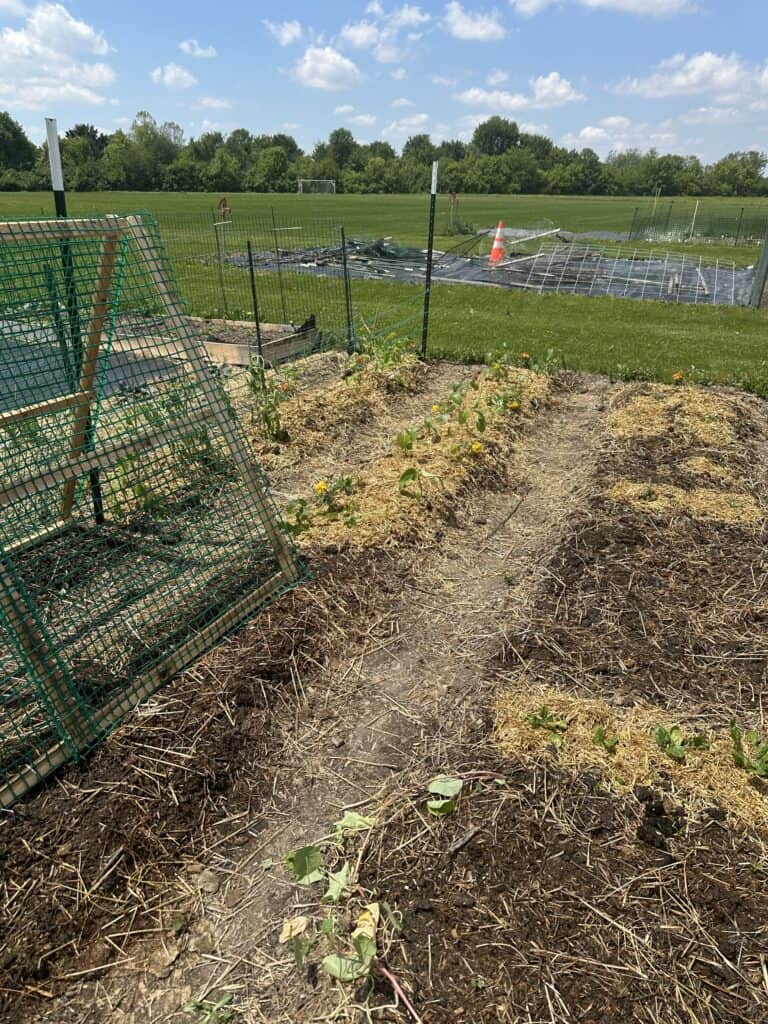
The first row had cucumbers and cilantro (directly sown) and tomatoes. The second row has zucchini and cilantro (directly sown) with peppers. The third has brussel sprouts (directly sown) and kale. The fourth has green beans, broccoli, and more peppers.
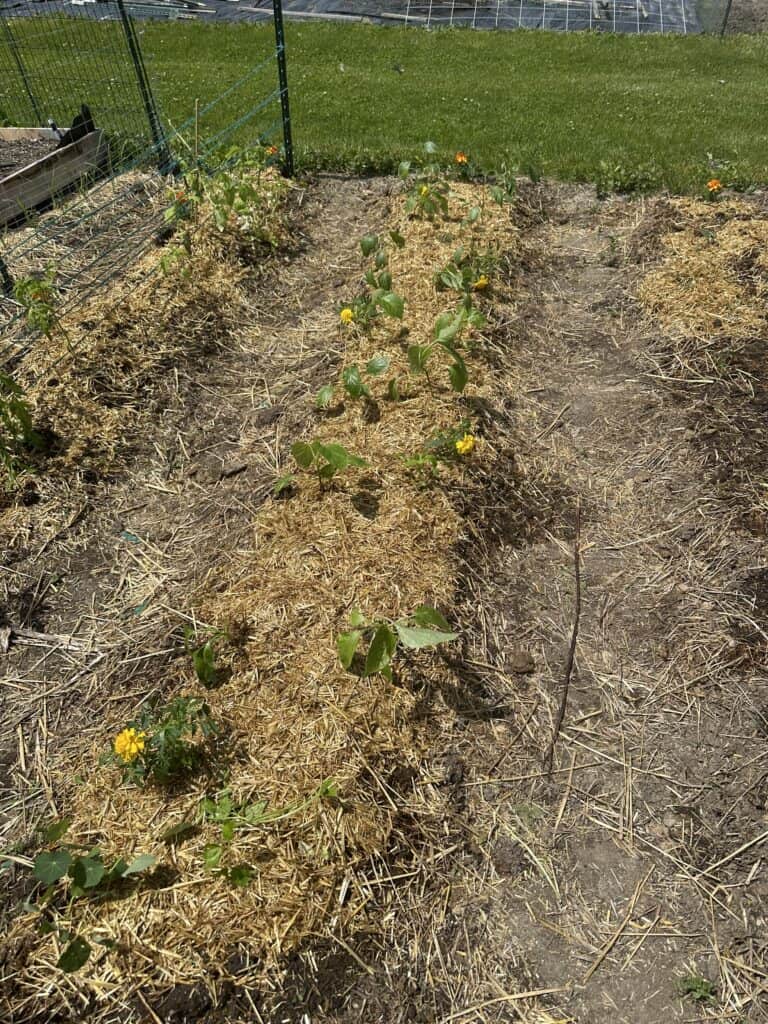
I mixed in a bunch of herbs, basil, dill (my daughter’s seeds), parsley, and flowers such as nasturtiums and marigolds.
I planted the flowers because they are good companion plants to what I am growing and will help keep bad pests away. The herbs will do the same thing. I will say, I have parsley coming out of my eyeballs! It’s a great problem to have!
Trellis the Cucumbers and Zucchini
Cucumbers and Zucchini like to really spread out, and when you are tight on space, it’s a great idea to trellis them up to save ground space.
You can buy all kinds of trellises for this purpose, but I built one, and I am super happy with it. If you want all the details on one of the easiest DIYs I have ever done, go directly to this post.
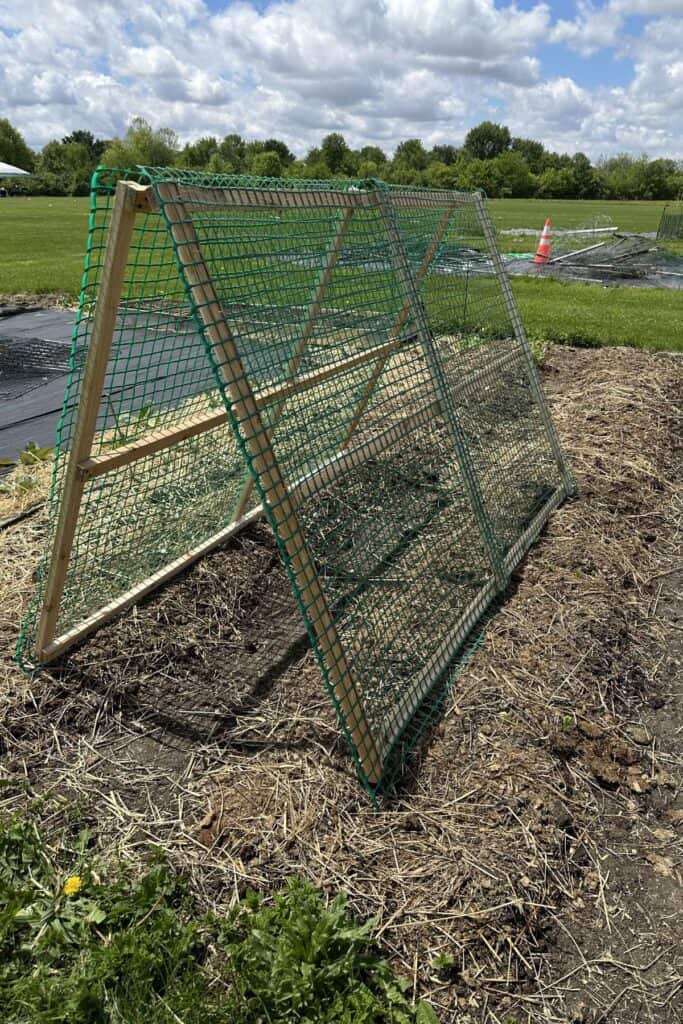
You can also use this for plants like pole beans, cantaloupe, pumpkins, gourds, you name it! Anything that vines you can trellis.
What I learned as a beginner gardener.
This is the beginning of my little garden. I plan to share more with you on the progress of my first-ever garden as the summer goes. Stay tuned!
Other Plant Posts You Might Like:
- 21 Full Sun Plants for Garden Beds
- The 23 Best Fast Growing Shrubs for Privacy
- Simple and Cheap Front Yard Landscaping Ideas
- Modern Horizontal Fence Ideas for Your Yard
- How to Landscape with Large Rocks


As a licensed Real Estate Agent and an avid home decorator, I strive to give my clients the very best I can when it comes to staging, selling, and decorating their homes. I have lots of experience with paint color choices and love to DIY my home so I can have everything just the way I want it. I share my ideas and projects with the world in the hopes that I can help others have their homes just the way they want as well.