DIY A-Frame Trellis For The Garden
Hello there! I am super excited to share with you my A-Frame Trellis for the garden! I plan to use it for my cucumbers and zucchini, but you can use this with watermelon, pumpkins, and more! It was an easy DIY, less than an hour to build, and it’s going to be perfect for my little garden.
*This post contains affiliate links. For more details see my full disclosure.
A-Frame Trellis for the Garden
I picked up all the supplies for this at my local Home Depot, and will link to all the products used so you can find them easily.
I used cedar for this project because I didn’t want to use pressure-treated lumber, which can seep chemicals into my vegetables, and I am doing only organic. Cedar is also pretty good at standing up to weather elements.
Here is what you need:
- 9 1X2’s at 8 feet long
- Durable plastic fencing
- Miter Saw
- Staple Gun
- Staples
- Hinges
- Screws
- Drill
- Scissors
You can easily customize this to whatever dimensions you want, but I will give you all the numbers of what I did.
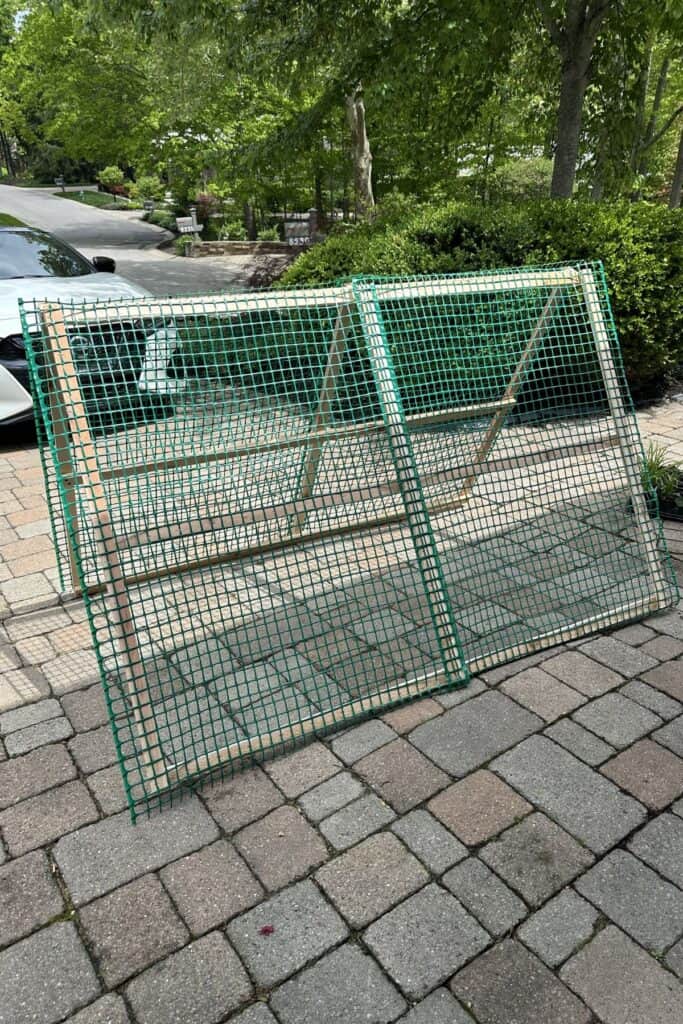
Step 1 – cut the wood
I took three of the 1X2′ and cut them in half so they were each 4 feet long and laid them out on my driveway.
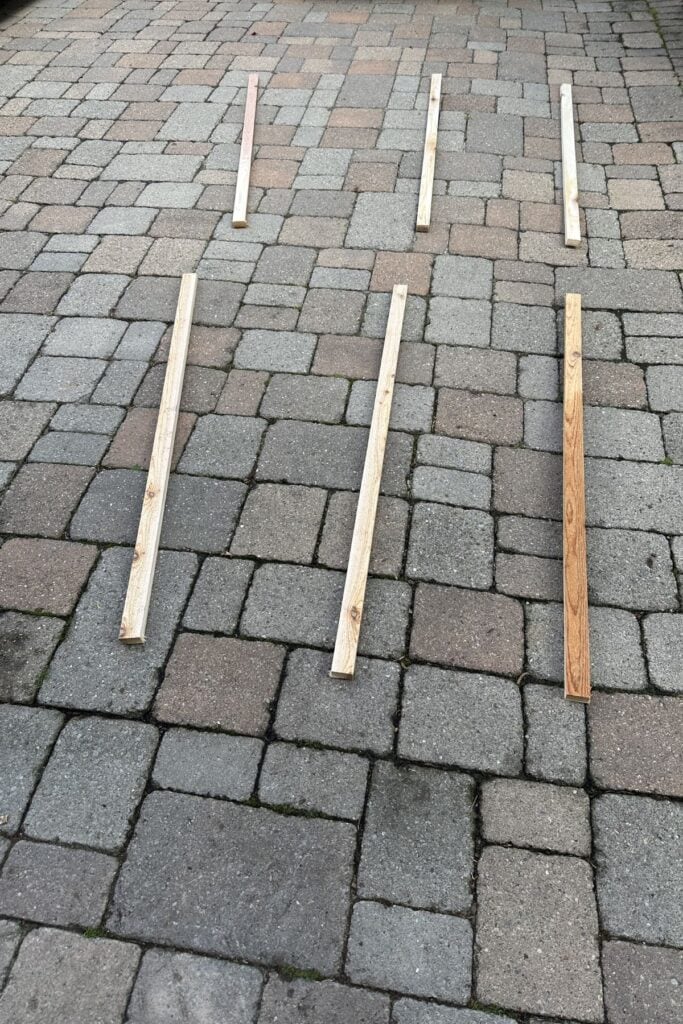
I cut the other 6 1X2’s to 6 feet in length and laid them on top of the other pieces.
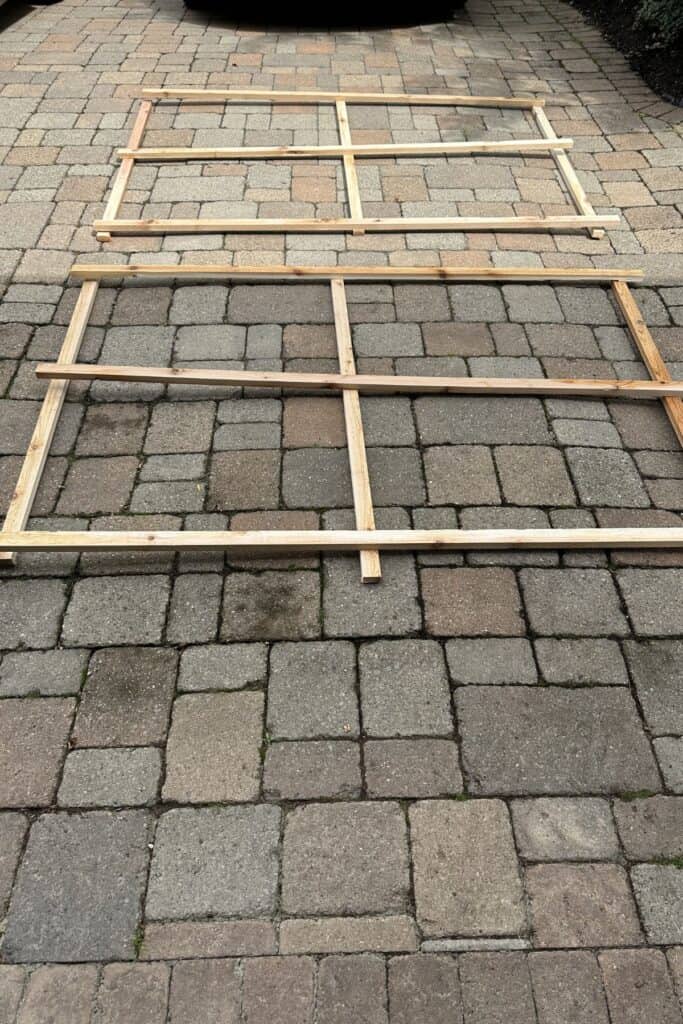
Step 2 – Screw Boards Together
Now I used 1 5/8 screws and my drill to connect everything. I put 2 screws in each connection.

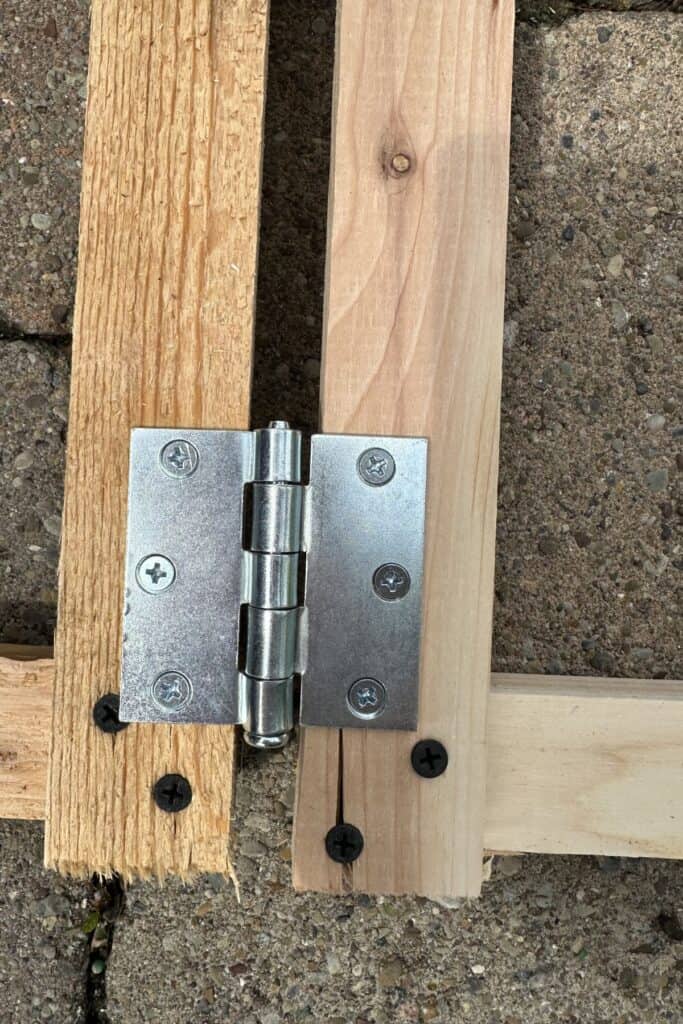
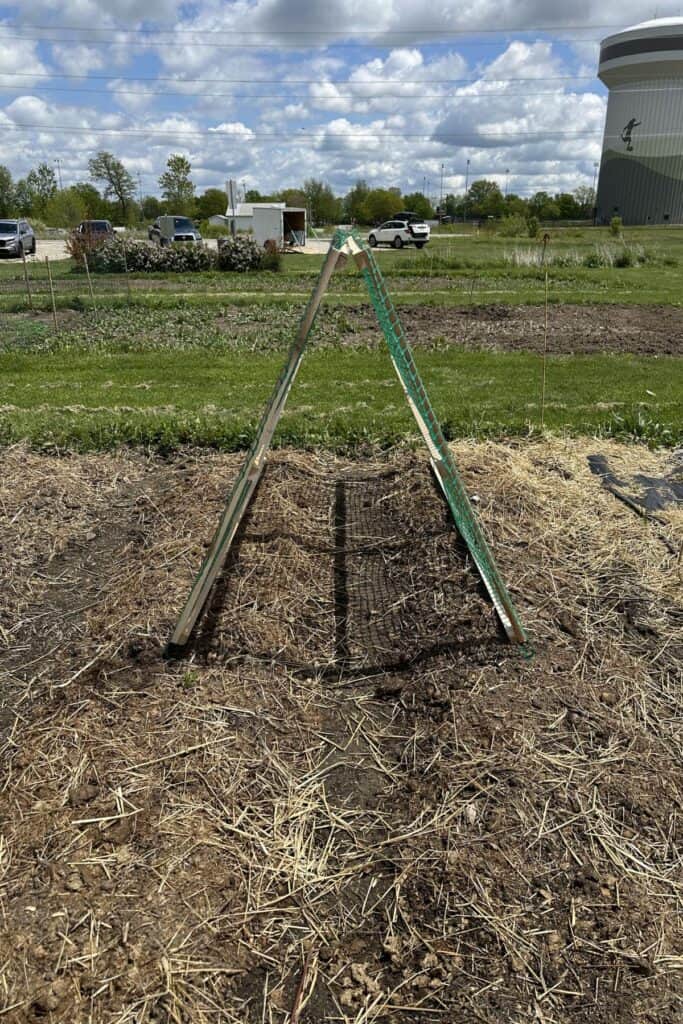
Step 3 – Add Hinges
I want this to be an A-frame that I can easily fold up and store in my garage during the winter, so I added hinges to the tops. I used three sets of hinges because the trellis is 6 feet wide. If you are making yours shorter or wider, you might need to adjust that number.
Would you like to save this?
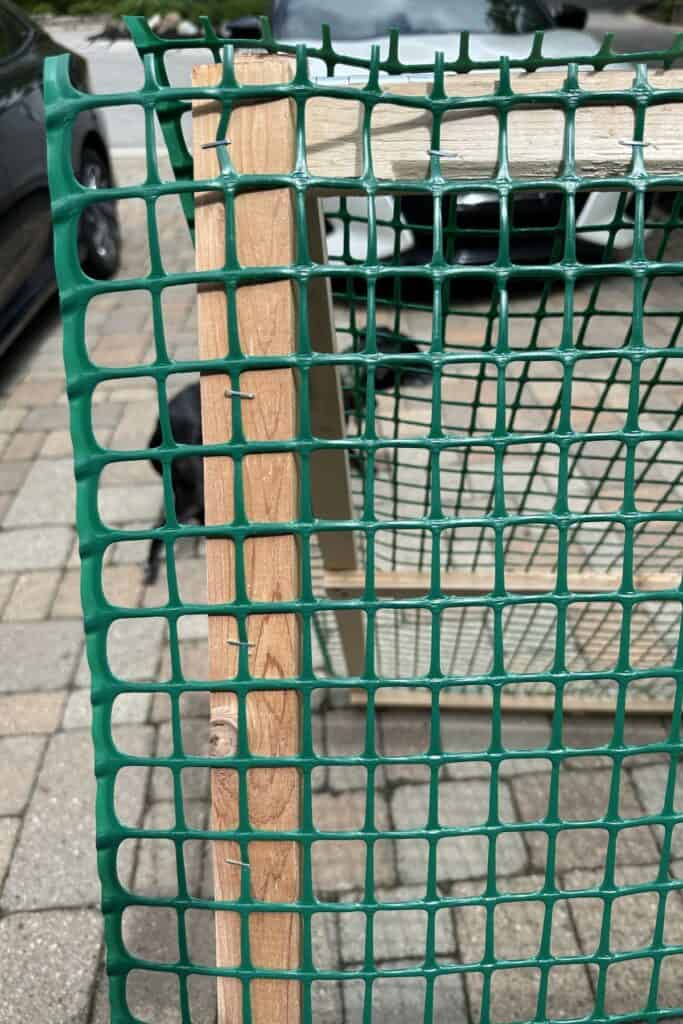
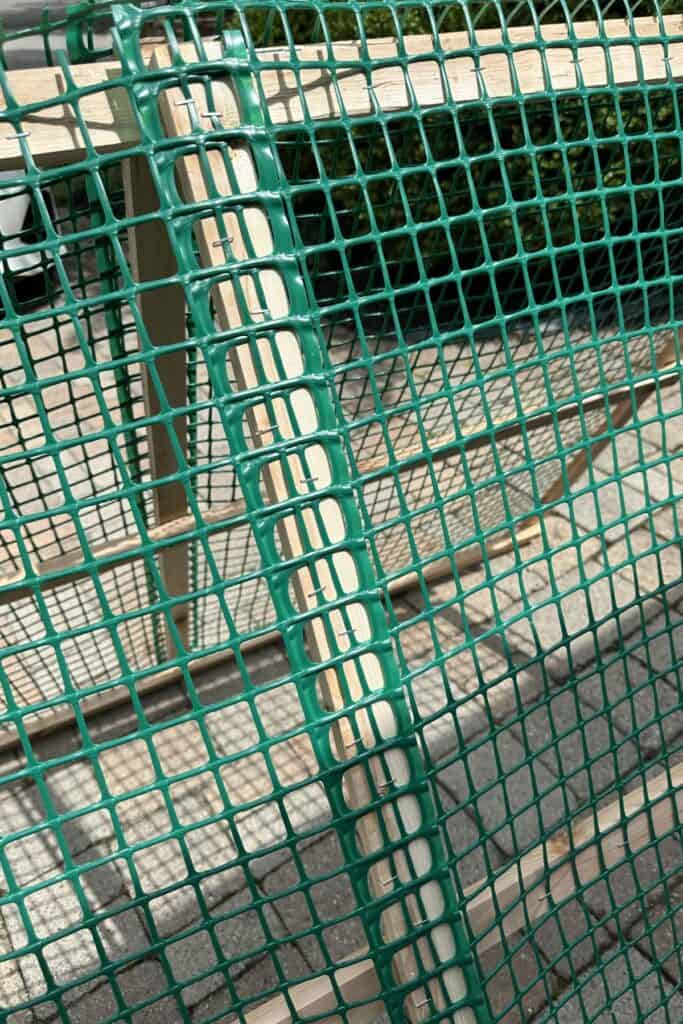
Step 4 – Attach the Fencing
Now I added the fencing to the wood, securing it to the wood with staples. It does overlap a tad in the middle, but I am okay with that.
The fencing I purchased was easy to cut with scissors.
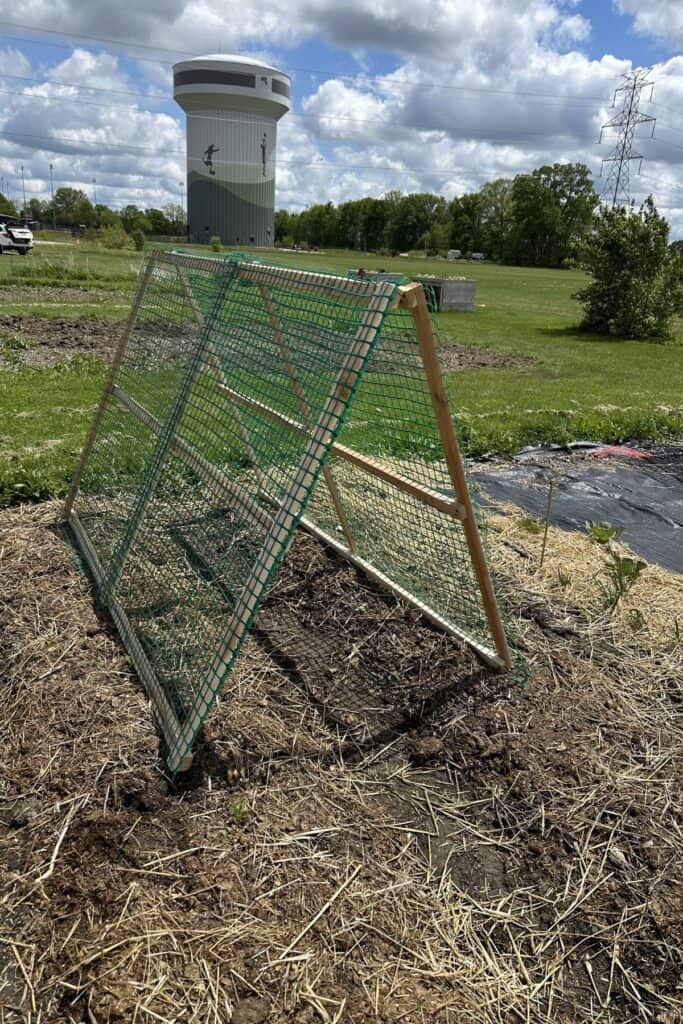
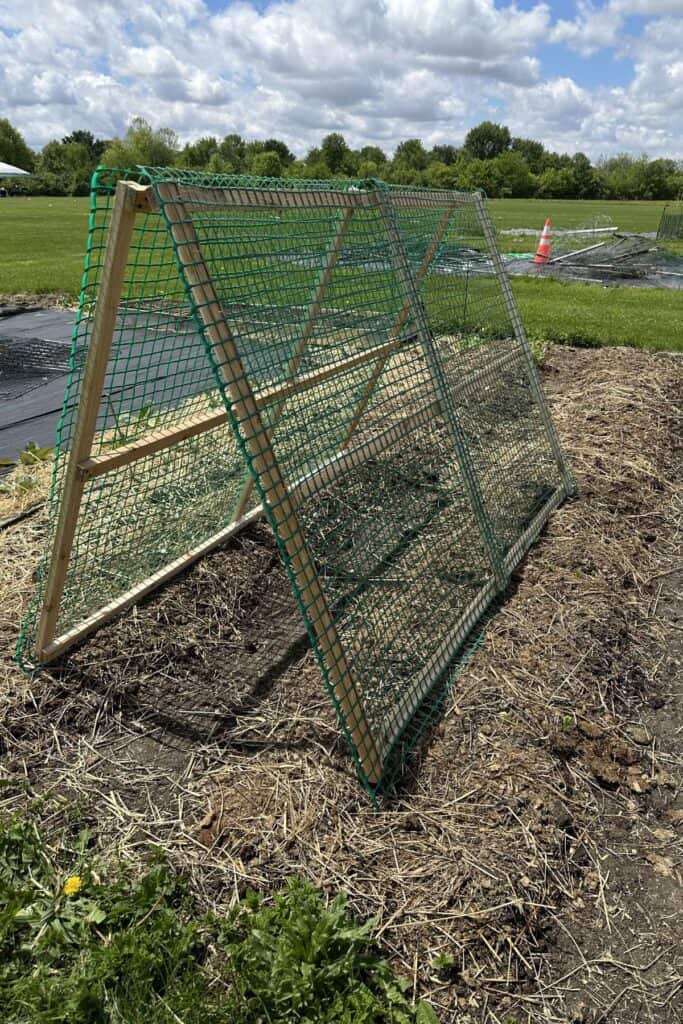
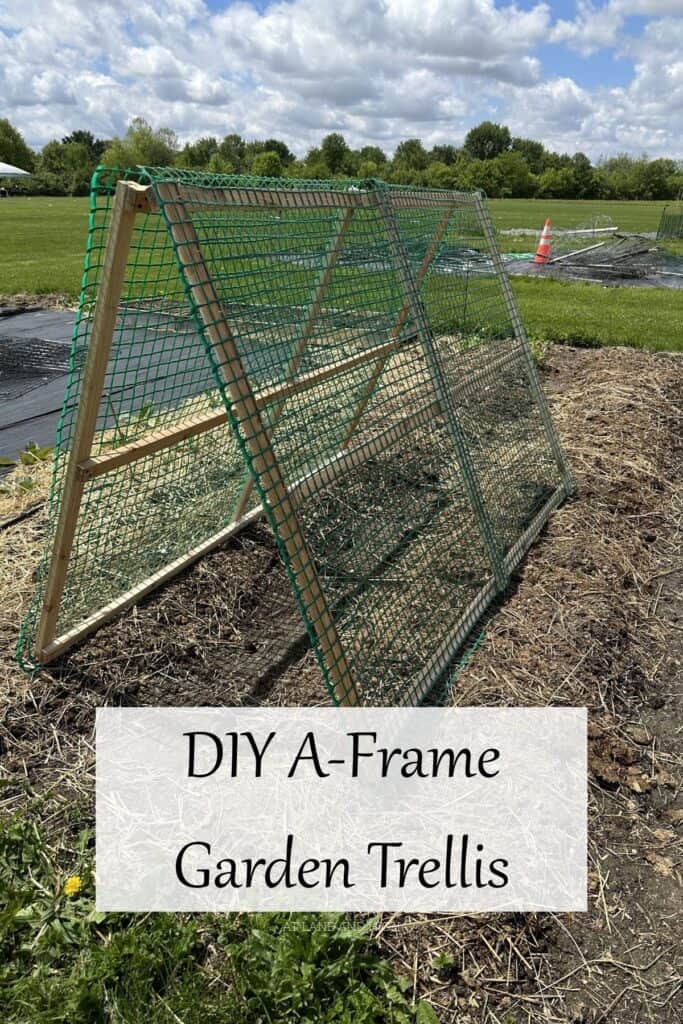
Final A Frame Trellis for the Garden
Here is the final product! I mean, this one couldn’t have been easier, and I love how it looks. Now I just need to plant my seeds and get some veggies growing!
Other DIY Posts You Might Like:
- Get the Look for Less (Restoration Hardware Dining Chairs)
- How to Recover an Ottoman with Tufting
- DIY Wood Headboard
- Antique Vanity Makeover Using Marble Contact Paper
- DIY Herringbone Headboard (and New Bedding)
- DIY Built-Ins Using Big Box Store Cabinets
- 48 Cheap and Easy DIY Outdoor Furniture Ideas


As a licensed Real Estate Agent and an avid home decorator, I strive to give my clients the very best I can when it comes to staging, selling, and decorating their homes. I have lots of experience with paint color choices and love to DIY my home so I can have everything just the way I want it. I share my ideas and projects with the world in the hopes that I can help others have their homes just the way they want as well.