
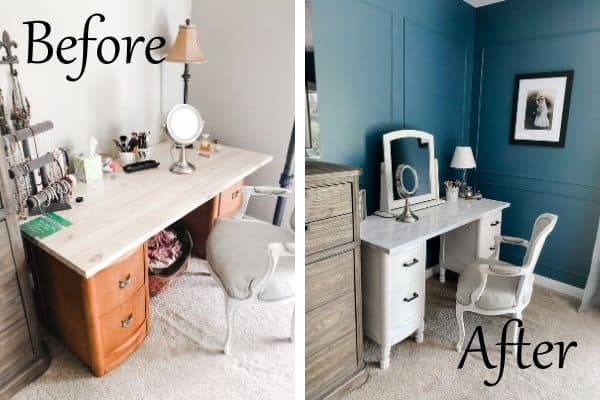
Antique Vanity Makeover Using Marble Contact Paper
This antique vanity makeover is one of my favorite projects I have done. I used paint and marble contact paper to take what was once an antique vanity and turned it into a beautiful, functional vanity for modern use.
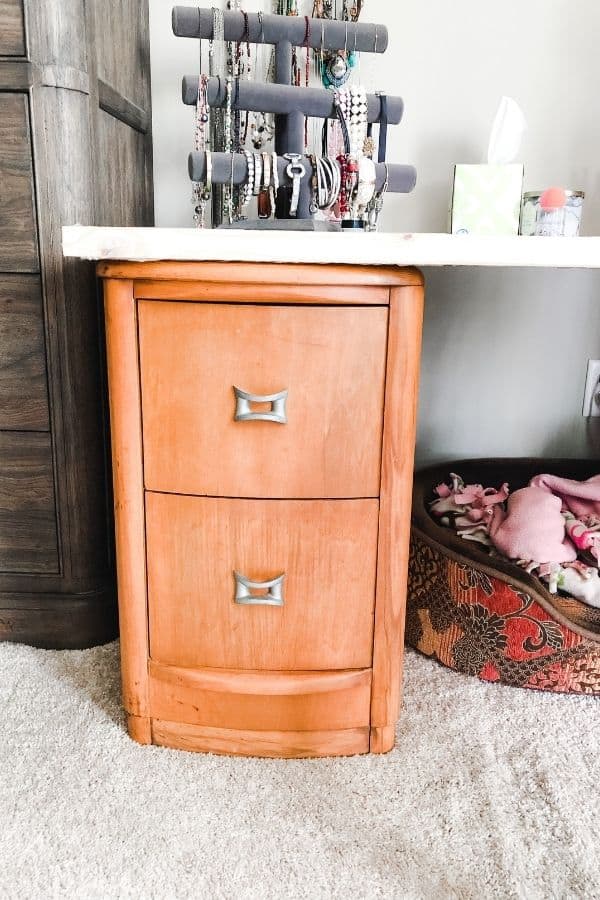
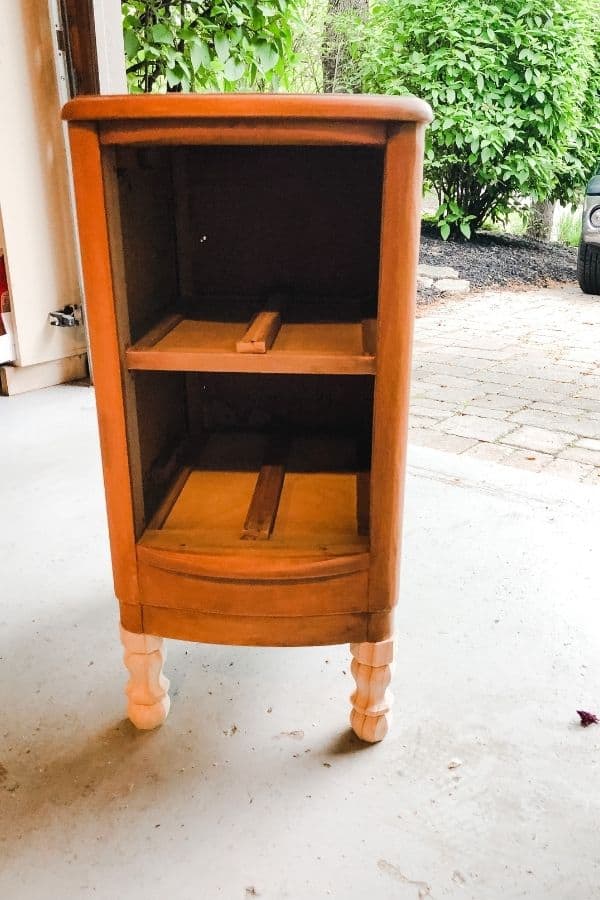
This piece of furniture was handed down to us from my husband’s grandparents. At one point in history, it was a vanity but had been taken apart and turned into nightstands.
Someone had removed the connecting piece from the back and the feet. My husband and I used these as nightstands when we first got married, then passed them down to my daughter. Eventually, I decided to turn it back into a vanity.
*This post contains affiliate links. For more details see my full disclosure.
Antique Vanity Makeover
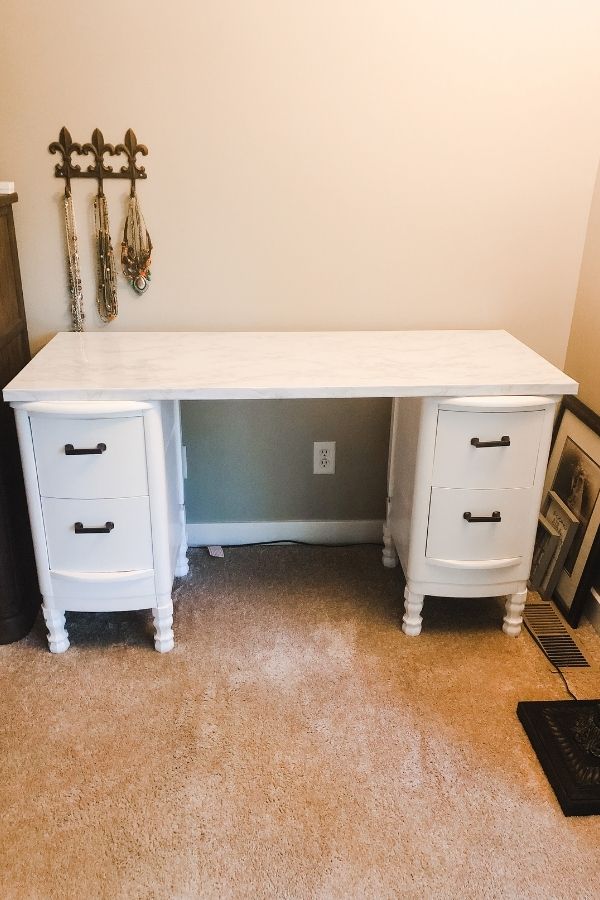
I had these two identical “nightstands” but I needed a top. There are a lot of things you can use that would work as a top. I chose this piece of pine that is 3×6 feet and about 1 inch deep from Menards. It did need to be cut down a bit to fit the space.
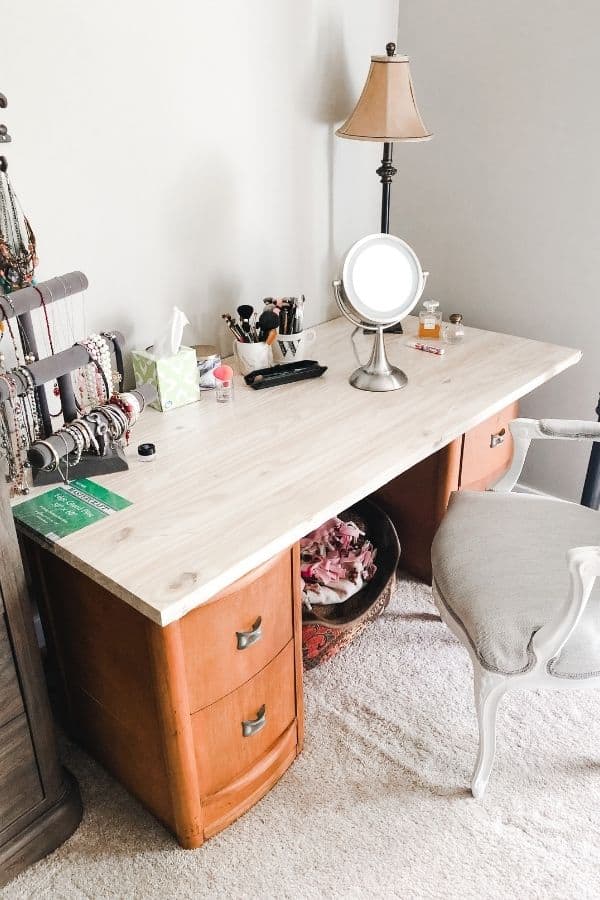
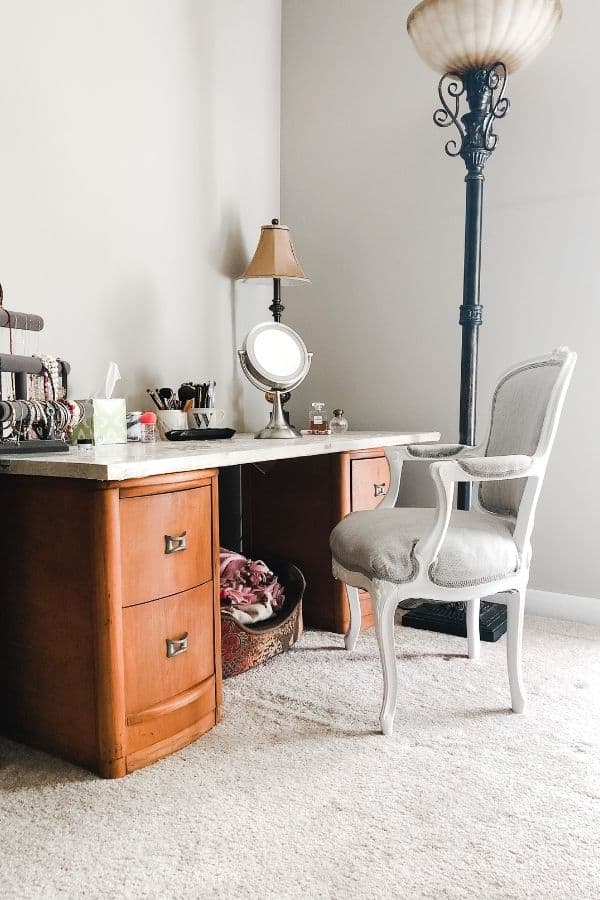
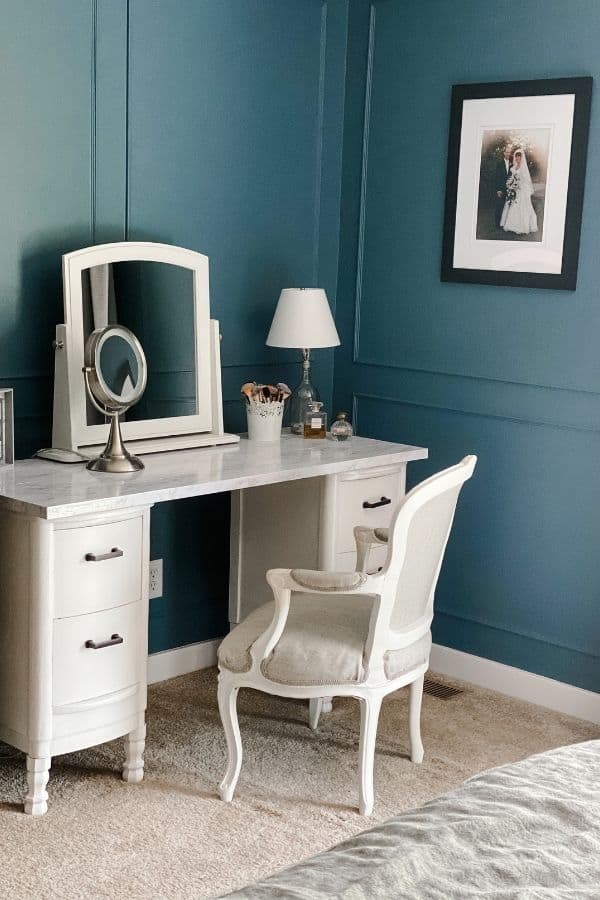
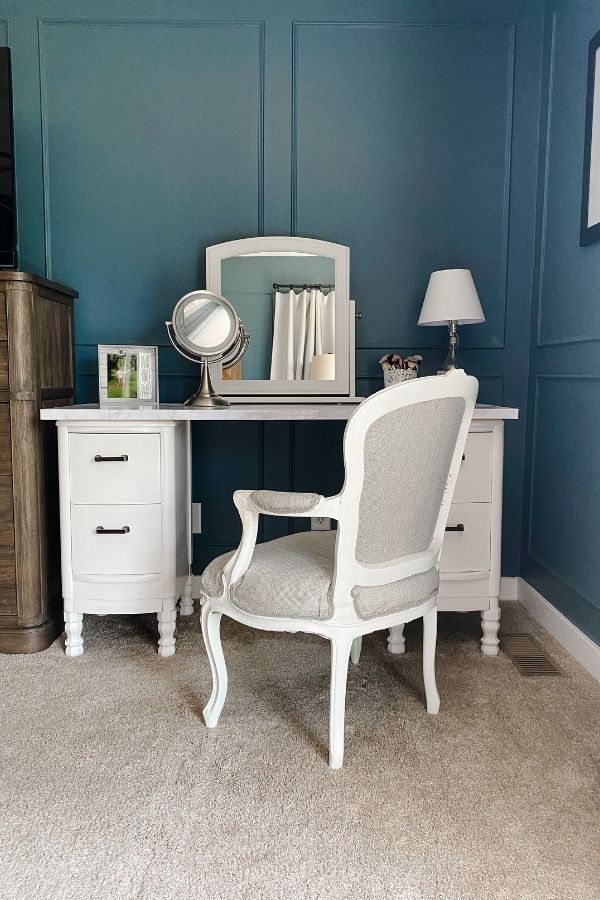
As you can see from the photo below, there isn’t a lot of leg room between the chair and the table top.
The Prep Work
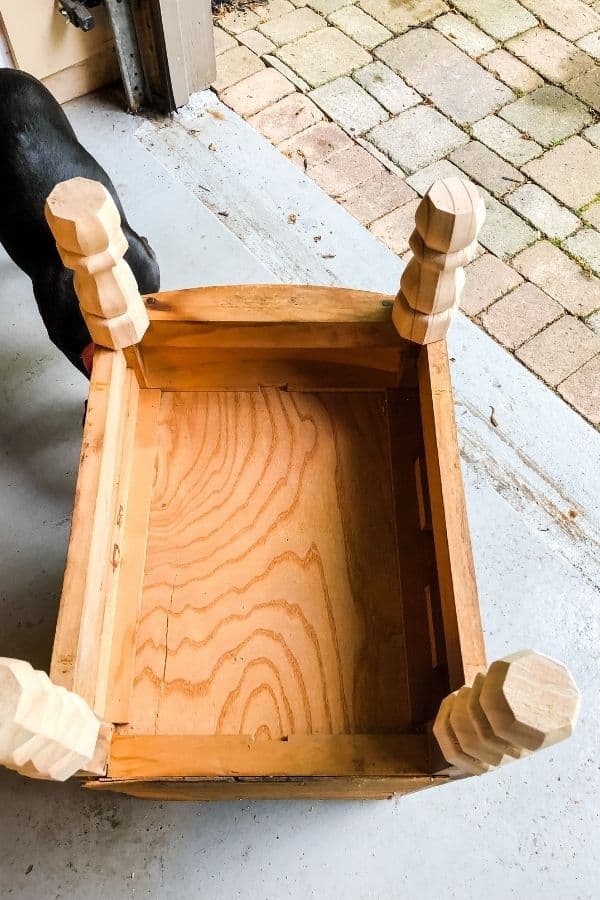
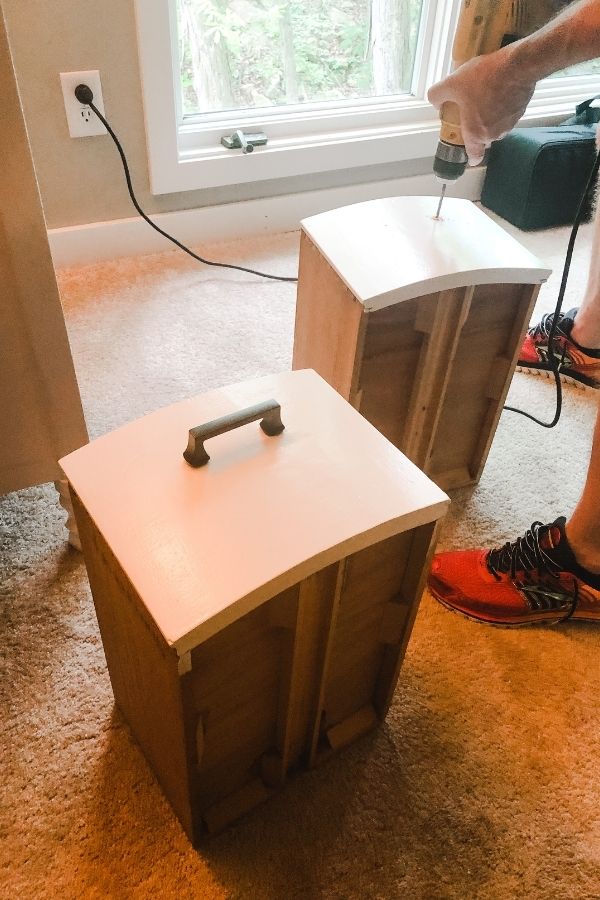
I picked up these feet from Home Depot. They have a screw so I drilled a pilot hole in the bottom of the piece of furniture and screwed it in.

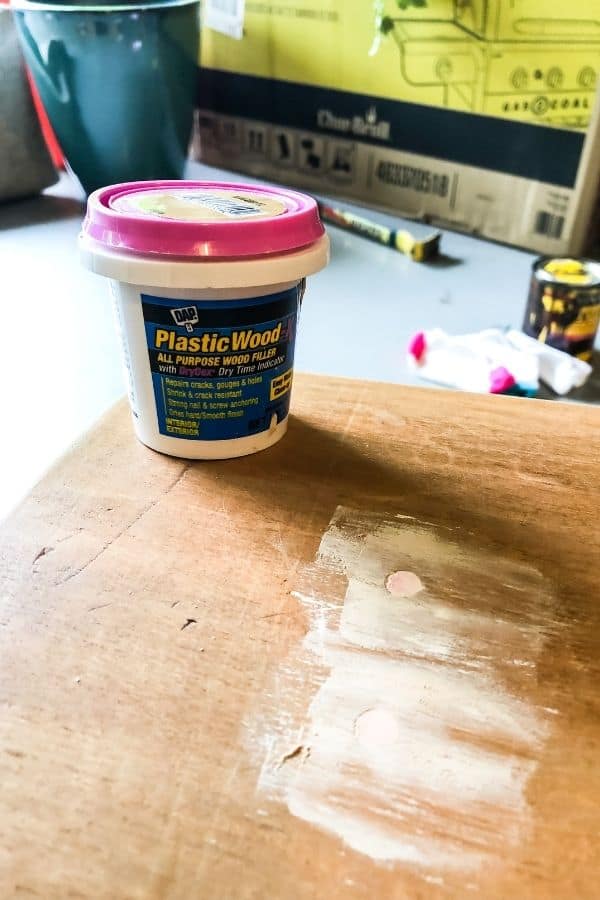
I didn’t really like the drawer pulls so I put wood putty into the holes to fill them.
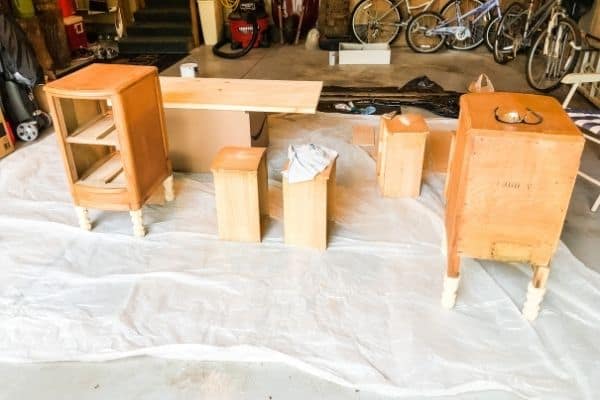
Give everything a good sanding in preparation for paint.
Adding Contact Paper to the Top
After giving everything a good sanding I primed everything then added two coats of white paint. I did paint the top as well even though I planned on putting the contact paper on it. I had a concern that the wood could show through the contact paper.
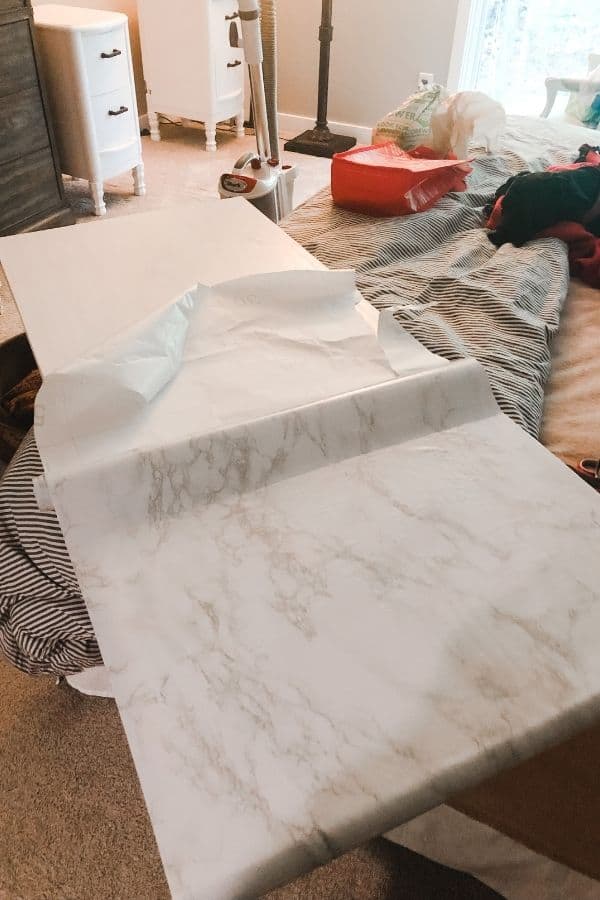
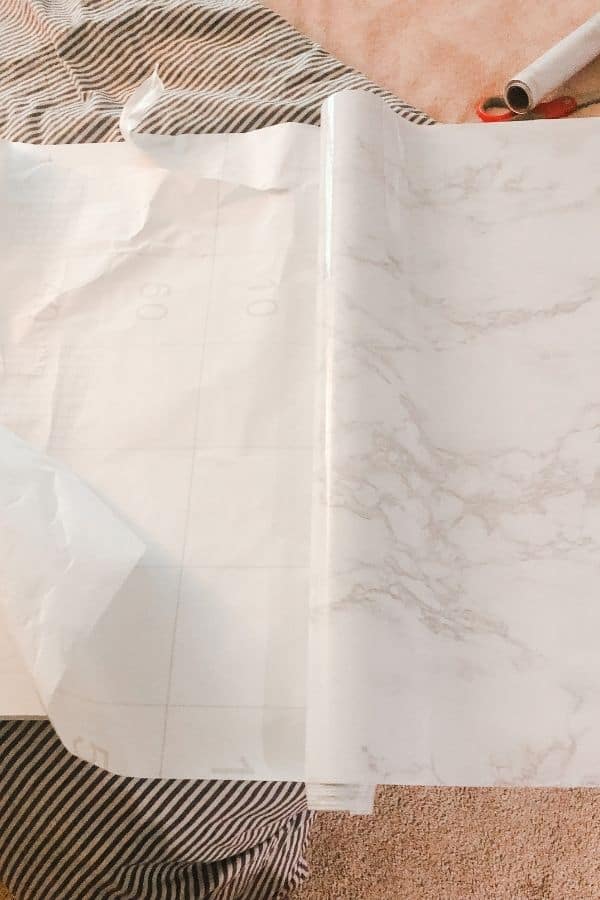
This marble contact paper is from Amazon and I used just about all of it. I made sure that the paper covered the front and went all the way to the back.
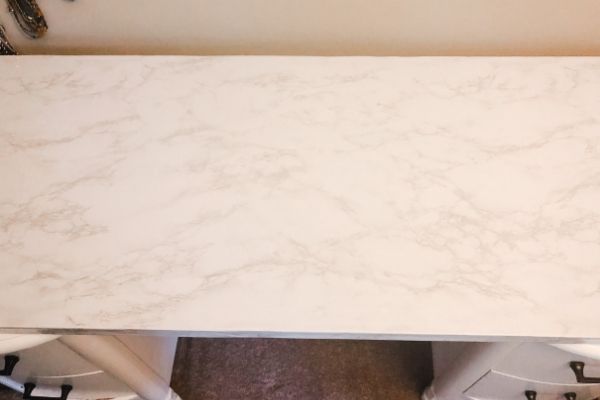
Starting on one end, lay down the contact paper and smooth out all the air bubbles while you pull the backing off. Work your way all the way down, slowly, continuing to remove the air bubbles. Once the top is done fold the contact paper over and secure the front and sides.
Would you like to save this?
Finishing Touches
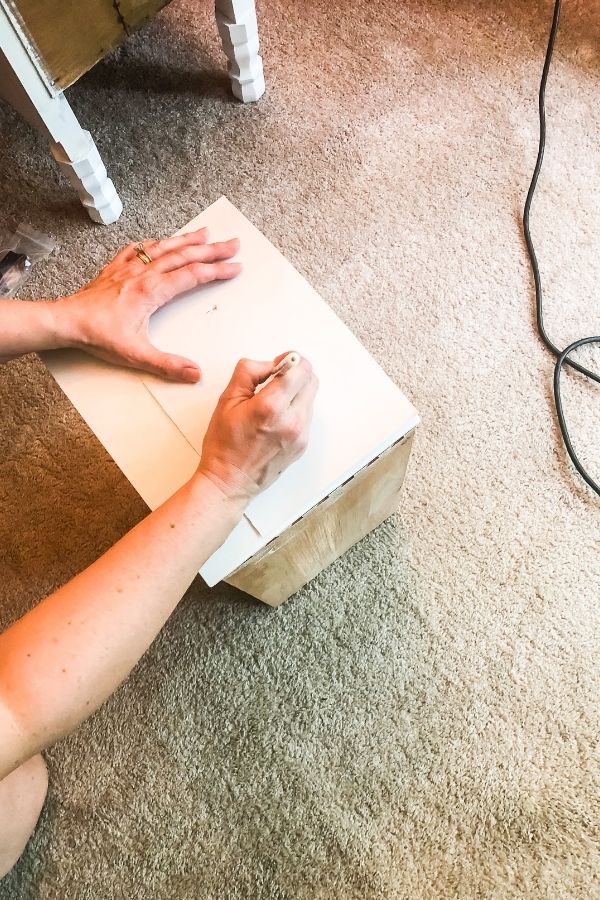
I made a template for the drawer pulls out of cardboard so each drawer would have pulls in exactly the same spot. I marked where the holes will be and then had my husband drill the new holes.
Here we go! The drawers are all done and the top is as well. I made a few changes with how I arranged everything on top. I also did some changes with the room as you will see in the finish pictures.
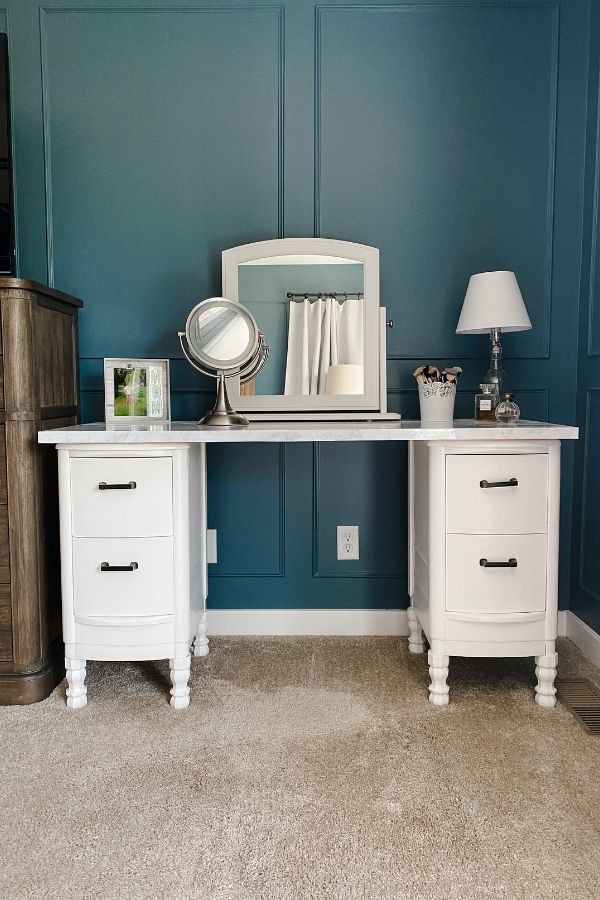
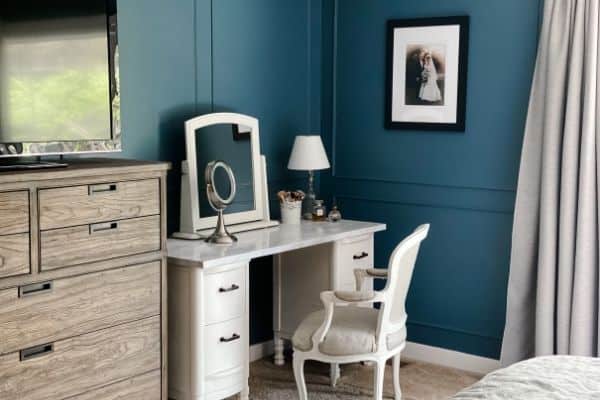
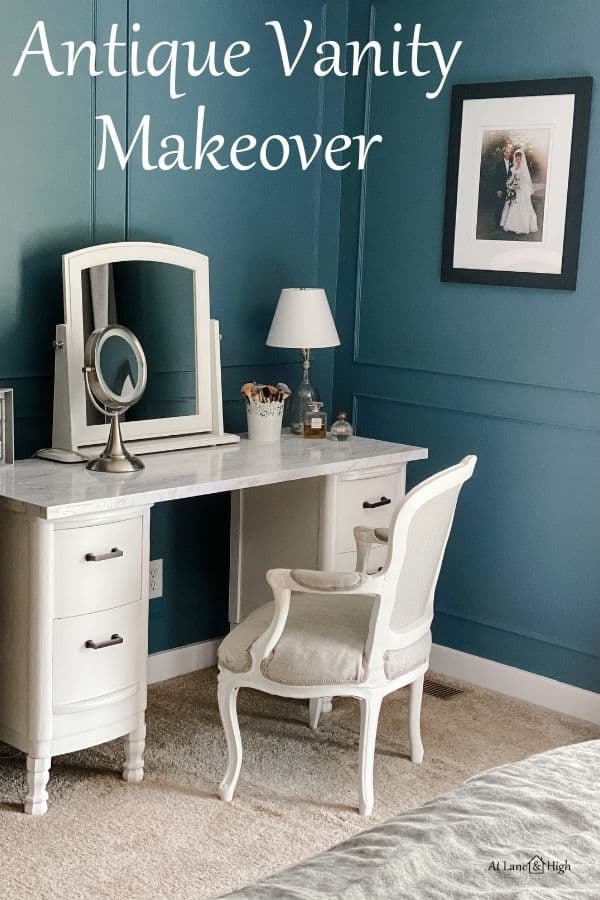
Antique Vanity Makeover – The finished product
I adore the finished product, especially how the white pops off the smokey blue walls. I love the size of this as well as the deep drawers. This vanity holds an amazing amount of stuff.
This larger mirror came from IKEA. The lamp is a DIY project made from a bottle of bourbon, a light kit from Amazon and a lamp shade from Amazon. (My husband is in the liquor business so I thought this would be a fun DIY for our home.)
Other DIY Projects in this room:
DIY Picture Frame Molding on the Walls
DIY Herringbone Headboard (and New Bedding)
I borrowed this blanket ladder from my guest room until the weather warms up and I can built one of my own.
This room is 90% done. I am waiting on some lamps to come back into stock. They are white and have USB ports in them which I am super excited about. I am so sick of cords being all over the floor by my nightstands!
The paint color I used in this room is Sherwin Williams Smokey Blue.

I am so please with my antique vanity makeover. I love all the room I have and the storage. It just goes to show that you can take a piece of furniture and upcycle it to make it work for you!

As a licensed Real Estate Agent and an avid home decorator, I strive to give my clients the very best I can when it comes to staging, selling, and decorating their homes. I have lots of experience with paint color choices and love to DIY my home so I can have everything just the way I want it. I share my ideas and projects with the world in the hopes that I can help others have their homes just the way they want as well.


A really good job on the upcycle of your furniture!!!
I am impressed how nice it turned. I will never look
at an old nightstand the same way again. Thanks!