DIY Picture Frame Molding on the Walls
DIY Picture Frame Molding is a great way to add interest to your walls without having to add a ton of artwork.
I am sharing all the steps I did to create this fun and easy wall treatment so you can do it in your home!
I think a lot of people love this look but think there is no way they could create it in their home and that’s just not true! To be honest the hardest part of this project was sourcing enough of the wood to finish the whole room.
Yes, I won’t lie there is math involved but it’s simple math. I promise!
*This post contains affiliate links. For more details see my full disclosure.
DIY Picture Frame Molding
In this project the most important part is the prep work.
Materials:
- Molding – This is the exact one I used. I loved the size of this one in particular.
- Caulk – This is the best caulk for painting projects.
- Wood Putty
- Primer – I use this one for all my furniture projects.
- Paint
- pencil
Tools:
- Nail Gun – I love this package! I use it all the time, definitely one of the best products I have bought for DIY projects.
- Nails
- Miter Saw – I recently bought a new sliding compound miter saw and I couldn’t love it more!
- Tape Measure – Make sure you get one that measures 25 feet.
- Level – This one is great for large projects. For smaller ones, I use an app on my phone.
- Yard Stick – The one I have is 5 feet long, this one is much easier to handle.
Decide the Size of Boxes
The first step in designing your room is figuring out how many boxes you want and how big they will be. Yep, time for the math part.
First measure your wall.
Then decide how many inches you want in between your boxes. I recommend between 3-5 inches. I decided to split the difference and go with 4 inches.
Think about how many boxes you want on the wall. It’s completely up to you. I started with my biggest wall and figured I would go with either 4 or 5 boxes. Here is the math for each scenario.
My wall is 181.5 inches wide. For 5 boxes I will have 6 spacers in between the boxes and the corners of the wall at 4 inches each. The spacers will total 24 inches.
181.5 (total inches) – 24 (for the spacers) = 157.5 (total inches for the boxes)
157.5 / 5 (boxes) = 31.5. Each box will be 31.5 inches wide.
If we do the calculations for 4 boxes on the wall we will have 5 spacers at 4 inches each and that is a total of 20 inches. Let’s do the math.
181.5 (total inches) – 20 (for the spacers) = 161.5 (total inches for the boxes)
161.5 / 4 (boxes) = 40.375. Each box will be 40.375 inches wide.
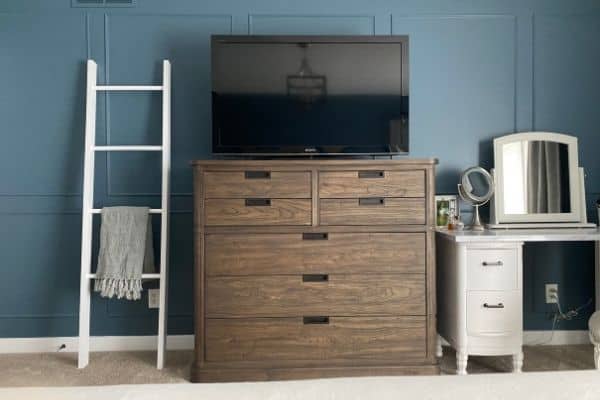
In the end I decided to go with 5 boxes mostly because I love symmetry. So I will have my tv centered on the middle box and two boxes on either side.
I also was considering the wall opposite, the headboard wall which is my second largest wall. That wall has a corner window so if I do 5 boxes on the tv wall I can do 4 boxes on the headboard wall and they will be almost the exact same size boxes and will have the feel of mirroring each other. The window will be about the size of that fifth box so it just seemed to work together perfectly.
Do the boxes on every wall have to be the exact same size?
Absolutely not! The walls around the room are not the same size so there is no way the boxes will be about to be the same size.
For example, I have a wall between the door to the room and the door to the closet and it is 38 inches wide. So if you take off the 4 inch buffer on each side you are left with 30 inches.
The space between the closet door and the corner of the wall is 29 inches wide. Taking off the 4-inch buffer on each side you are left with a 21-inch box and that’s okay!
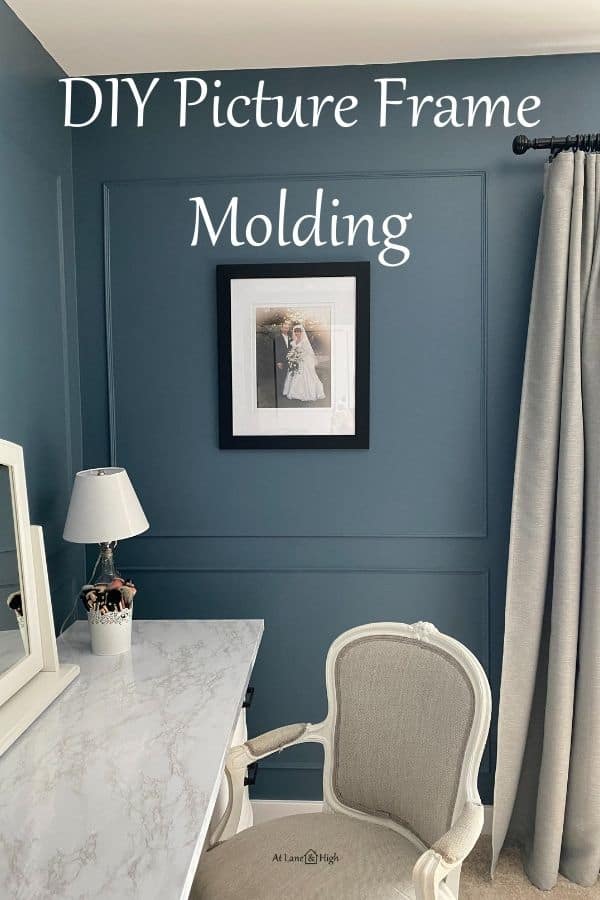
The space between the corner of one wall and the window was 64 inches. If you take off the 4 inches on each side you are left with a 56 inch box. I could have done two smaller boxes here but I decided to go with one big one and hang my wedding picture there. I love the way it looks.
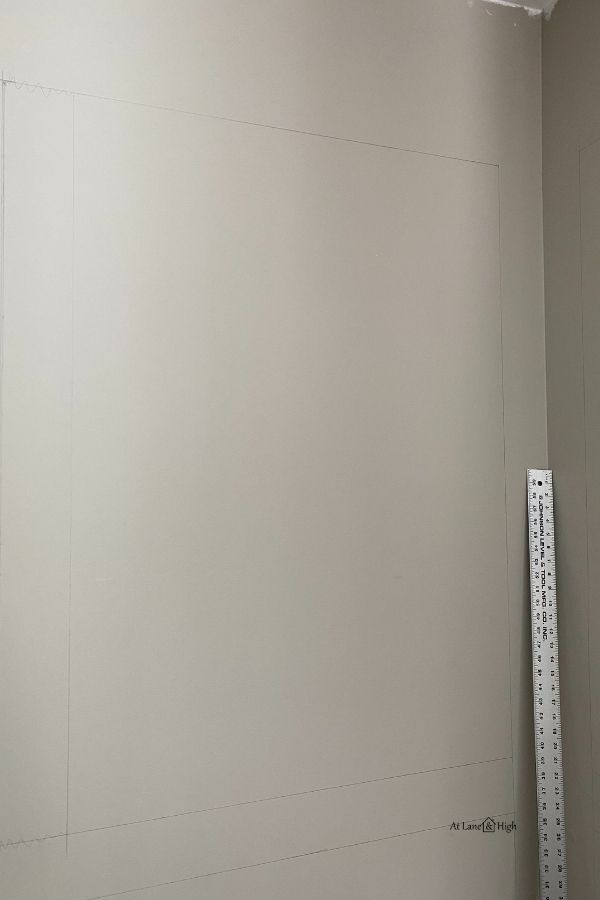
Draw your Boxes on the Wall
This might seem like an extra unnecessary step but I felt it was super important for me to visualize what it will look like. Another reason is when I go to apply the wood I just need to follow the lines, no need for extra leveling.
So I have my box sizes and I decided to have the top of the boxes line up with the top of the door molding. That way there is a visual line that extends all around the room.
I also made this decision because I plan to put a sliding barn door to the closet in the future and if there was molding there it would be hard to hang the hardware.
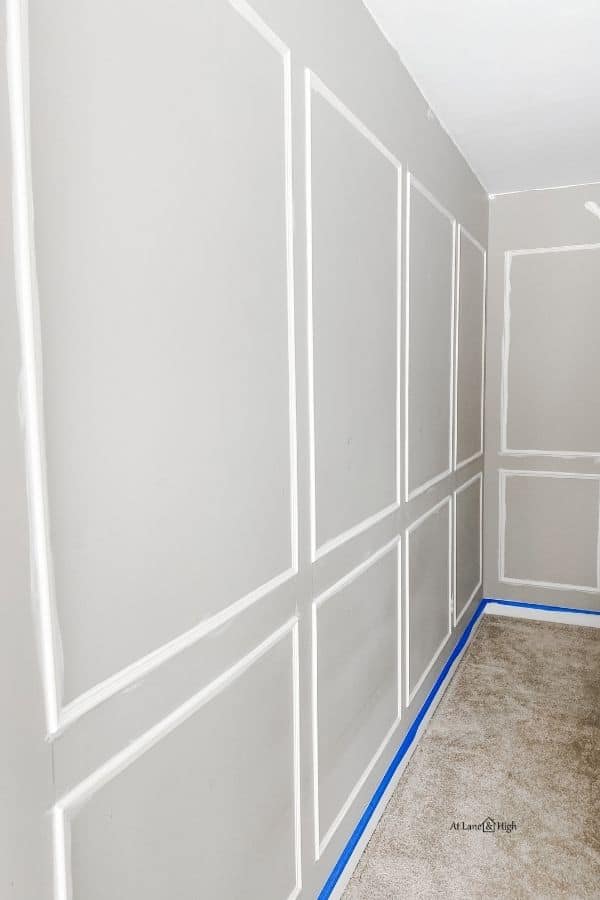
Take a pencil, a yardstick, and a level and draw out all the boxes on the wall. I made some mistakes as you will see (the squiggly lines) but in the end, I loved the placement of everything and I have it all ready to install the wood.
Cut and Attach the Picture Frame Molding
You have the measurements of the boxes so cut the wood.
Would you like to save this?
Align with your pencil mark and (just to be sure) hold your level up and double-check to make sure it’s level.
Using your nail gun attach to the wall.
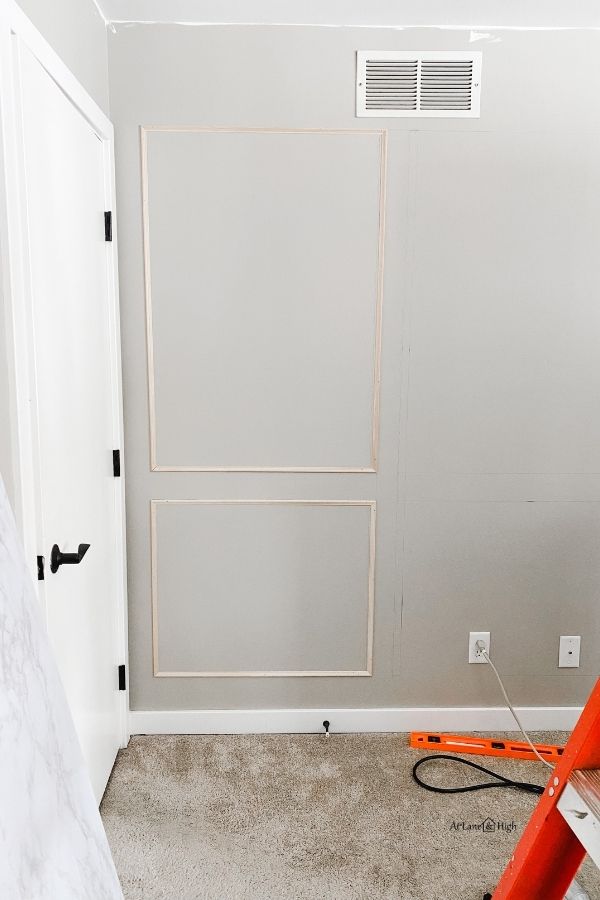
At this point, it’s just rinse and repeat. It takes time so just go slow and be patient. I found that as I got going I got faster.
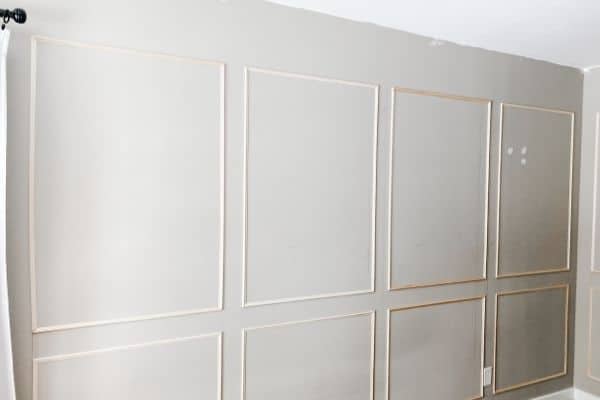
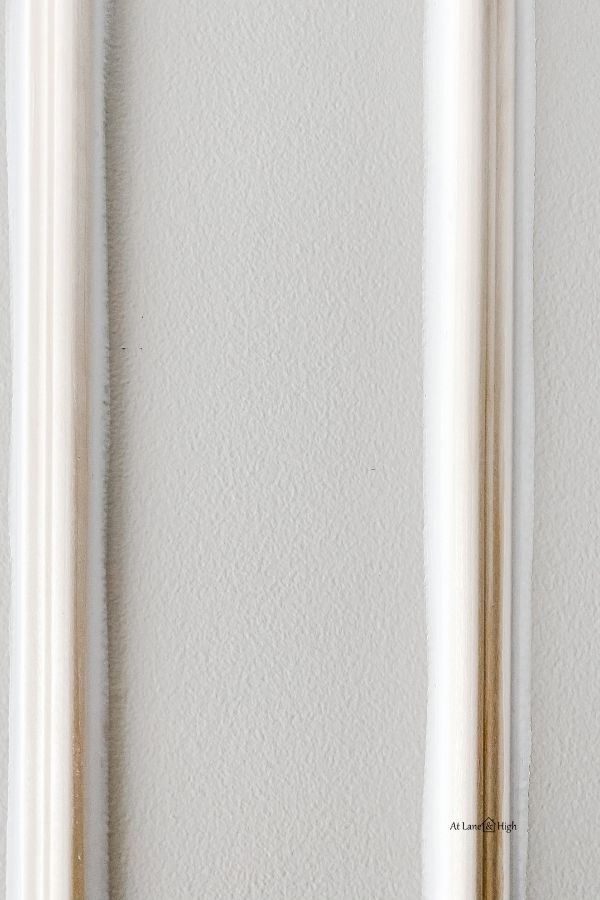
Caulk and wood putty
Once you have all your wood on the wall it’s time to wood putty all the nail holes and caulk wherever the wood meets the wall. This hides any imperfections between the wood and the wall.
At this point you also want to spackle any holes in your drywall.
Prime and Paint
You definitely want to put a coat of primer on the wood to prep it for paint. Here is the primer I like to use.
Once the primer is dry (it dries really fast) it’s time to paint.
Our room went through quite a paint story. I originally planned to paint the walls Pure White by Sherwin Williams, even bought the paint.
Then my husband said that since the rest of the first floor is going to go a light color maybe we should go with more color in the bedroom.
I make most of the design decisions in the house but when he speaks up with his opinion I try really hard to listen and I thought his idea had some real merit.
Instead of going with a little color I decided to go bold with something a little more dark and moody. The color I chose was Smokey Blue by Sherwin Williams.
I was helping a friend choose paint colors for her new finished basement and this is one of the colors I pulled for her to look at it. The more we looked at it the more I fell in love with it!
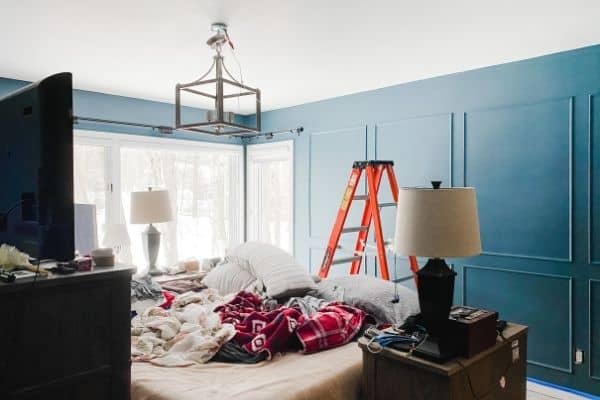
This room gets really good natural light, especially in the winter when there are no leaves on our trees. Because of this (and the addition of a new ceiling light) I felt the space would still be light and airy instead of the cave that it was before and I wasn’t wrong. All I need to do is open the curtains in the morning and I can see really well.
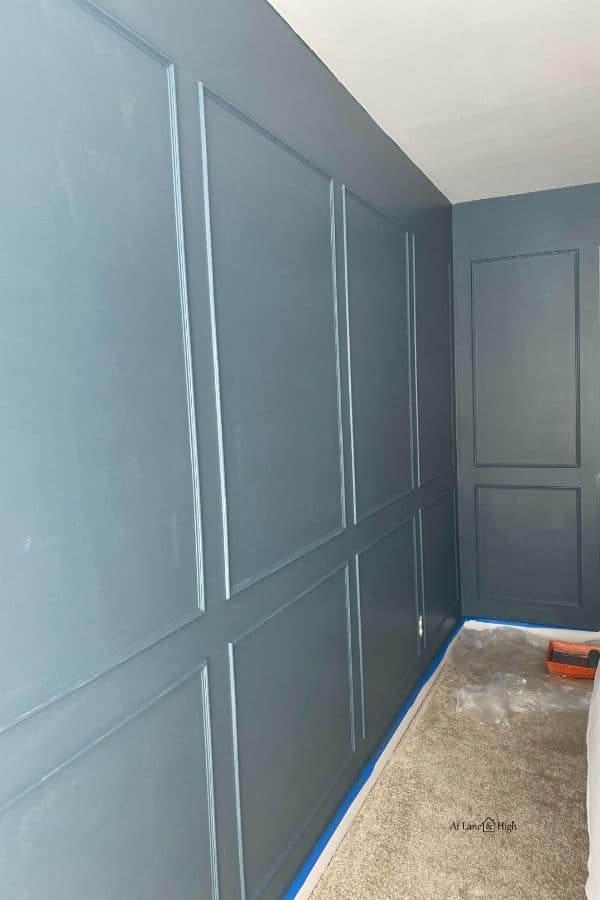
This is how it looked after one coat of paint. I just love Sherwin Williams paint, it has such good coverage! I had to do two coats of paint but the first one has such good coverage.
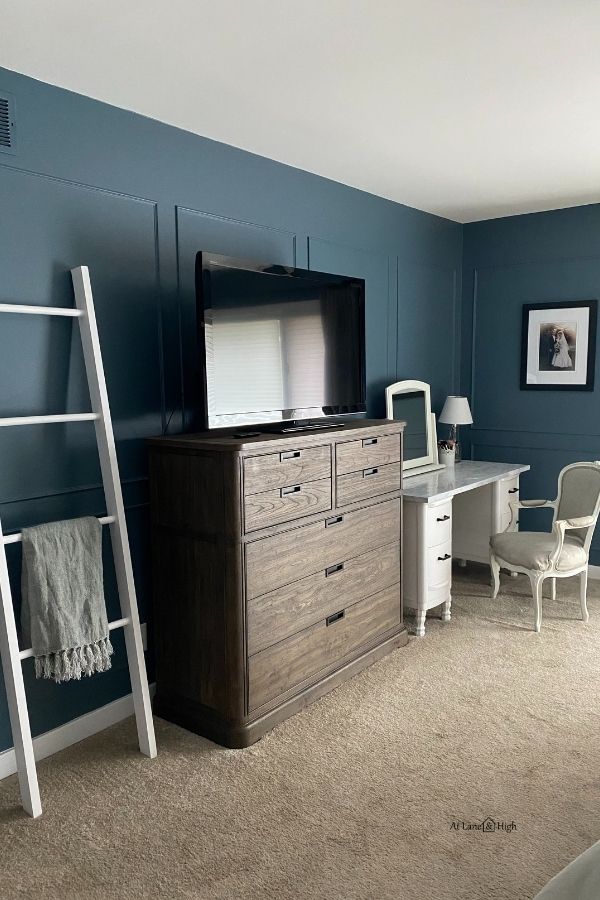
The Finished Picture Frame Molding
I am so happy with how this turned out. My husband said he didn’t care all that much about doing this project but now that it’s done he is really in love with the molding on the walls.

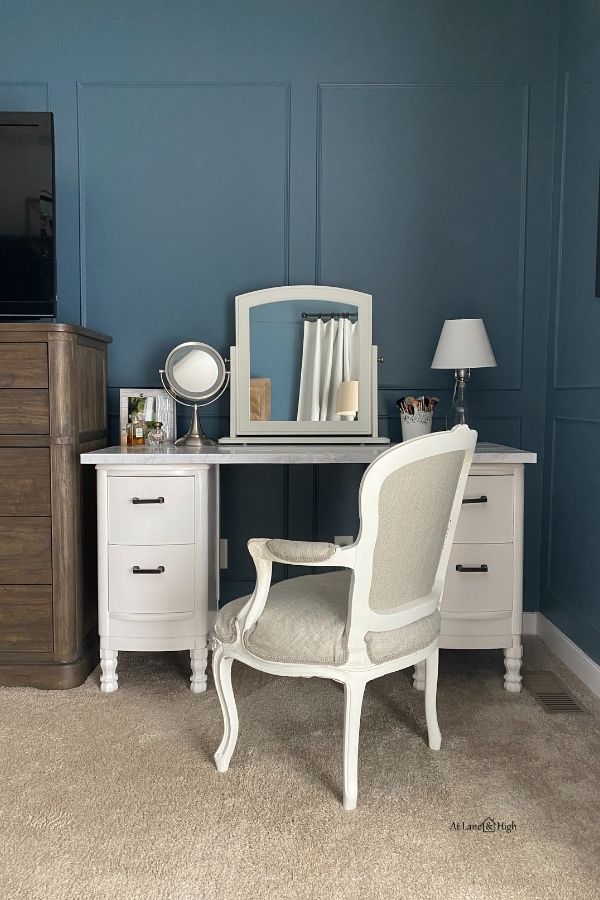
This project ads so much interest to the room. If I had just painted the walls the dark color it would look good but it is so much more special now!
This project took more time than money. I probably worked on it for about a week and it cost about $150. I wish I had saved my receipts so I could give you an exact total.
If you want to add a chair rail between the top and bottom boxes you can do that. It will add more $$ to this project and has more of a traditional look. For both these reasons, I decided to not add the chair rail.
Other Wall Treatment Ideas:
- How to Create a Focal Wall with a Herringbone Stencil
- 13 Low-Budget Ceiling Ideas That Make a Huge Impact
- How to Inexpensively Create a Reclaimed Wood Wall
- DIY Board and Batten
- DIY Board and Batten Box Molding in a Stairwell
- How to Inexpensively Install Shiplap for a Farmhouse Look

I hope you like my DIY Picture Frame Molding. It’s a classic design that is an easy project and adds a ton of character to a room.

As a licensed Real Estate Agent and an avid home decorator, I strive to give my clients the very best I can when it comes to staging, selling, and decorating their homes. I have lots of experience with paint color choices and love to DIY my home so I can have everything just the way I want it. I share my ideas and projects with the world in the hopes that I can help others have their homes just the way they want as well.