
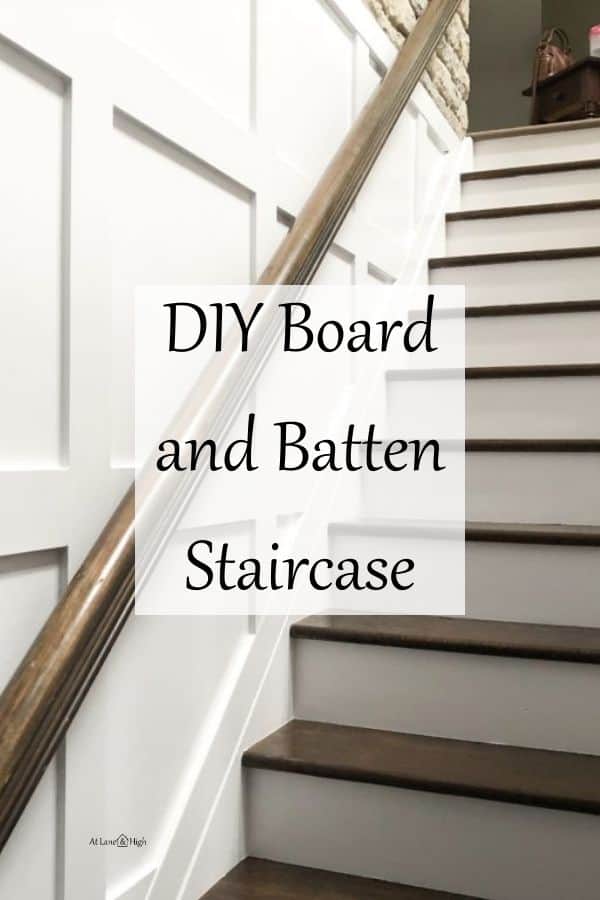
DIY Board and Batten Staircase
Today I am sharing all the steps on how to DIY board and batten in a staircase to increase the style in your home as well as the value.
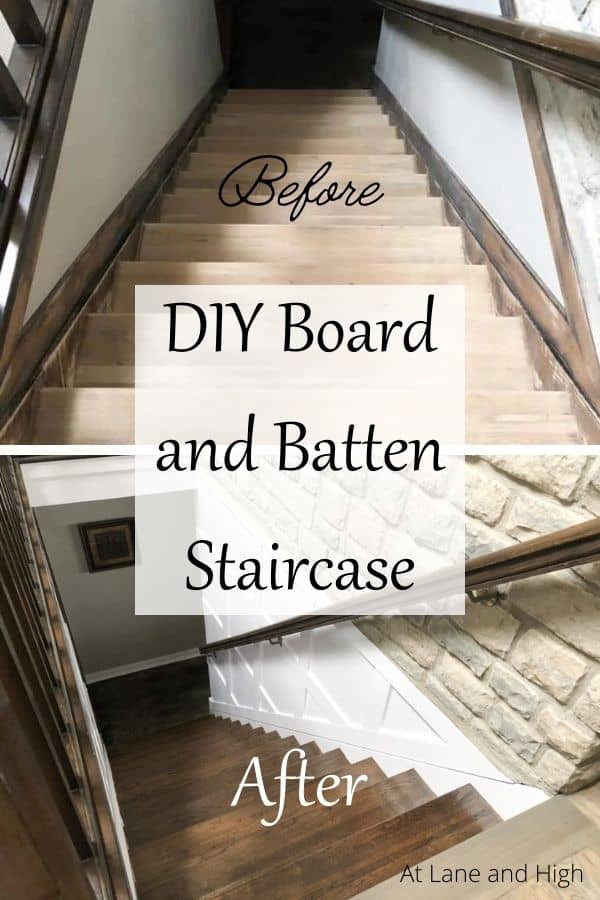
Board and Batten can be used to create a box shape, also known as box molding, on the wall to add interest and architectural detail. I love seeing this kind of detail board and batten in stairwells, and I am thrilled with how this turned out!
The refinished stained stairs turned out great but once I added the box molding and painted the walls and risers, that’s when the magic happened! The staircase wasn’t dark and scary anymore.
*This post contains affiliate links, see full disclosure for details.
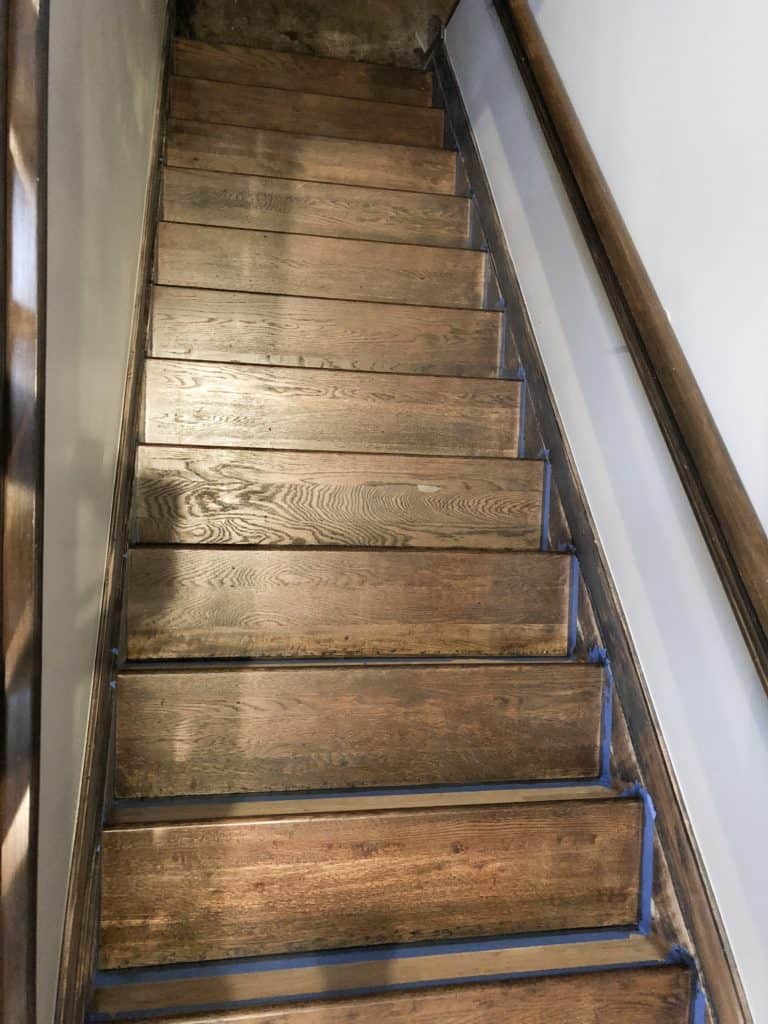
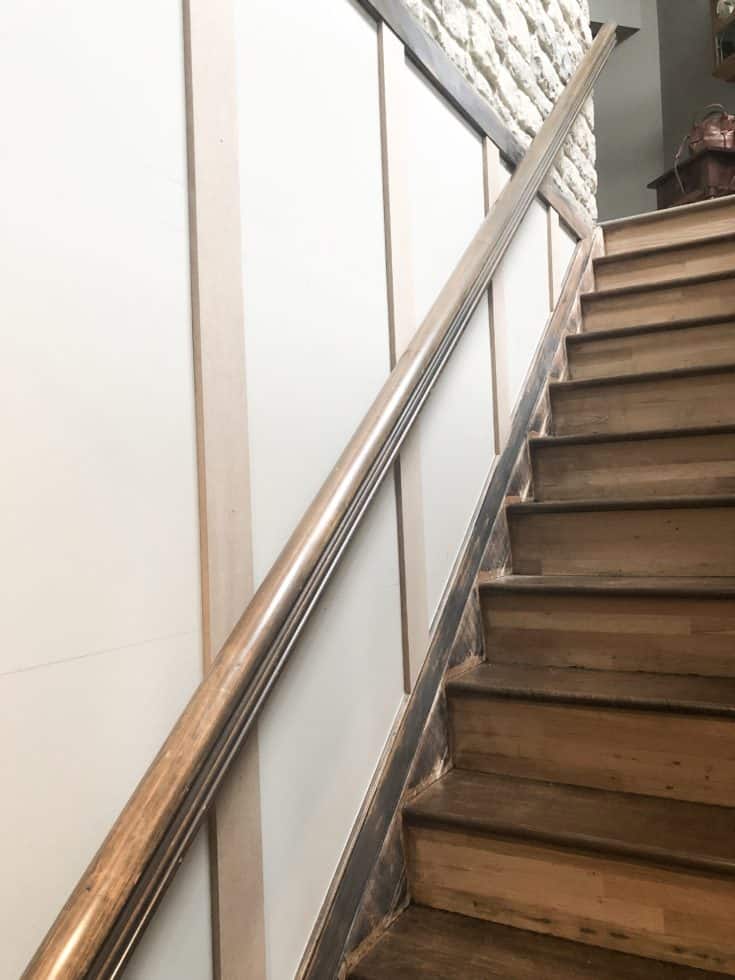
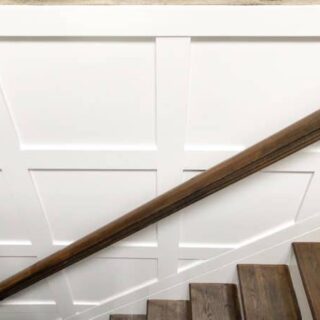
Here is a picture of where I finished off after refinishing the stairs. They turned out great but the next part of the project is really what took them from good to amazing!
Here is What You Will Need:
What kind of wood to use:
I used 1/2 inch mdf for this project. They ripped the wood down a 4X8 sheet into 4-inch strips. The guy at the store was able to get 12 boards out of it but only used 7 for this project.
You can choose to use 1×4 pieces of lumber but that is a bit more expensive. For my space, the 1×4 would stick out from the existing baseboards because it is thicker than the baseboards. So I went with MDF for practical and economic reasons.
Materials and Tools:
- 4X8 sheet of MDF
- Digital Angle Finder
- Liquid nails
- caulk gun
- Nail gun
- Nails
- Caulk
- Wood Putty
- Level
- Primer
- Paint – This is the one I used for this project, the board and batten in my dining room and on all my baseboards. It’s supposed to be harder once it’s dry to preven chipping.
DIY Board and Batten Staircase
Adding molding is actually pretty easy. On a scale of 1 to 5 with 1 being easy and 5 being really hard I would give it a 2. As long as you have a miter saw it’s really a piece of cake.
Decide On The Size of the Boxes
First, you need to decide how big you want the boxes. I decided I wanted them to be about 18-24 inches. I measured down from the top of the stairs 24 inches and used that as the bottom mark for my boards.
The interior of my boxes is 20 inches. If you have a very large wall you may want to make your boxes larger because if they are small they will look very busy.
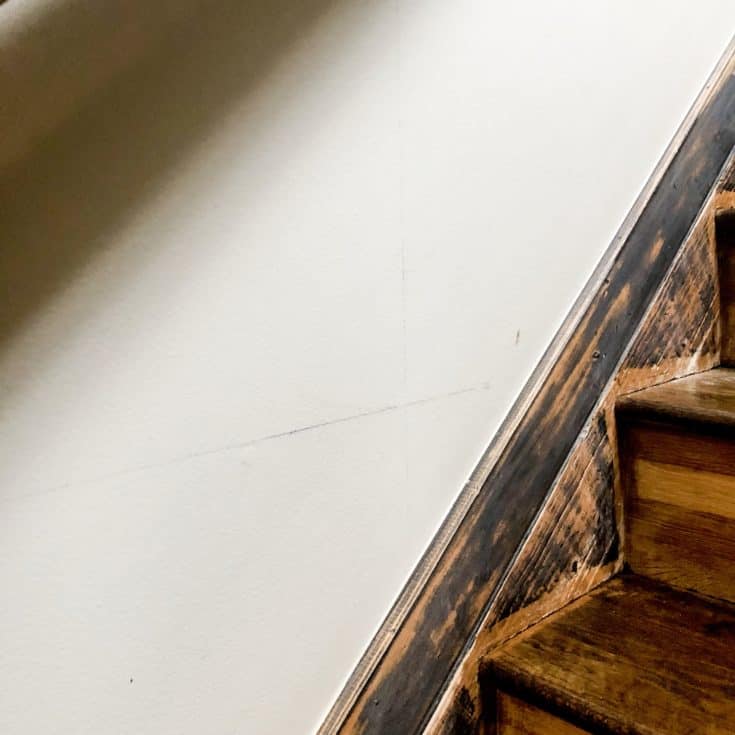
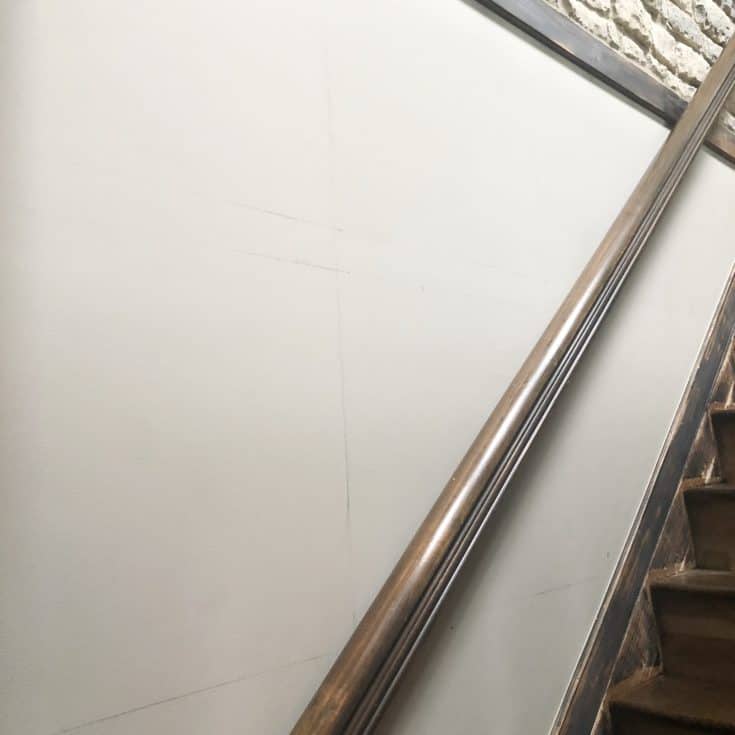
I actually mapped out on the wall exactly where I wanted the boards so I could see it visually. This also really helped me to know exactly how much product I would need. All I used was a pencil, tape measure, and a level.
How to attach the wood to the wall
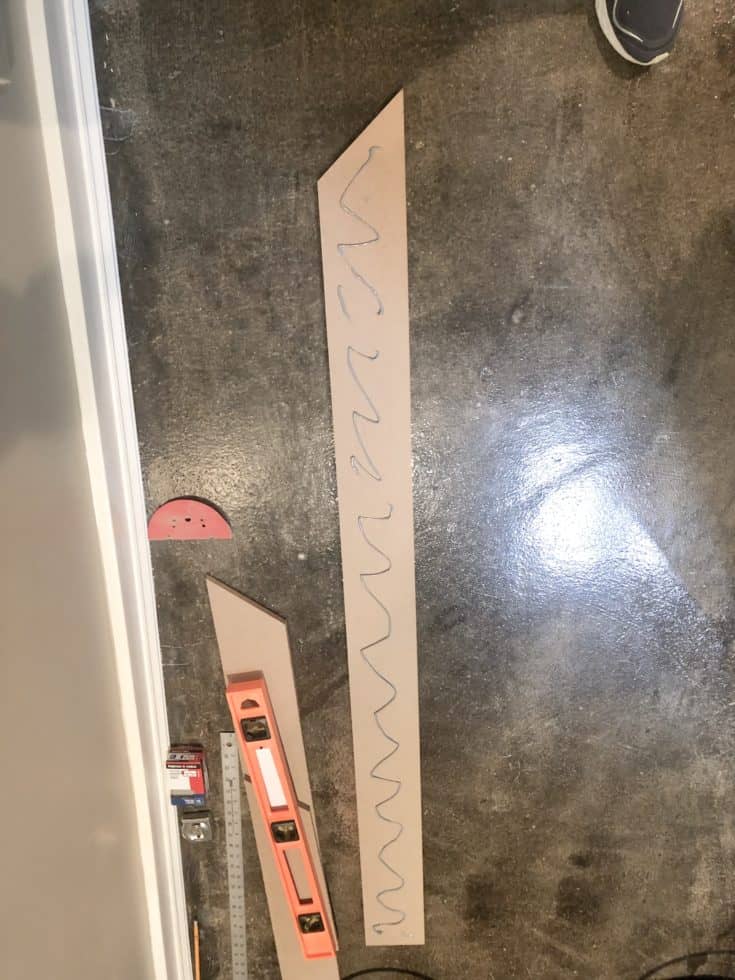
I did the vertical boards first, measured, and cut the boards with my miter saw. The hardest part was figuring out the angle.
I assumed it would be 45 degrees but nope. Using a digital angle finder you can figure out what the correct angle is and cut the wood appropriately.
Use liquid nails in a caulk gun and apply to the back of each board. Put it on the wall and make sure it is level. Then attached to the wall with a nail gun using 2 inch nails.
Then I measured the horizontal boards, cut and repeated the steps to apply to the wall.
Would you like to save this?
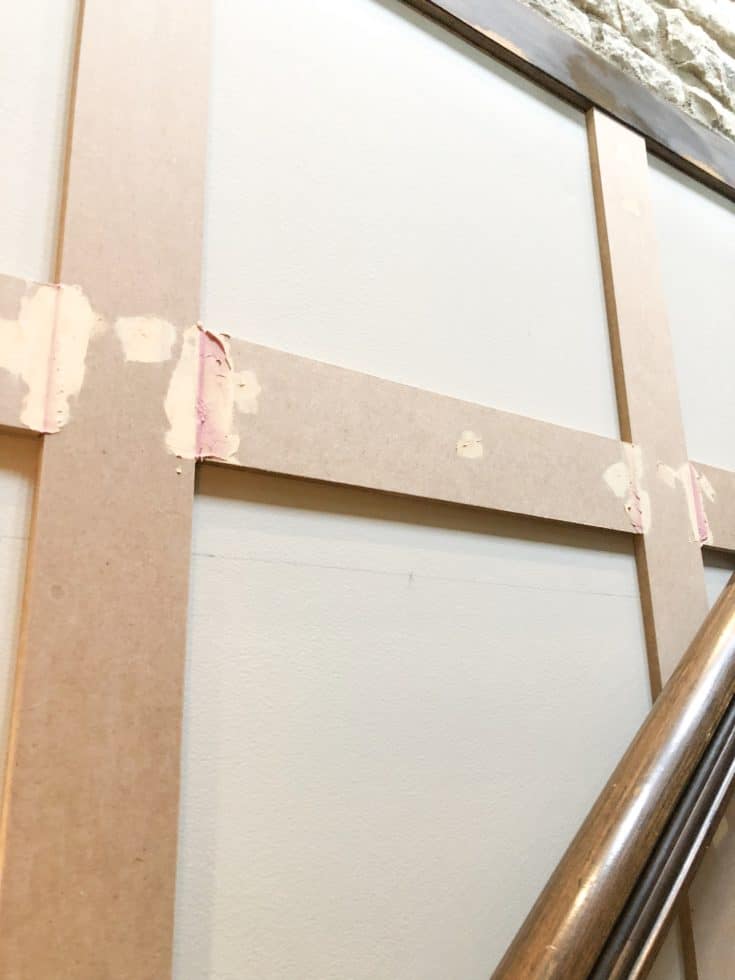
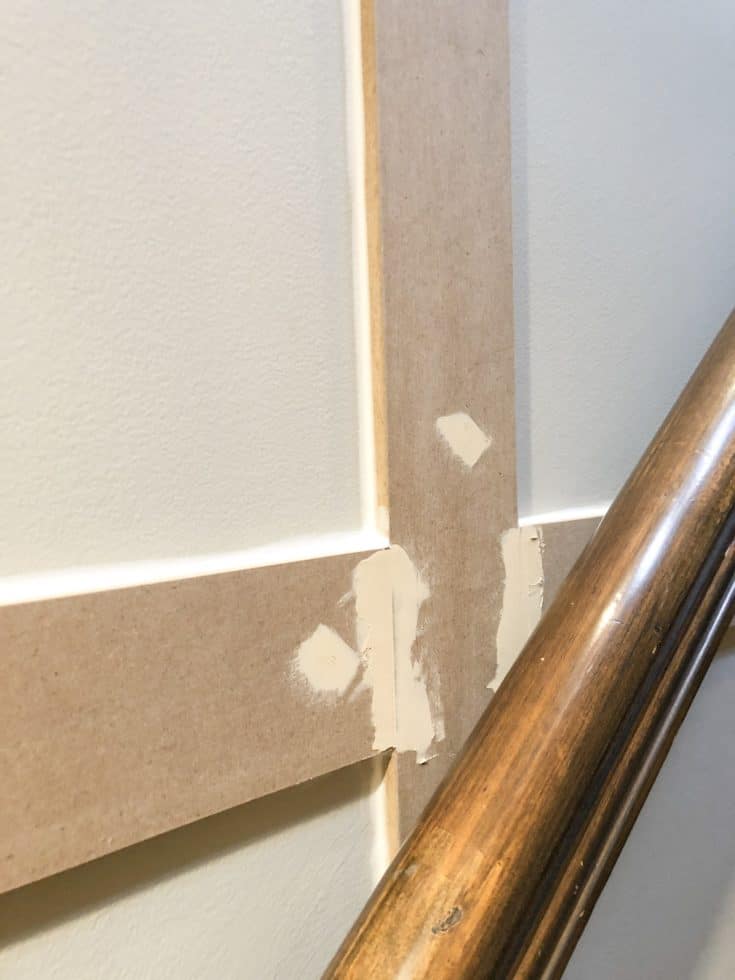
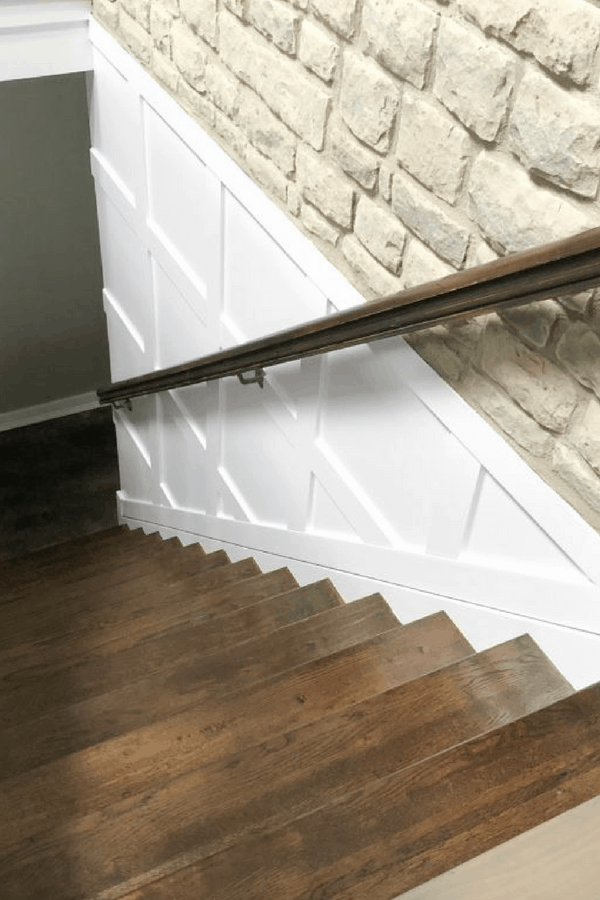
I caulked the corners where the wood met the wall and used wood putty where the wood met wood. Once I sanded and cleaned again, we are ready for paint!
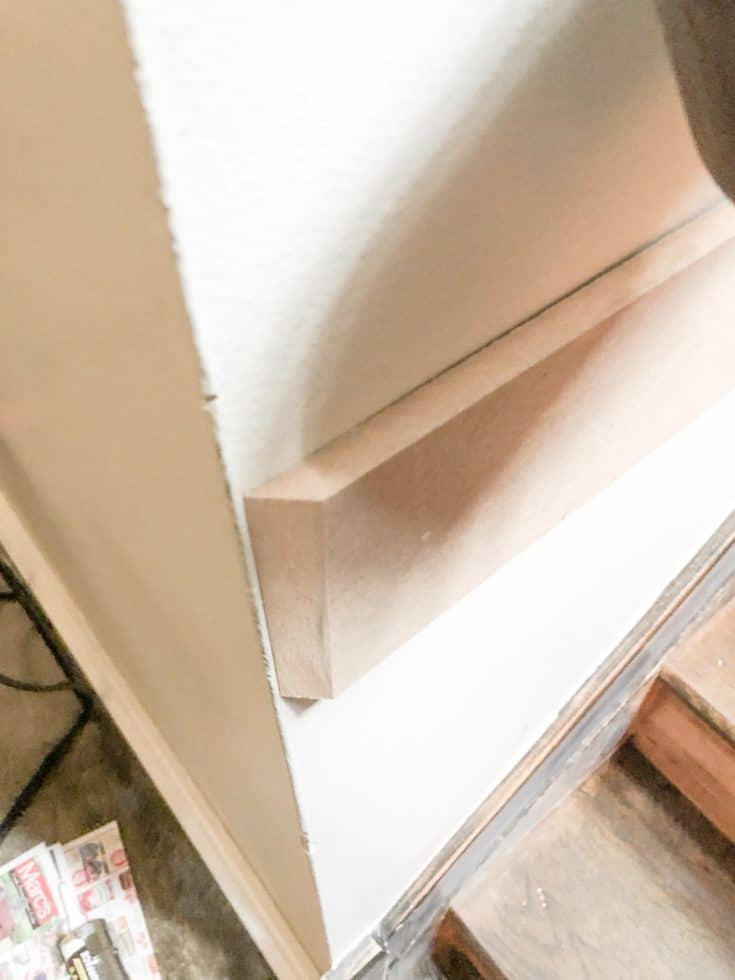
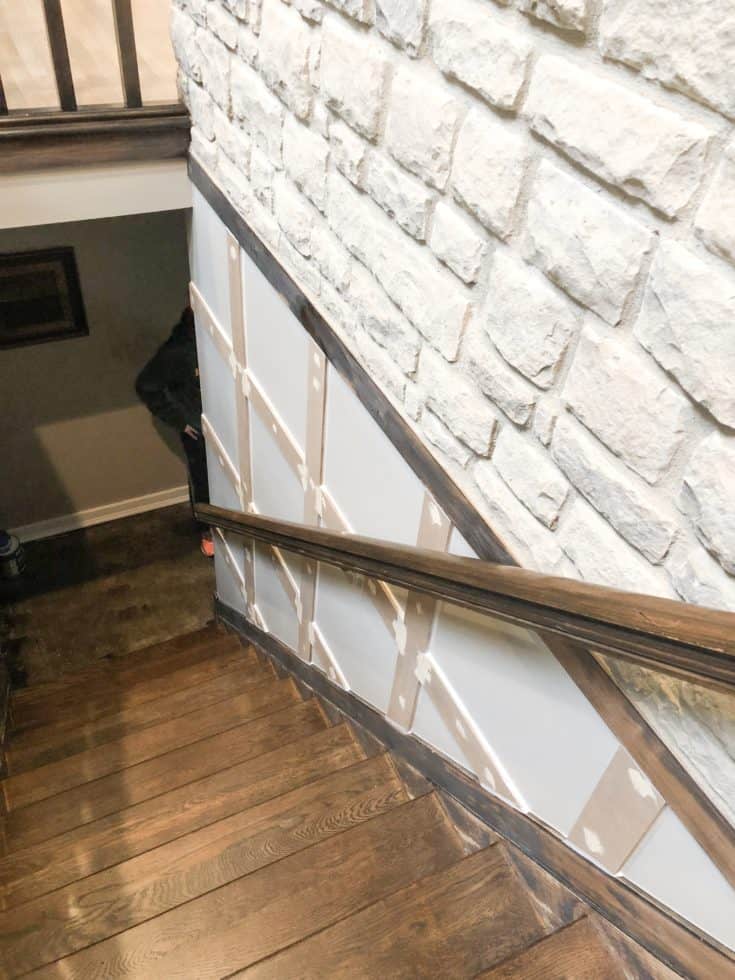
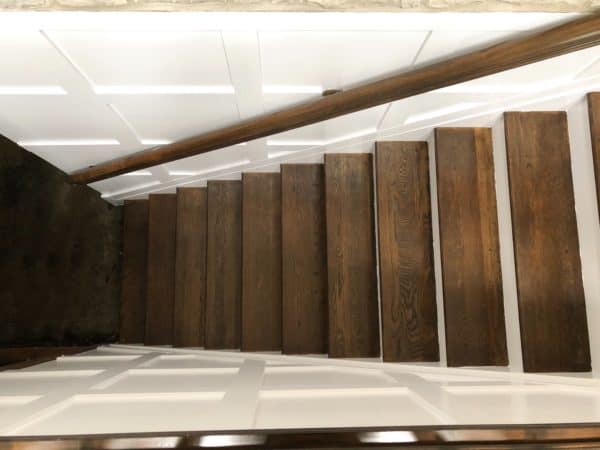
You can see in this picture above that I angled the wood by 45 degrees where it met the end of the wall. I accomplished this with my miter saw. The reason I did this is that it gives a more finished look than just a blunt end to the wood.
Prime and Paint the Board and Batten
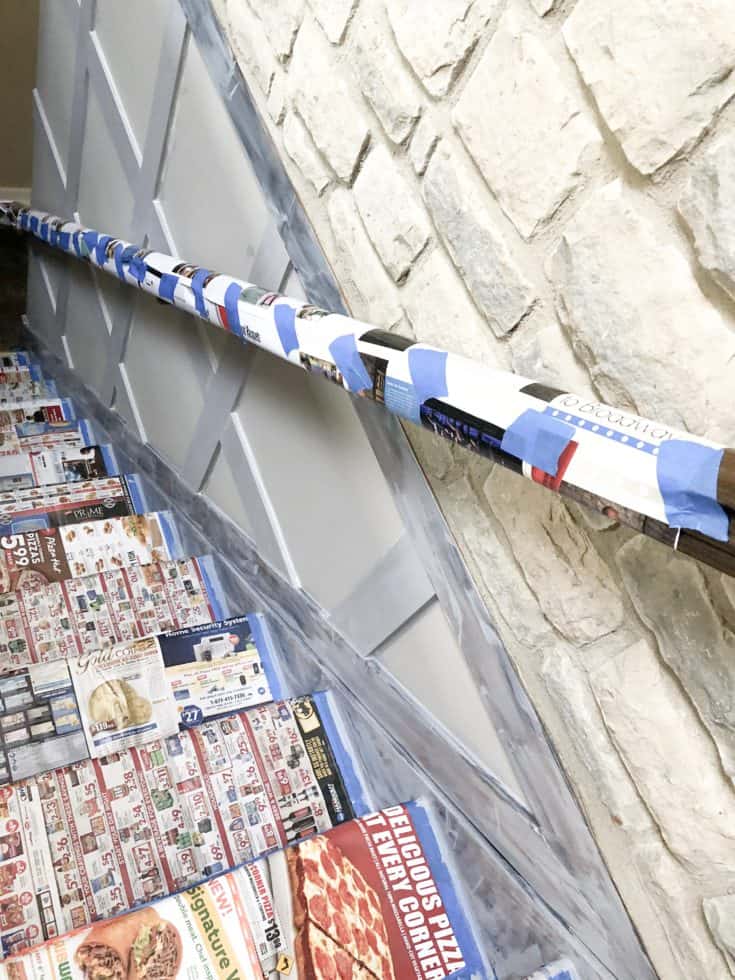
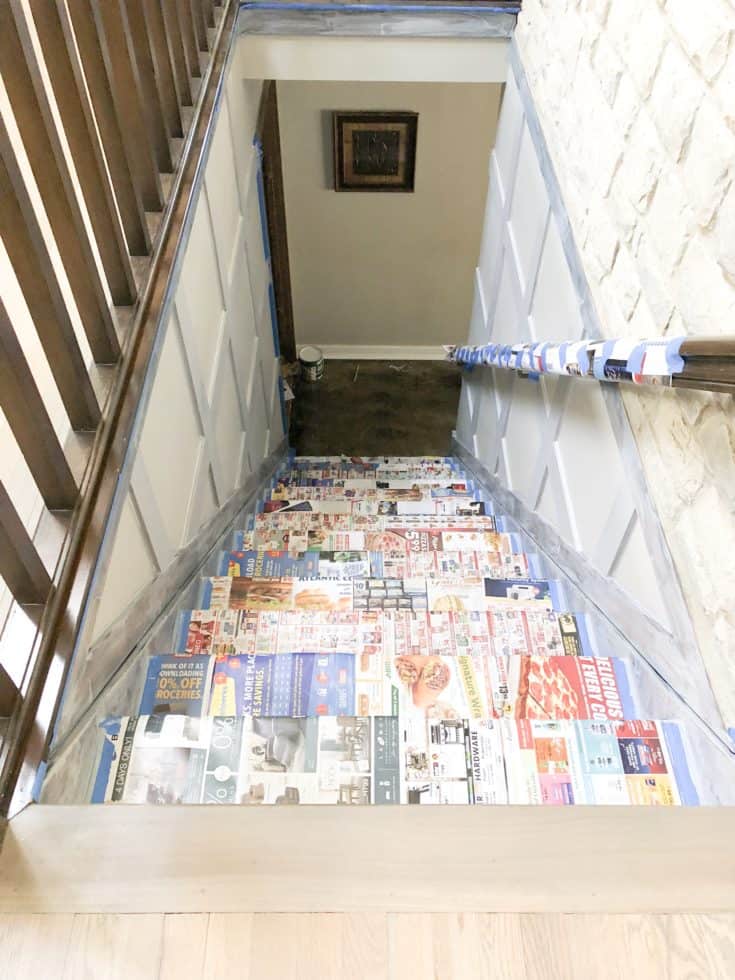
Once the caulk is dry and everything is clean you need to tape off and cover these beautiful steps you just stained. I used just plain old newspaper!
I used some primer that I had on hand and covered the wood risers and MDF with it.
Once it was dry I used this new paint called Alkyd paint. The guy at the paint counter at Home Depot recommended it.
It’s a combo of oil and latex-based paint. This product is said to level brush strokes, have a harder finish, and cleans up with soap and water.
I am not sure about its leveling abilities but as far as cleanup goes, it did come off with soap and water but not very easily. I will see how well it wears and let you know if it takes a beating better.
*UPDATE! This paint holds up amazing! I used it on all my baseboards and window trim. It’s not totally chip proof but it holds up way better than regular paint does.
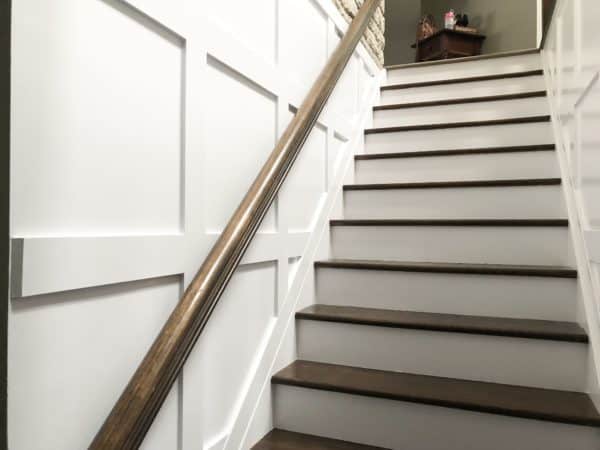
After three coats of paint, I am done and I cannot believe the change. This is such a big transformation and I couldn’t be happier with it.
From smelly brown carpet to beautifully stained wood with architectural features I would say this was a complete win!

The Finished Board and Batten Staircase


Related DIY Wall Treatment Posts:
- How to Easily Install Shiplap
- DIY Board and Batten in the Dining Room
- How to Create a Focal Wall With a Herringbone Stencil
- Faux Finishes for Walls: How to Age a Wall With Glaze
- DIY Picture Frame Molding on the Walls
- How to Inexpensively Create a Reclaimed Wood Wall

DIY Board and Batten Staircase
Today I will show you how to install board and batten in a staircase to instantly increase the look and value of your home.
Materials
- MDF
- Liquid Nails
- Caulk
- Wood Putty
- Paint
- Primer
- Pencil
Instructions
- Purchase your wood and have it cut to size at the hardware store.
- Decide how big you want your boxes and using a level and tape measure draw out the boxes on the wall.
- Measure how long your board will be and what angle you will need to cut it.
- Put liquid nails on the back of the board and put it on the wall, starting with the vertical boards.
- Make sure the board is level and once it is nail it to the wall.
- Continue for all the vertical boards then measure and cut the wood for the horizontal boards.
- Using the same method attach the horizontal boards to the wall.
- Caulk all the corners where the wood meets the wall.
- Use wood putty on all the nail holes as well as the wood meets with wood.
- Sand and clean up.
- Prime the MDF and when it's dry start painting.
- Now sit back and enjoy!

As a licensed Real Estate Agent and an avid home decorator, I strive to give my clients the very best I can when it comes to staging, selling, and decorating their homes. I have lots of experience with paint color choices and love to DIY my home so I can have everything just the way I want it. I share my ideas and projects with the world in the hopes that I can help others have their homes just the way they want as well.


Oh my gosh Wendy! It looks amazing!!! The stairs are stunning and the board and batten make turned out incredible!
Thank you so much Maria! I am so happy with it, and no more dark and scary down in the basement!
i love this so much . i feel something will be added to the honey do list
This looks stunning and way easier than I expected. I’ve been wanting board and batten somewhere in my home. Just need to decide where.
Thank you so much Kenyatta! It’s so easy and inexpensive!
Love the look!
Thanks Amanda!
Oh my gosh it turned out GORGEOUS! PLEASE come convince my husband that we need to do this to our stairs….and our whole house…. I love it!!! 😍
Oh Roxanne you are too sweet! Have him give me a call anytime! LOL
It’s perfect Wendy! You did an amazing job and I can’t believe the difference. Now come to Georgia and help me do mine!
I love this! Thanks so much for sharing – I hope to do this same pattern as an accent wall in the bedroom.
Meredith that would look amazing! I think it would look cool painted another color too. I need like 5 houses to decorate just to try different things in! Thanks for stopping by!
It looks so good Wendy. It doesn’t look DIY (I mean that as a compliment…) It looks like it was super expensive to do! Great job!
Thank you so much Natalie! That means so much!
Beautiful! The board and batten makes a world of difference and gives the stairs a brighter look. I think with all the architectural detail, it kind of looks like a museum wall! 😀 For it to look that good, it’s surprising how easy this sounds, too. I like how you explain your tutorials. They are very straightforward.
Thank you so much Lela! I am so glad they are easy to understand, sometimes when I am writing it I wonder if I am the only one who would get it! Thanks so much for stopping by.
How has this combo of oil and latex paint held up?
Hi Emilie! Yes, it has! I have a couple marks on the baseboards from my daughters puppy who is a big dog, but not many. Also, my daughter bumped the wall while moving out and there is a small smudge that I will have to touch up. But otherwise, it has been great! My oldest daughter is so destructive! LOL. So we weren’t surprised at any of this. My younger daughter has been home and moved back and forth from college and I have had no issues. I plan to use it on some built-ins I am creating now.