
How to DIY a Board and Batten Wall Inexpensively
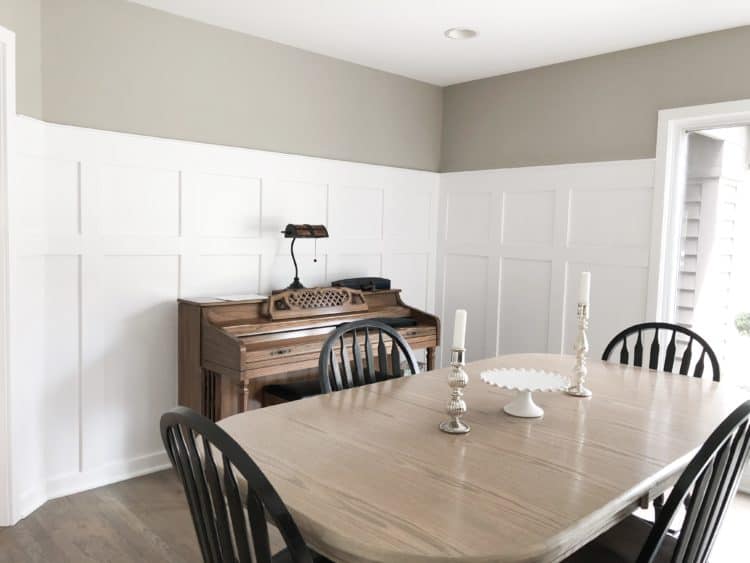
Today we are going over How to DIY a Board and Batten Wall. I decided to add this detail to my Dining Room because it just needed a little something and I am so happy I did. It has quickly become one of my favorite rooms in my home!
After doing Board and Batten Box Molding in the Stairwell I realized this was going to be quite a large project because of the size of the room. But man, what a difference it has made in the room. I think it looks FABULOUS!
Here is what we have accomplished in the dining room so far:
- First I refinished my dining table, I sanded it and stained it with a gray finish mimicking the floors.
- Then I refinished all the chairs in the room. I re-stained the antique chairs and painted the ugly orange oak chairs.
Then I did the Board and Batten!
*This post contains affiliate links, see my full disclosure for details.
Let’s start off by answering some frequently asked questions.
What is Board and Batten?
Board and batten is usually done with a thin sheet of wood on the wall and boards, called battens, that hang vertically and cover the seams of where the wood pieces connect.
You will see this technique used commonly on the exterior of homes and recently has become popular on the interior to add architectural interest to a room.
What kind of wood do you use for Board and Batten Walls?
When used on the interior of the home it’s not always necessary to have the wood panel on the wall. If you have smooth walls then it really isn’t necessary.
If you have textured walls then a thin piece of wood such as underlayment can be used to achieve that smooth surface.
You can use almost anything you want for the top rail and the battens. I have seen most use 1×4 pieces of lumber but many like the top rail to be a bit wider than the battens. It’s up to you which you use in order to achieve the look you want.
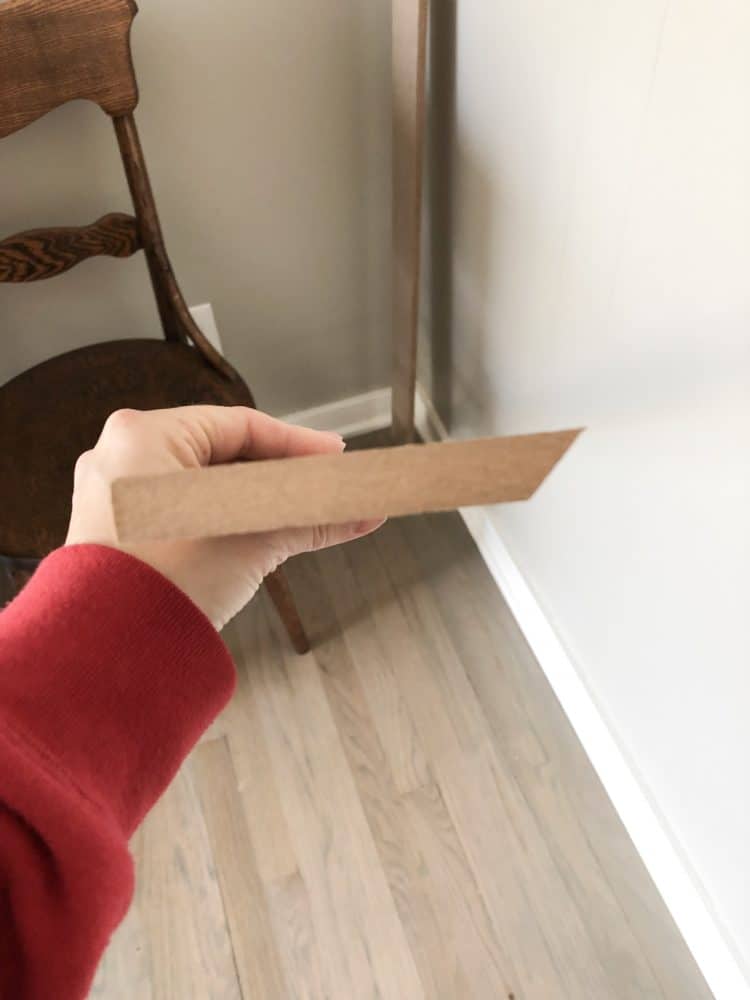
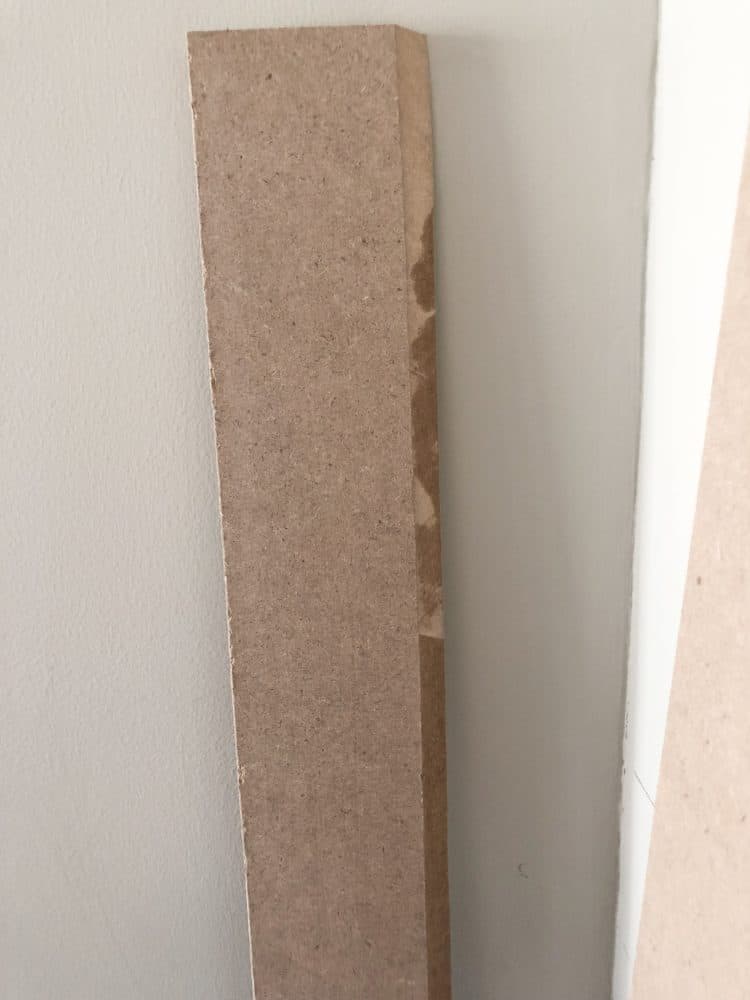
I used 1/2 inch MDF instead of 1X4’s. The reason I did this is that when I held up a 1X4 against the wall it stuck out from the baseboards about 1/4 inch…. which really bothered me.
I didn’t want to replace all the baseboards in the room. I chose MDF in the exact thickness of the baseboards so I could get away with not having to replace them. Also, I saved a ton of money by using MDF, probably about $200.
What is MDF?
MDF stands for medium-density fiberboard. Here is what Bob Villa says about the manufacturing of MDF:
MDF starts as sawdust and shavings—all the little bits and pieces of wood that are created as a byproduct of industrial milling. Once dehydrated, those wood fibers are then mixed with resin and wax and formed into panels. Under high heat and intense pressure, those panels are compressed and become rigid, with a hard shell. In the final stage of manufacturing, giant machines sand the panels down, giving them a silky smooth finish before cutting them.
What is great about MDF is it has no knots grain or warping and requires no sanding. This makes it the perfect material for a board and batten wall.
How to DIY a Board and Batten Wall
Materials Used
- 2 sheets of MDF plus what was leftover from the stairwell box molding
- 3 tubes of caulk
- wood putty
- paint
- Painters tape
- 2 tubes of liquid nails
- top molding – I used 1/2 inch by 1-inch piece of lumber
- Paint roller, cover, and brush
- Drop cloth
- primer
Tools needed
The MDF comes in a sheet 4 foot by 8 foot. Home Depot will rip boards down for you but you might have to pay a few cents per cut. Each store and sometimes each salesperson have different requirements.
I got frustrated and decided to buy a table saw because the guy wouldn’t rip them down any smaller than 12 inches. Even though a month earlier another guy ripped the boards to 4 inches when I did my board and batten box molding. 😐
I thought a table saw would have been much more expensive, I was pleasantly surprised that they also had the one I wanted on clearance!
My husband and I ripped the top board to 6 inches wide and all the rest at 4 inches. This was after I drew on the walls where I wanted the boards to go and how I wanted the vertical boards spaced. I am a visual person so this was necessary to know how many boards I was going to need.
How to Install Board and Batten
1. Decide on your Dimensions
Decide how tall you want it to go and how wide the distance between battens you want it to be.
It helped me to draw this out on the wall, I am a very visual person.
2. Start with your top board.
I started with my 6-inch boards for the top rail. First I put liquid nails on the back then my husband held up the board and I checked for level, remember I already had a pencil line on the wall where I wanted the board to be.
Once it was level I nailed it in place. Continue on for the whole room.
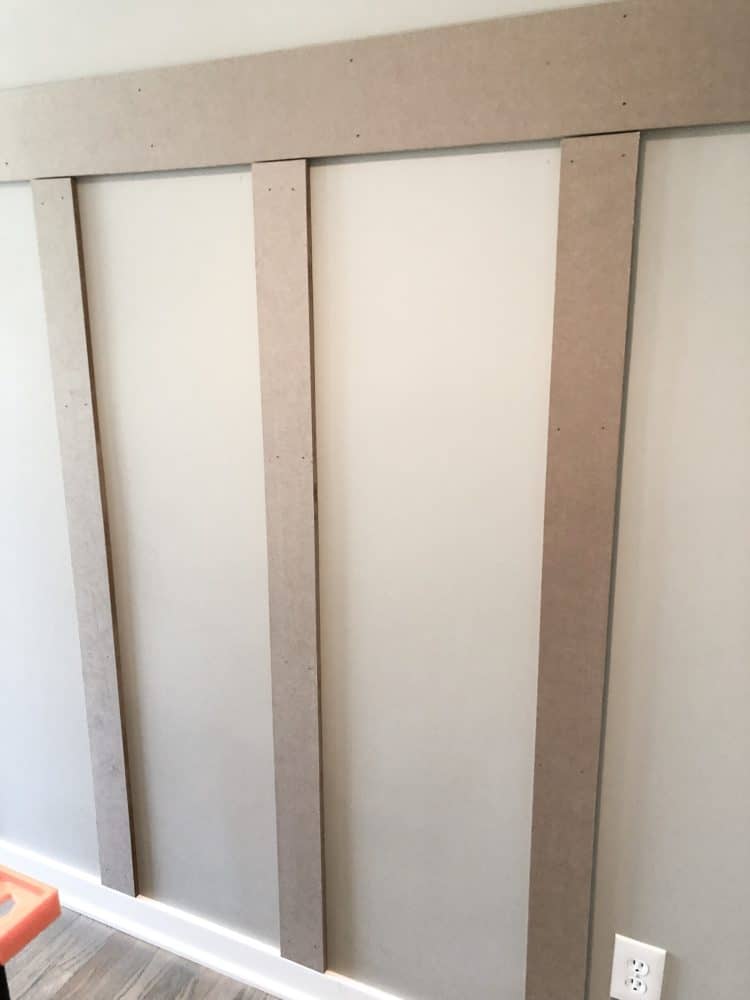
3. Add your Battens
It’s time to add the vertical boards.
I went to where I had marked the vertical boards and measured each one for length, cut the board, and using the same process as the top board nailed them in place all around the room.
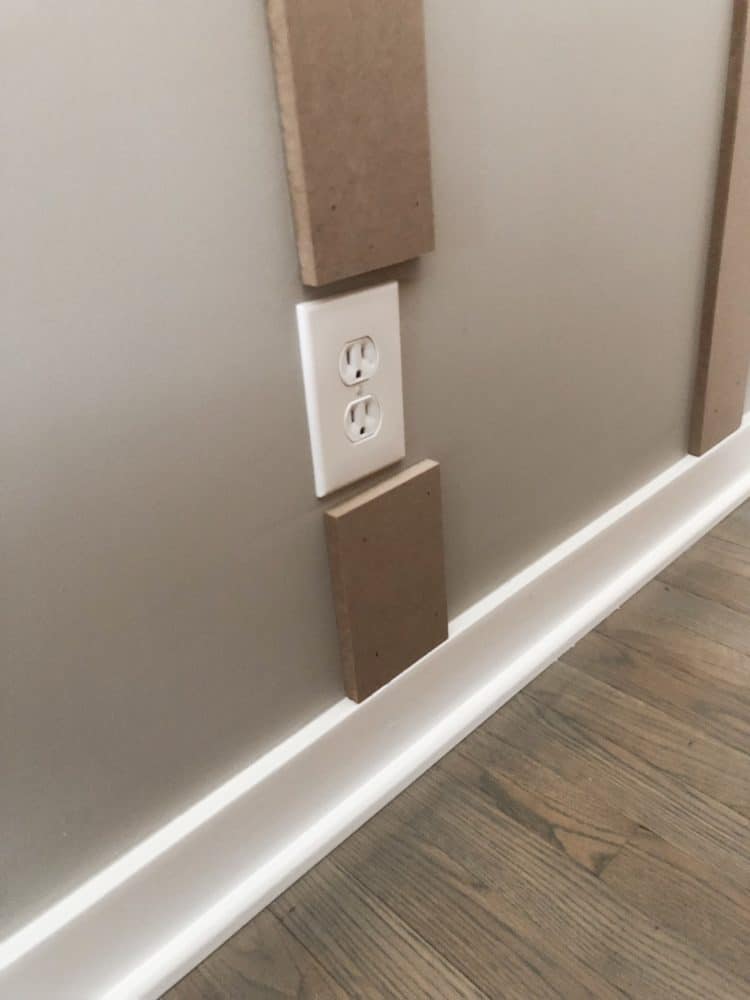
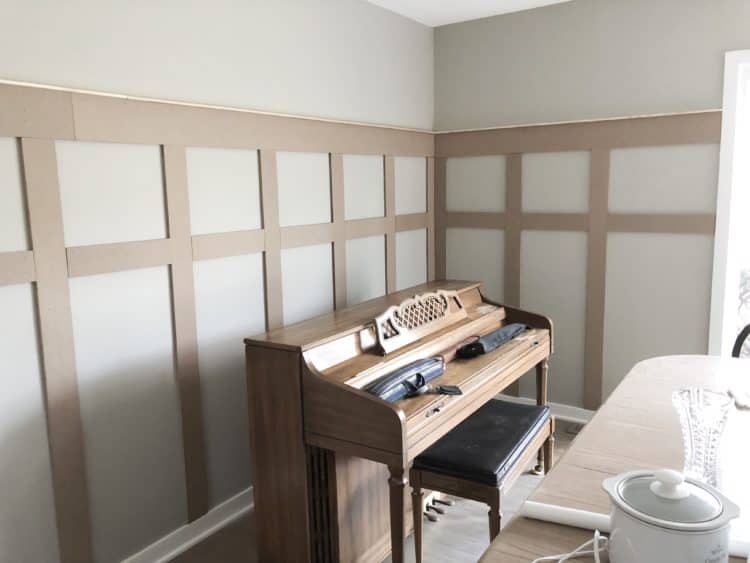
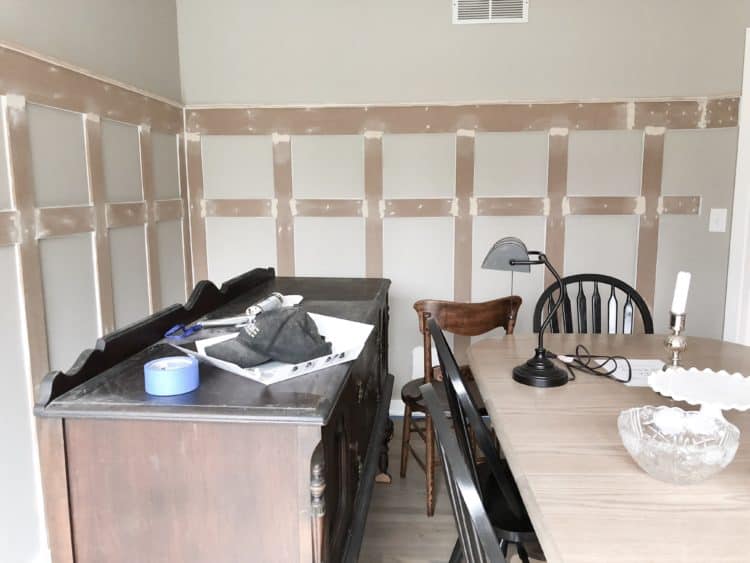
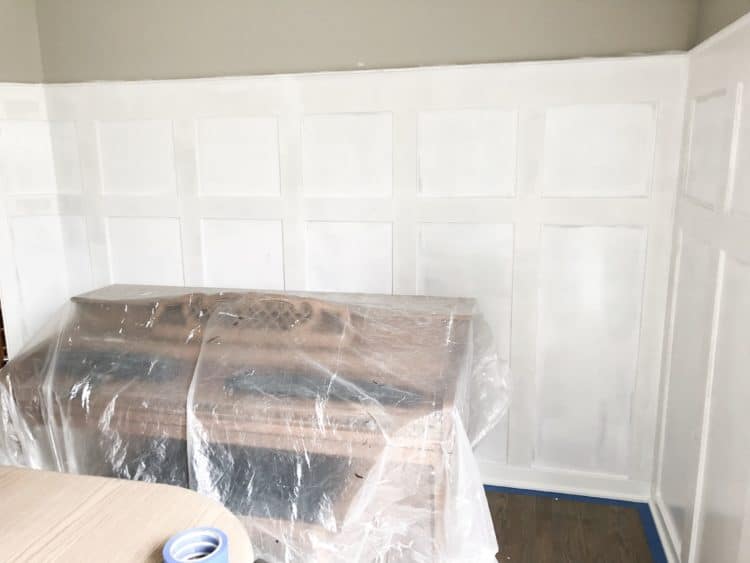
We were able to make it all the way around the room without hitting any outlets except here. This is behind the piano so we did the easy thing and just stopped the wood, then restarted it below.
You can cut it out but with the outlet taking up almost the whole board this just made more sense. Plus no one will ever see it behind the piano.
I knew I wanted the vertical boards 16 inches apart so I cut a spacer out of a piece of wood and used it to make sure all the vertical boards were the same distance apart….gotta give credit for that one to my hubby. Totally his idea and a great one!
4. Add the second horizontal board.
Once all the vertical boards were in place I started on the second row of horizontal boards. I measured each one because the better the fit the less wood putty would be needed.
Would you like to save this?
Even though I used a spacer nothing is ever perfect. A lot of times they would be 16 1/8 inch or maybe 15 5/8. Sometimes you make minor adjustments when checking for level. It’s the human error piece I guess!
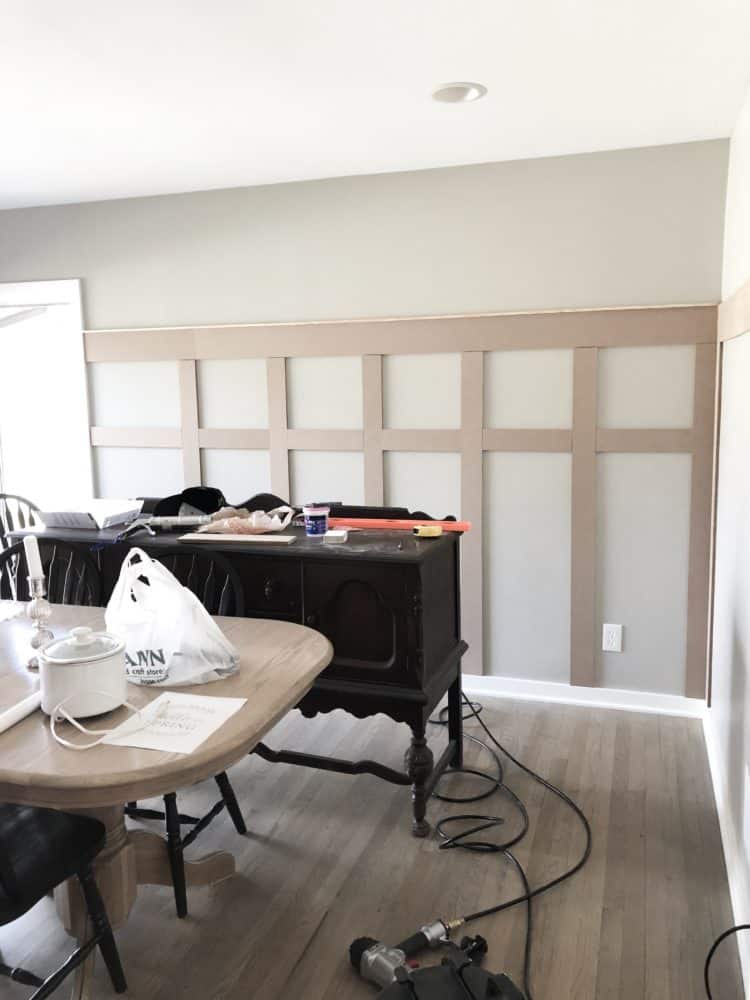
5. Add the cap piece at the top.
What you use here is completely up to you. I went with a more simple look and added a piece of decorative molding at the top. It is 1/2 inch by 1 inch and it is a little bit rounded on the top edge on one side.
Many people use a 1X2 inch piece and also do another decorative piece, like a crown molding look, between the 6-inch board and top piece. It’s totally up to you!
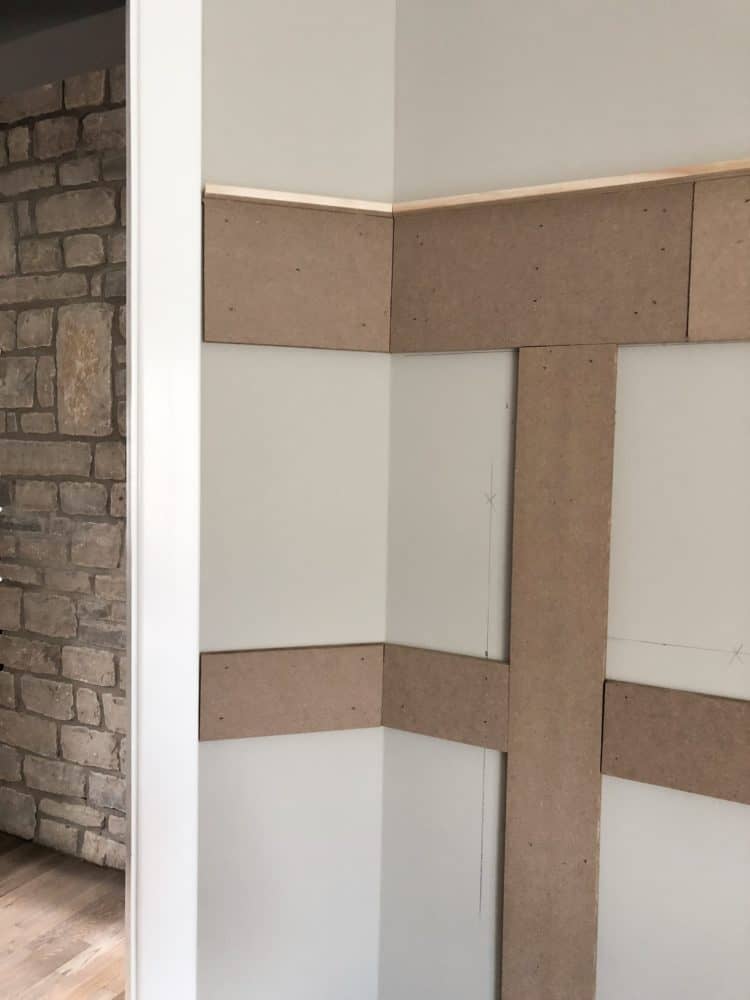
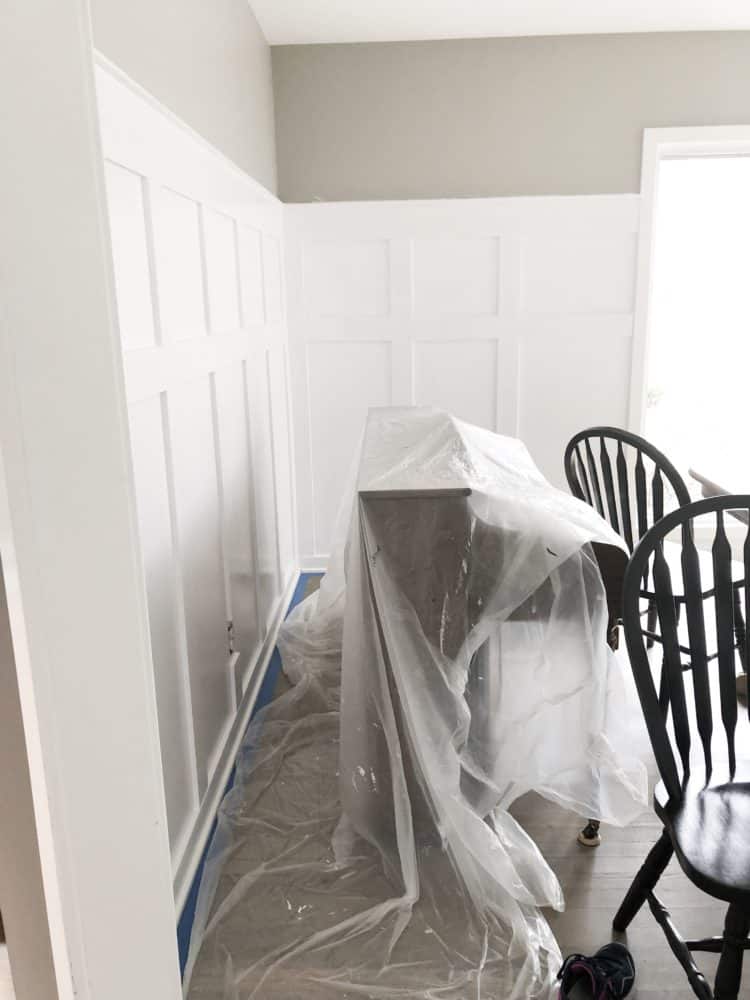
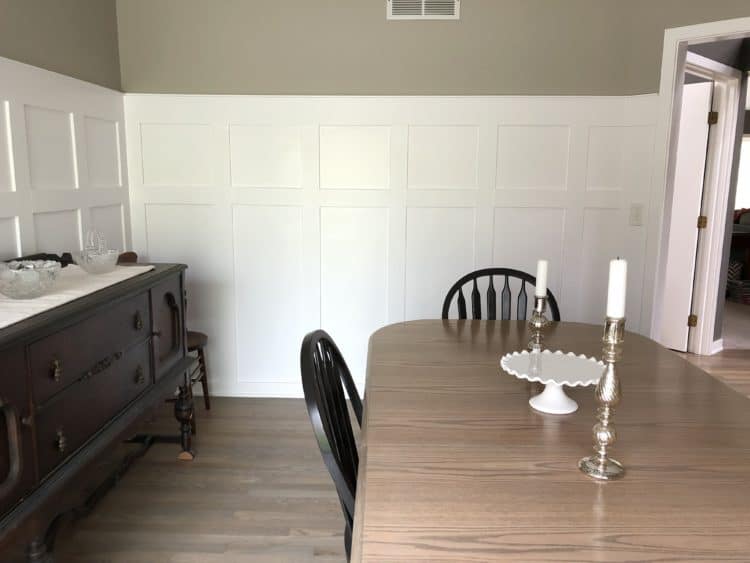
How we did the corners
There were two corners in the room where we wanted to have the wood even on both walls. So we used our new table saw and angled the blade to do a 45-degree rip all the way down the length of the board. So we basically mitered the length of the boards together.

6. Time to Caulk and putty.
You want to putty the nail holes and the seams where the wood buts up against each other. Where the wood meets wood you use wood putty.
Where the wood meets the wall you want to caulk there. You also want to caulk between your top board and the molding you added to the top.
My husband was in charge of putty, he basically fired me from doing it ever again! 😂 Apparently I am messy! So I focused on caulk.

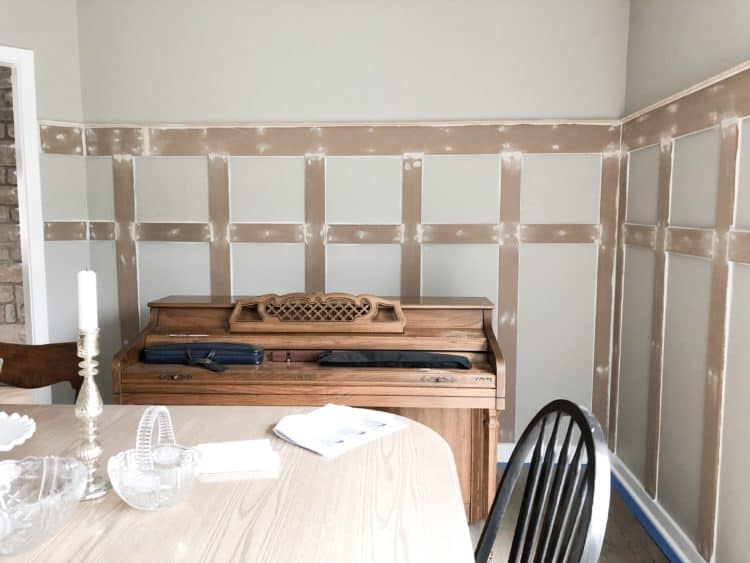
At this point, you need to marvel at all the hard work! You just gave your molding chickenpox!!!! LOL, that’s kind of what it looks like.
7. Prime and Paint
Once the caulk is dry sand the wood putty smooth then clean it up. And it’s time to prime and paint!
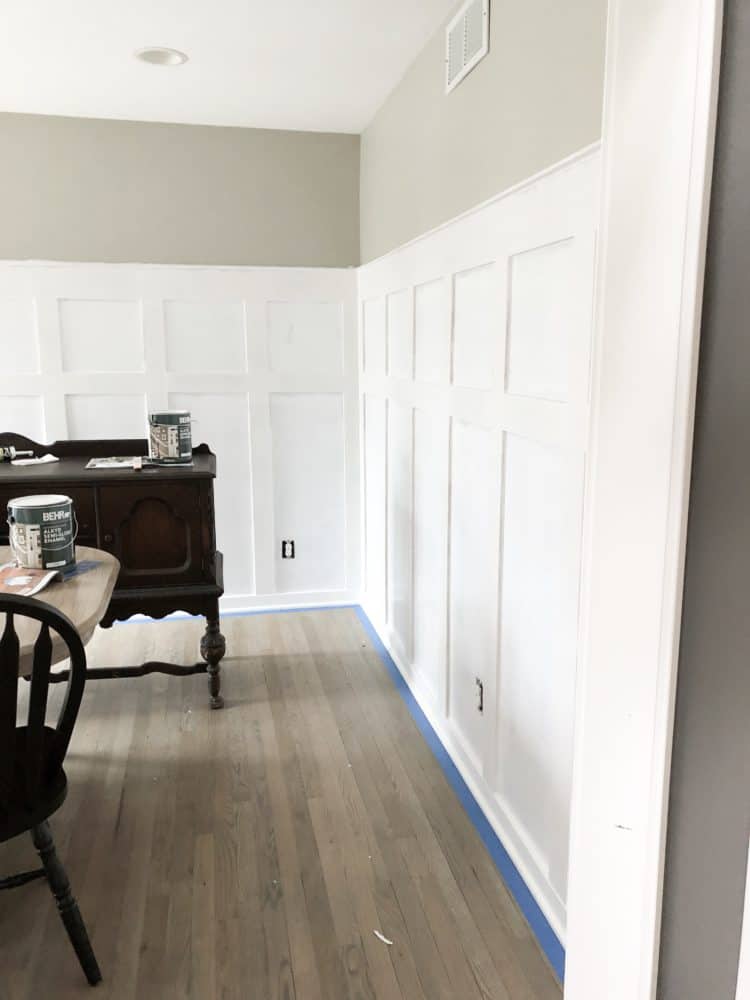
I used the same paint for the dining room as I did for the stairwell. This paint is a little thicker and tougher, it doesn’t ding as easy.
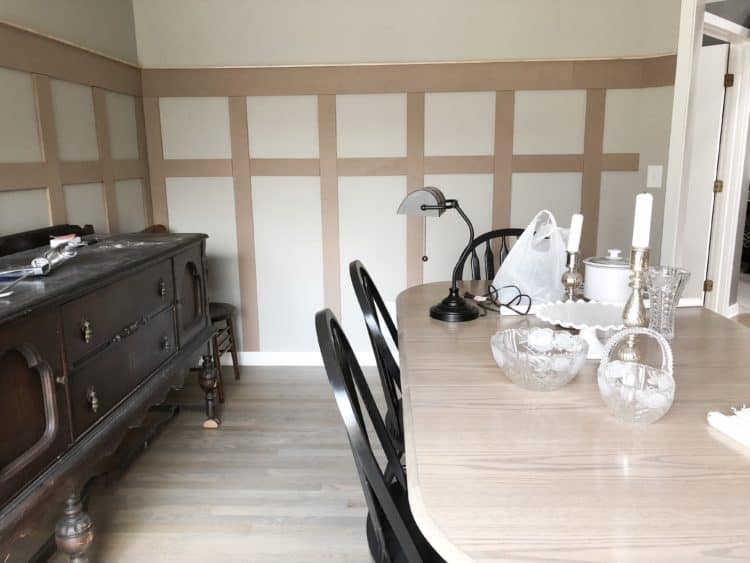
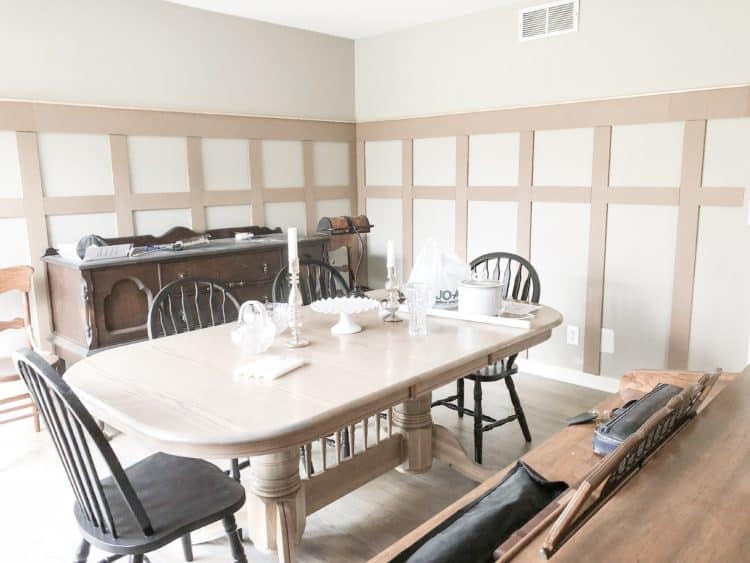
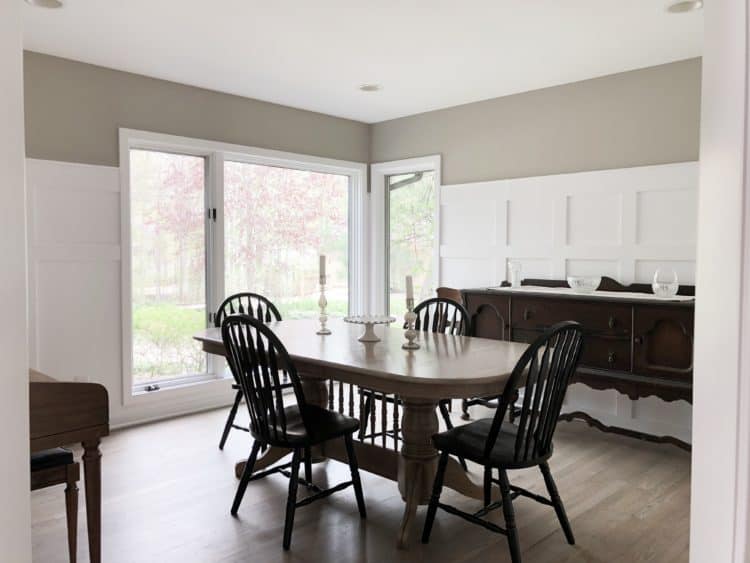
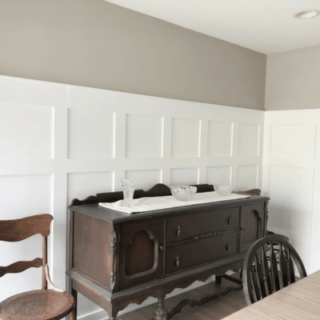
I painted all the board and batten as well as the existing trim on the baseboards, windows, and door frame. Here is the finished product!
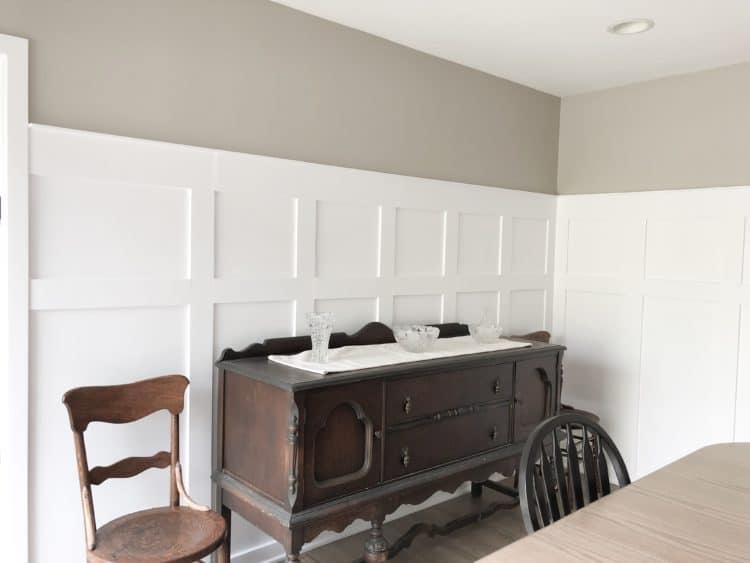
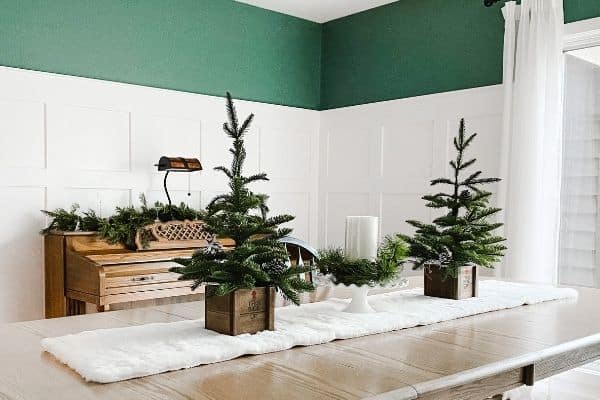
Update! Here is what the room looks like now! I decided to paint the wall above the board and batten with Sherwin Williams Studio Blue Green. I added this great mirror from Kirkland’s and wall sconces I got eons ago.
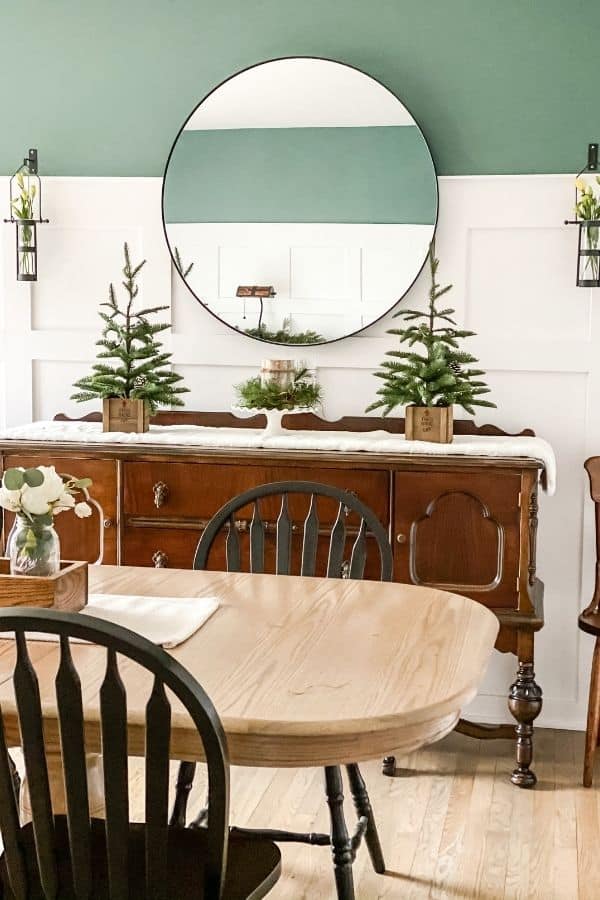

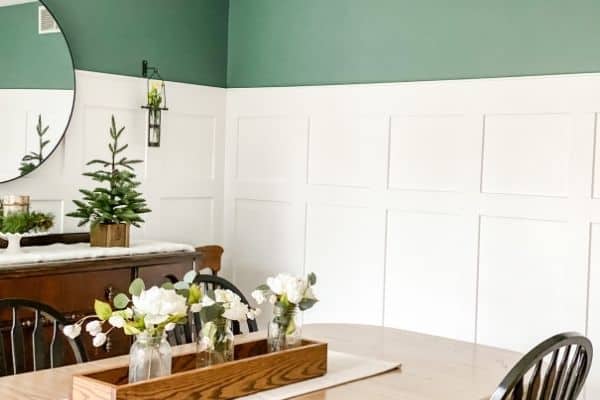
It’s currently winter so you will notice I have my whites and pines going on in the room. I still want to add a rug (I have one picked out but it’s pricey) and I want new chairs. All in good time!

Other DIY wall treatments posts:
- DIY Board and Batten in the Stairwell
- How to Inexpensively Create a Reclaimed Wood Wall
- How to Inexpensively Install Shiplap for a Farmhouse Look
- DIY Built-Ins Using Big Box Store Cabinets
- Dorm Room Wall Decor; A Gallery Wall Using Photos from Home
- DIY Picture Frame Molding on the Walls
- How to Create a Focal Wall With a Herringbone Stencil
- Faux Finishes for Walls: How to Age a Wall With Glaze
- Amazing Accent Wall Ideas That You Will Want to Try
- A Gallery Wall: How to Decorate Around a TV


Have you ever considered DIY Board and Batten for your home? If so what room would you do it in? Please let me know in the comments!
How to DIY a Board and Batten Wall Inexpensively
Learn how to add this timeless wall treatment to your home by creating a board and batten wall.
Materials
Instructions
- Decide on your dimensions. I like to draw it out on the wall so I can see what it will look like in the end and if you want to make any adjustments you can do that now without wasting wood.
- Install your top board horizontally across the wall. Put liquid nails on the back of the board and when it's level nail in place.
- Install your battens, the vertical boards. It's easiest to have a piece of wood cut to use as a spacer in between the battens. Attach to walls the same way as in step 2.
- Install the second horizontal board using the same method outlined in step 2.
- Add your cap molding to the top board. Nail it down to the top horizontal board.
- Caulk everywhere the wood meets the wall and in the seam where the top board and the cap meet. Then wood putty all nail holes and anywhere wood meets wood.
- Prime the wood and paint everything.
- Now decorate and enjoy!

As a licensed Real Estate Agent and an avid home decorator, I strive to give my clients the very best I can when it comes to staging, selling, and decorating their homes. I have lots of experience with paint color choices and love to DIY my home so I can have everything just the way I want it. I share my ideas and projects with the world in the hopes that I can help others have their homes just the way they want as well.


Beautiful board and batten! I love the finished look it gives a room. This room is really coming along; I’m looking forward to seeing what’s next!
Thank you so much Kim!
That looks absolutely amazing! Thanks for the inspiration…we are moving into a new (old) house that can really use some help….this idea is going in my file!
Thats so amazing Monique! I am glad you like it and I hope you have fun updating your new (old) house!
The room looks so beautiful with the white board and the paint color. What is name and brand of the paint color? I would like to paint it in one of my room.
Beautiful!! I will send you a picture of mine. Thank you for sharing your DYI.
I really enjoyed reading your post about the DIY board and batten project! Your detailed explanation and clear photos make it so accessible for anyone looking to enhance their space. I love how you’ve managed to combine functionality with aesthetics, creating a beautiful feature wall that truly transforms the room.
Your insights on the tools and materials needed are particularly helpful, especially for those of us who may be new to construction projects. I also appreciate the tips you shared on painting—those really make a difference in achieving a polished look!
As someone interested in construction, I’m curious—what was the most challenging part of this project for you? Were there any unexpected issues you encountered while building the wall, and how did you overcome them? I’d love to hear your experiences!
Hello, Im a DIYer as well and I really like your Tutorial…very well done! I’m close to starting my Board And Batten in my dining room as well, Im on a very very tight budget since i’m wallpapering 5 ft above the board! (I have 12 ft ceilings) I think budget wise your process is perfect for me! Your new color is perfect, looks really pretty…great work!
Thank you so much Sandy! You have made my day. Good luck with your project!