If you are trying to decide how to decorate around a tv then you should check out what I have for you today. I have my tv on this huge wall and it looked really funny until I added some decor around it and now it’s the most fun wall in my home to look at.
When we were looking at this house to buy it the previous owner had this massive piece of furniture on this wall as an entertainment center. It overpowered the room and I wanted no part of that. Instead, I wanted the stone fireplace to be the statement piece in the room.
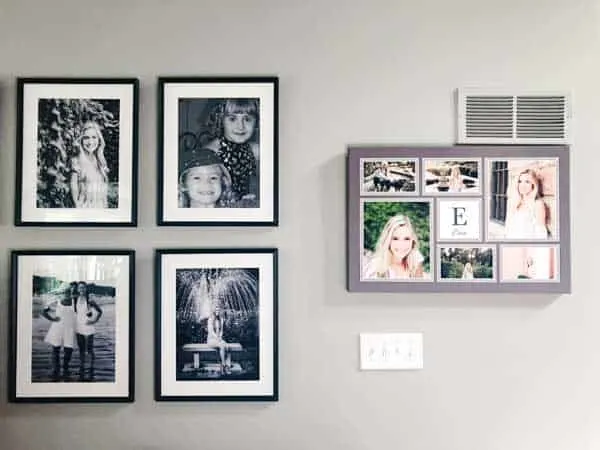
So we started with this, just a blank wall and the TV. We did add my kid’s senior picture collage at the ends of the wall. (You will notice that I am really big on symmetry here. 😂 )
And then I was reading an article from one of my favorite blogs and saw this photo of her family room that she renovated for the One Room Challenge. Her name is Kris of Driven by Decor and I have been following her for years.
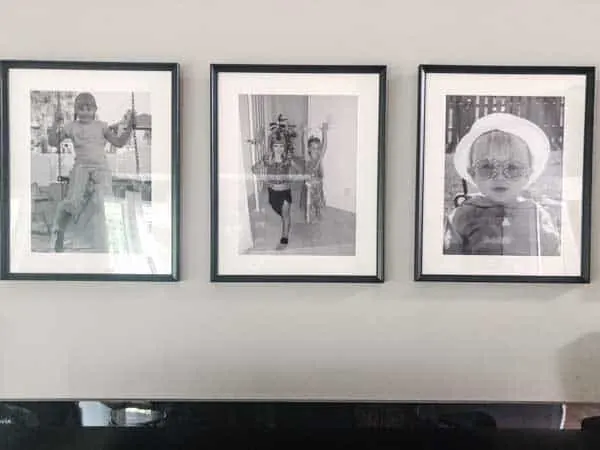
I love the black and white photos because I really feel like they don’t compete with the TV when it is on. And when the TV is off you really notice the photos. I decided to go with photos of my kids, I put some up from when they were little and some from the last 5/6 years.
*This post contains affiliate links, see my full disclosure for details.
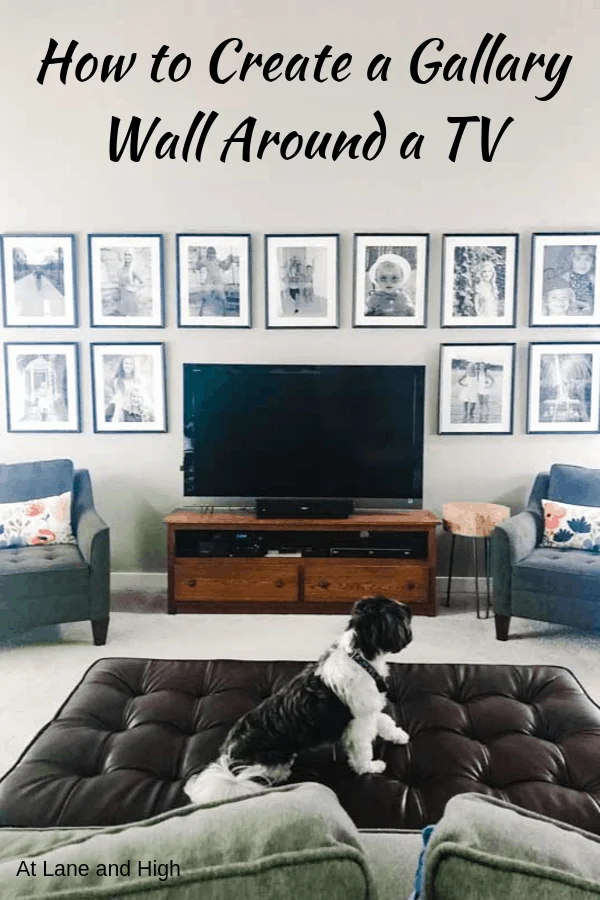
How to Decorate Around a TV
I am not going to lie, I like to watch tv. Generally, I work with the tv on in the background and I love it, which you will see later in this post. I feel like I am always apologizing for my photos because I had the tv on!
I don’t have little kids so I don’t have to worry about their screen time. My kids are grown now so it’s just me and the dog at home most days. Maybe I just miss the hubbub of having the kids around and the tv gives me a little of that. Who knows!
I decided to do a gallery wall around my tv using photos of my daughters throughout the years to give my tv wall lots of personality.
There are many ways you can do a Gallery Wall. You do not have to go with just photos, you can add other decor too. You can have it be haphazard, orderly….it’s all up to you and what you want for your home.
How to Plan a Gallery Wall
Now to plan a Gallery wall the first and most important thing you need to do is calculate the space you have to work with. Get out that trusty tape measure and put it to work!
Now that you know your dimensions it’s time to decide what to use. Do you want to use frames alone or frames and decor?
Another important factor is how do you want it to look, organized and orderly or random? I like the look of both but if it’s random it needs to not be so random that my eye doesn’t know where to go.
Here is a random gallery wall I did for my husband in his den. We had these photos, decided to get all black frames, and put them on the wall. He also had some plaques from high school and the Marine Corps.
It sort of was organic, I put one up then added another, and so on. We also used some special things he had from growing up. I didn’t get too crazy about measuring, just put them where I thought it looked best.
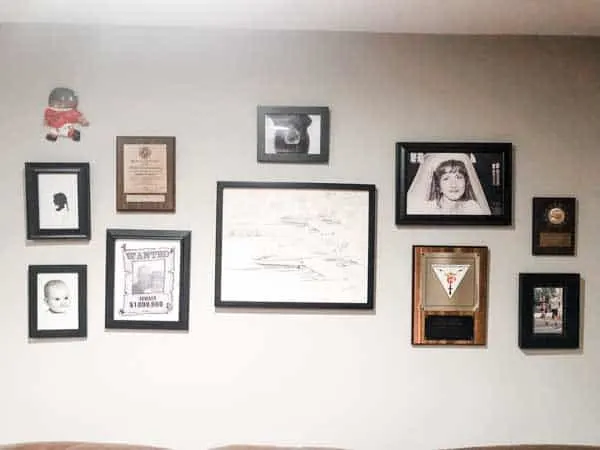
Please excuse the lighting here, there are no windows in his den so absolutely no natural light which makes taking photos a nightmare!
Here is an example of one that uses decor items but is pretty orderly, it’s from my Mom’s house. She uses black and white architectural photos as well as some home decor items.
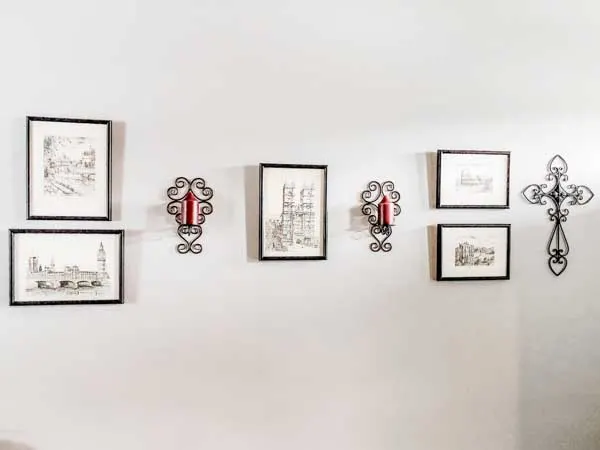
This photo is slightly on an angle because there is a stairwell right there. If only I was a few inches taller I could have gone down another stair or two and gotten a full straight-on shot! LOL
Now you have decided how the layout is going to look and you have your photos but it’s time to choose frames. This is 100% personal preference.
If you look at my inspiration photo you will see she has gold frames, those are very trendy right now. I decided to go with black because it went with my decor best.
You don’t have to use the exact same frames for each photo. You can choose a color scheme and go that route or you can get really crazy and use all different colors! I am just kidding there, it’s not crazy but I personally feel that if you use all different color frames it might be a little much for the eye to take in with the different photos too.
I think the best frames are ones that highlight the photos. Here are some great options you can use for your Gallery Wall.
How I created my gallery wall to decorate around my TV.
Now that we have discussed the components for a gallery wall I will tell you how I created mine. I chose these frames from IKEA. I knew I needed a whole lot of frames and they can get expensive. These frames from IKEA were reasonably priced and I liked the size too.
The next step was to figure out how many frames I needed. I measured the space, determined the width of the frame and how many inches I wanted in between, which I was thinking 4 inches at first. I knew I wanted two rows like my inspiration photo so I bought 10 frames.
Once I got the frames home I cut out packing paper the same size as the frames and taped it up to the wall to make sure I liked the look. And I didn’t like it at all.
(Sorry, I was watching tv while working on this project. #keepingitreal)
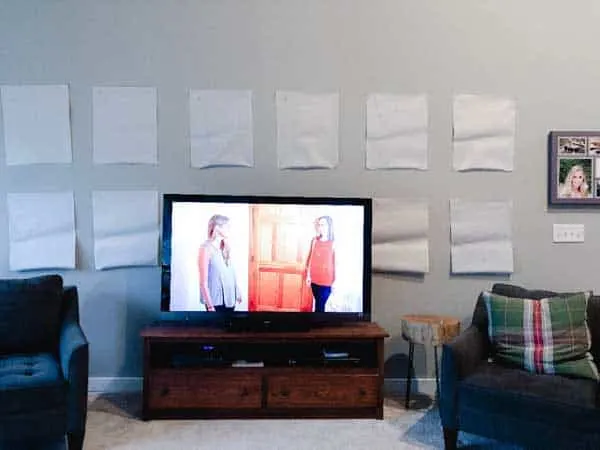
Then I decided to raise the paper up a little…..still not happy.
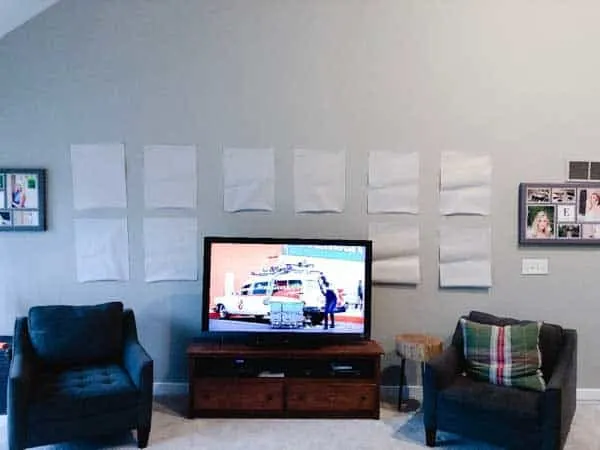
I just could’t get the spacing right around the TV. Finally I realized I needed to reduce the space in between to 3 inches and add another frame on the top row and it all fit perfectly!
As you can see when I did this I had to add another frame in the top row, which made me short one in the bottom row. That’s okay, I can make another trip to IKEA….twist my arm!
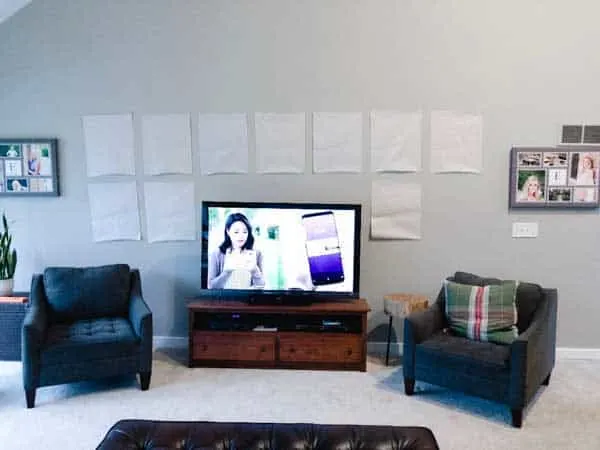
Sometimes even though you do the math once you see it up on the wall it just doesn’t work. I suggest using newspaper or packing paper or something to do this just to make sure it’s all good before you start poking holes in the walls.
How to hang the frames
Now it’s time to hang the frames. The tool you absolutely need, and I mean ABSOLUTELY NEED is a laser level. It was only like $30 at home depot but before I went out and bought it I almost threw the frames across the room! I couldn’t get anything lined up correctly.
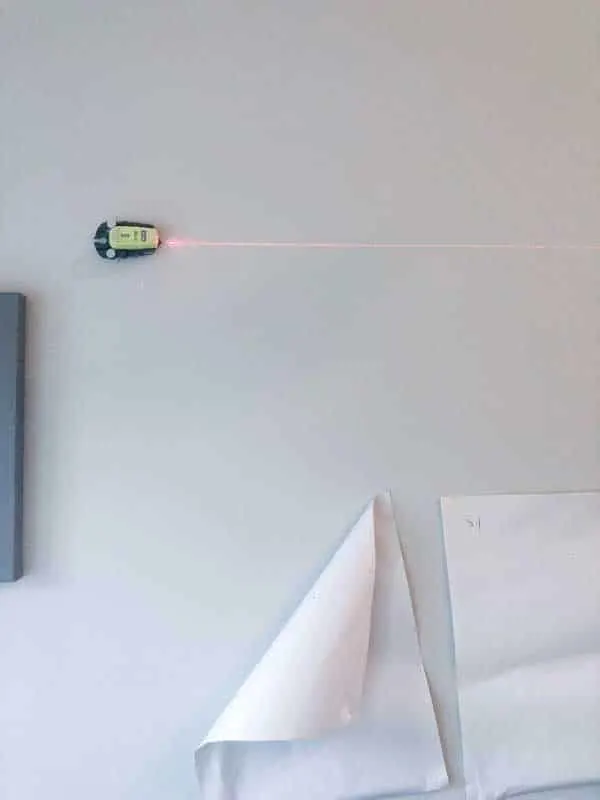
Once I had my laser level everything went so smoothly! I stuck it onto the wall, the laser went across the wall where I wanted the nails to go and I just measured from the center of one frame to the next and nailed all the nails in. Then hung the frames and they were perfect!
Printing Photos
The best part, and the part that took the longest was printing photos. I love looking at old photos, brings back memories of when my kids were little and this was definitely my favorite part of this project.
Once I chose my pictures I popped them into Lightroom and made them black and white then uploaded to Walgreens to be printed in 10X13 size.
There are ways to print them for cheaper but this was the easiest thing for me to do and I was on a time crunch to get this done before my daughter’s grad party.
The Finished Gallery Wall
After I finished the project and stepped back I was really pleased. The big blank wall was finally decorated and it didn’t feel big and imposing like the previous owner’s large furniture.
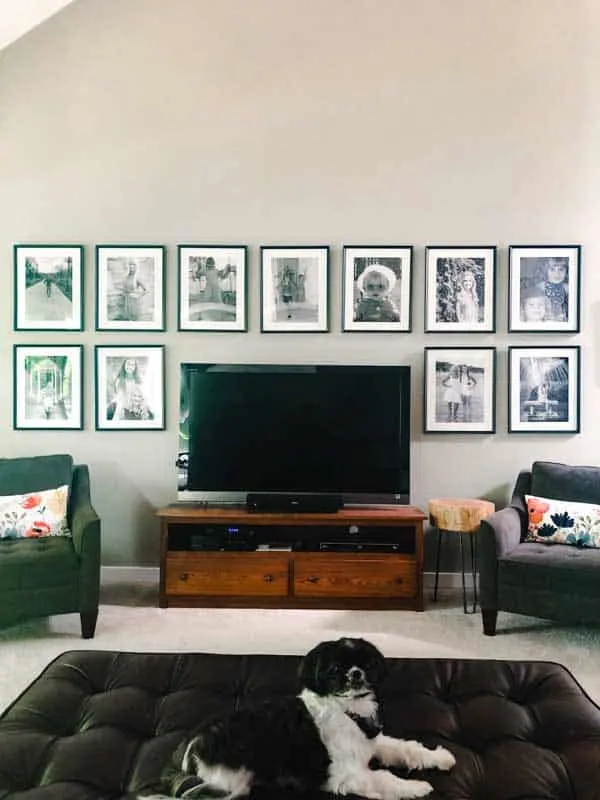
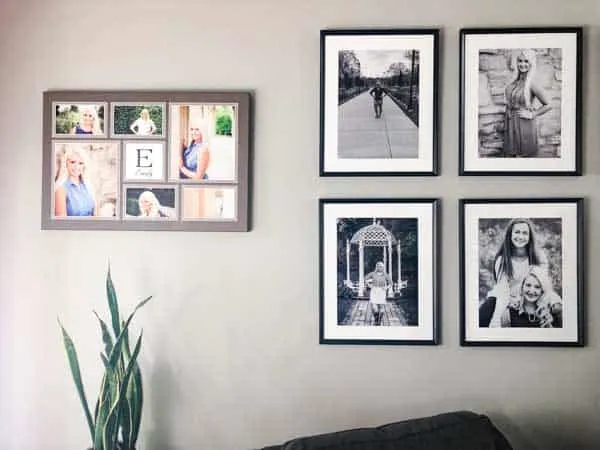
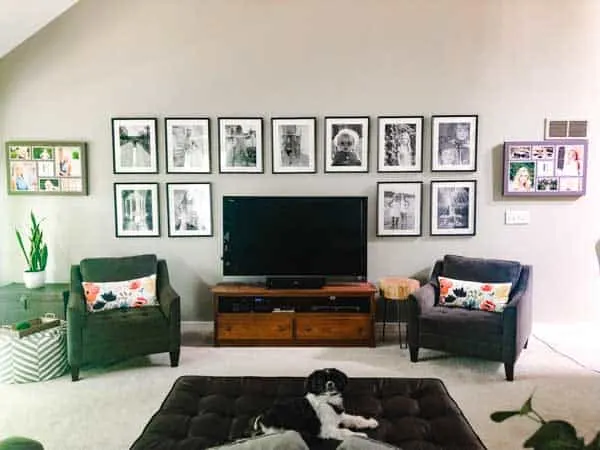
I had Bunco at my house the next week and I got so many compliments on my Gallery Wall. I hope you feel inspired to create one in your home. Are you crazy about symmetry like I am? LOL
Similar Decorating Ideas:
- 7 Of The Best Faux Fiddle Leaf Fig Trees On The Market
- 8 Amazing DIY Outdoor Accent Wall Ideas
- Sisal and Jute Rugs: The Difference and Are They Right for You?
- 7 Of The Best Faux Olive Trees on the Market
- 5 Home Decor Trends That Will Be Huge in 2021
- The Best Place to Buy Rugs Online in 2021
- 8 Ways to Create a Relaxing Porch and Patio That You Will Never Want to Leave
- Amazing Accent Wall Ideas That You Will Want to Try

As a licensed Real Estate Agent and an avid home decorator, I strive to give my clients the very best I can when it comes to staging, selling, and decorating their homes. I have lots of experience with paint color choices and love to DIY my home so I can have everything just the way I want it. I share my ideas and projects with the world in the hopes that I can help others have their homes just the way they want as well.


