Today I am sharing all the details on how to refinish a dining room table without using any kind of stripper.
Some people love to use stripper on their wood furniture. It makes the refinishing process easier but it’s pretty stinky and some of the products on the market are pretty caustic.
I am refinishing this table in the dead of winter so I don’t think using a stripper is a good idea, it might freeze on the table! So I am doing it the old-fashioned way, stick around to find out how.

*This post contains affiliate links. For more details see my full disclosure.
How to Refinish a Dining Room Table
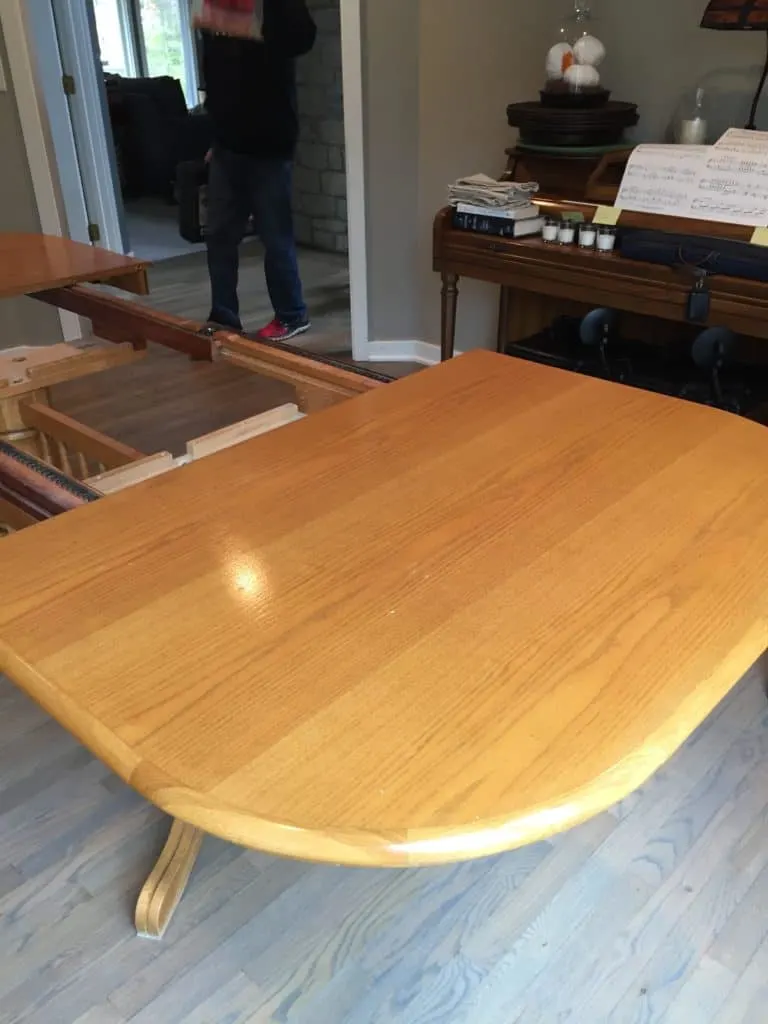
My husband and I bought this table many years ago. This table has two leaves in it and expands out almost 120 inches! I love how big it is.
The only problem, and it’s a biggie, is that it has that orangy wood look to it. I hate that 80’s wood and I want to get rid of it ASAP!
Here are the steps I used to refinish this dining table.
Materials
- Sander and Sandpaper
- Stain – I used this one from Minwax but I also love this one. They are my go to’s for stain color.
- Polyurethane or Polycrylic depending on the color stain you are using.
- Foam brushes
- Rags
- mask
- safety goggles
Step 1 – Sanding
You want to make sure you are in a well-ventilated area because sawdust will be flying! I wouldn’t recommend doing this in your house, I took my table into the garage.
Make sure you wear a mask and safety goggles. You will need a sander and sandpaper in the grit of 80, 120 or 150, and 220.
Start with the 80 grit and sand away. Always move in the direction of the grain or you will see what looks like scratches in the final product. I started with the top then moved onto the base.
For the curved areas you have to do it by hand, it’s tough work I am not gonna lie!
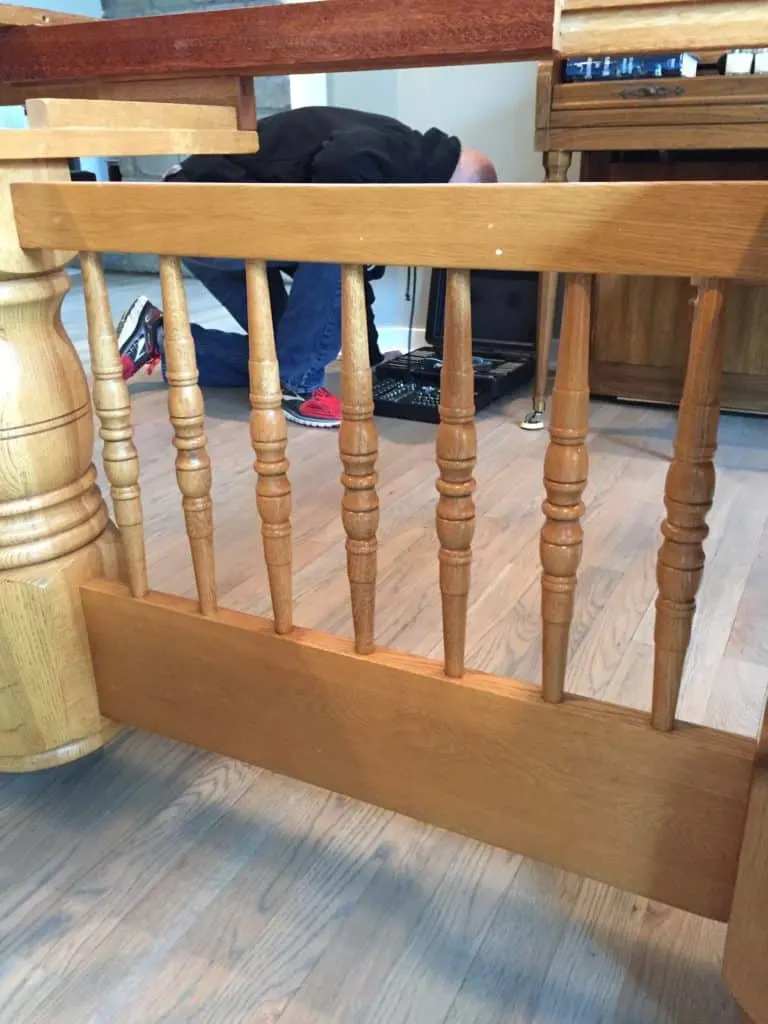
I worked on the 7 spindles in the base every weeknight for a week. I could only work for 45 minutes on it at a time because it was literally back-breaking but in short bursts, I was able to have all of them sanded with all the sandpaper by the weekend.
Once you have all the shiny finish off and hopefully down to bare wood you can move on to the 120/150 grit sandpaper and repeat with the whole table.
Then the 220 grit, this one gets it to be very smooth. It’s amazing the difference in the feel from the 80 grit to the 220 grit!
Step 2 – Staining
Once it’s sanded you need to clean it off. I actually used my leaf blower and blew the table (and my garage floor) and got all the dust off. Then I took a wet rag to it and wiped it down. Let it dry and it’s time to stain.
I moved the table back into the house for this next part, since it’s freezing outside.
You will want to wear latex or plastic gloves because stain can do a number on your manicure! I used a foam brush and stained it in the direction of the wood grain.
Leave the stain on for a few minutes, the longer you leave it on the darker the wood will get, then wipe it off. If you don’t wipe it off it won’t dry right, it will be very sticky.
You will probably need to work in small sections if you have a large table.
If you decide you want it darker you can always do a second coat, or a third for that matter. Just let them dry sufficiently in between coats.
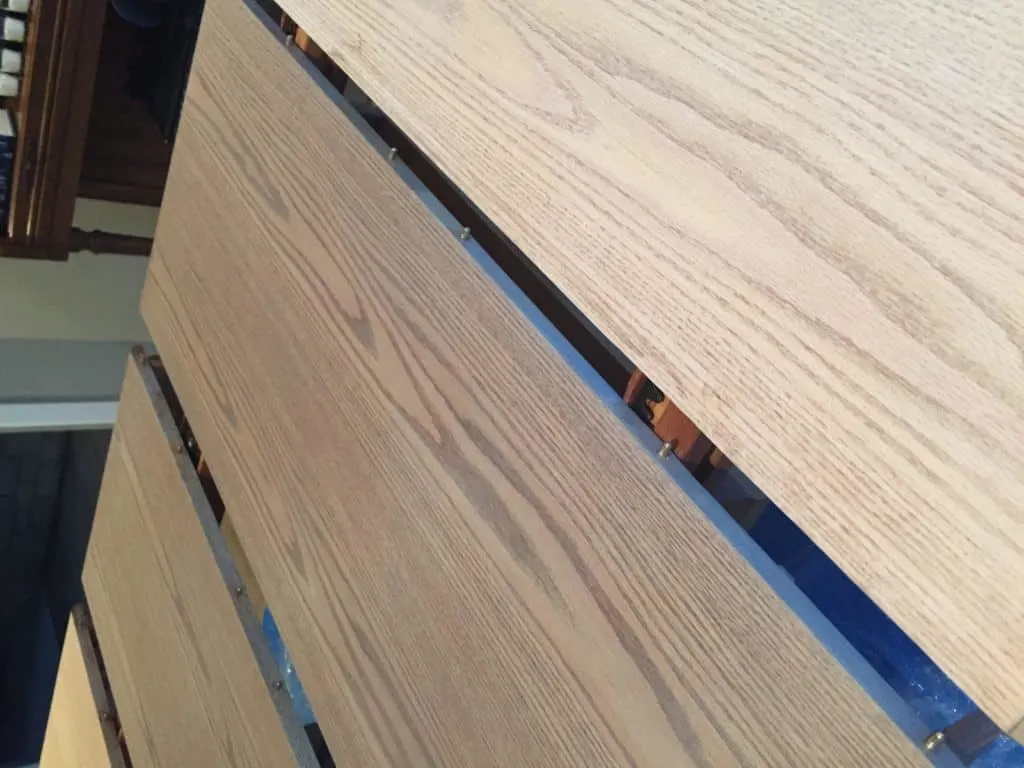
Here you can see the two leaves have been stained but not the outside pieces. I used Minwax Classic Gray stain and loved it!
Step 3 – Poly
You can either use polyurethane or polycrylic. Polyurethane has a bit of a yellow tint to it so if you are staining a light color it may be best to use polycrylic.
This is what I did, but on the can it says you can’t use it on red mahogany stain…I don’t know why but it’s always best to check your product’s directions first.
This was my first time using polycrylic and it was good but I think I like the urethane better. The crylic is a little watery and I felt I needed to do more coats to get a smooth finish. But this stuff dries so much faster!
I used a foam brush to start then switched to a regular paintbrush, I usually use foam when I use an oil-based product like the stain and polyurethane but polycrylic is water-based so it’s easy to clean up.
I did 3 coats on the base and 5 on the top, sanding lightly in between each coat with 220 grit sandpaper. Polycrylic also dries a lot faster so you can do more coats in a day than if you used polyurethane.
As always go in the direction of the wood grain.
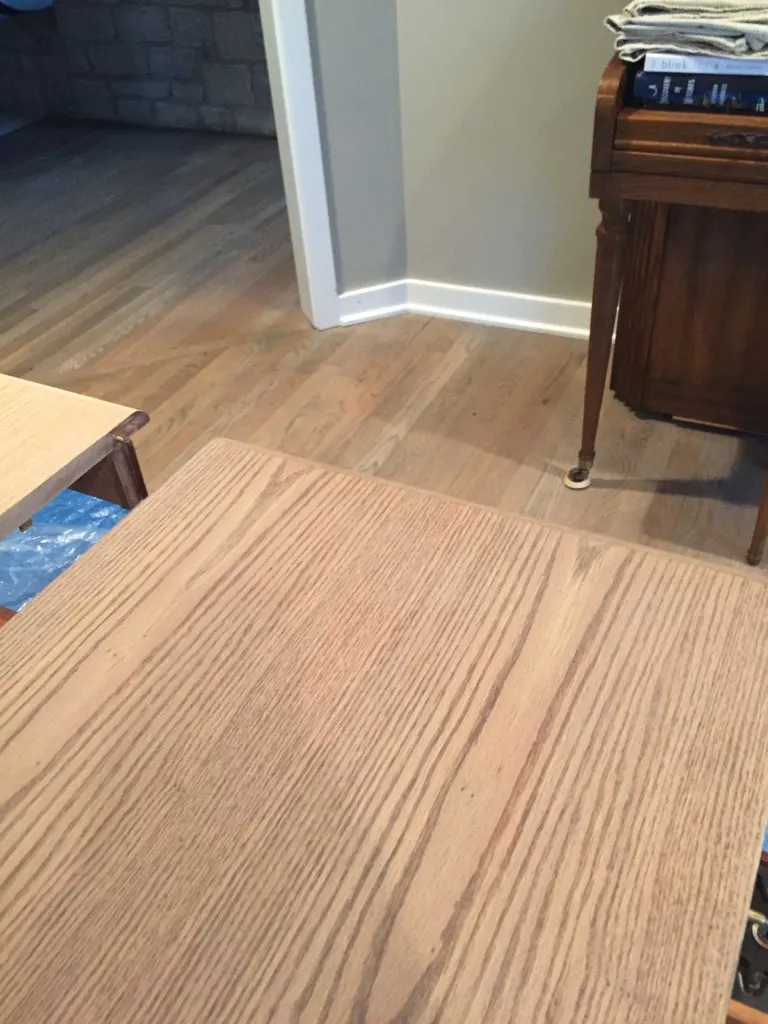
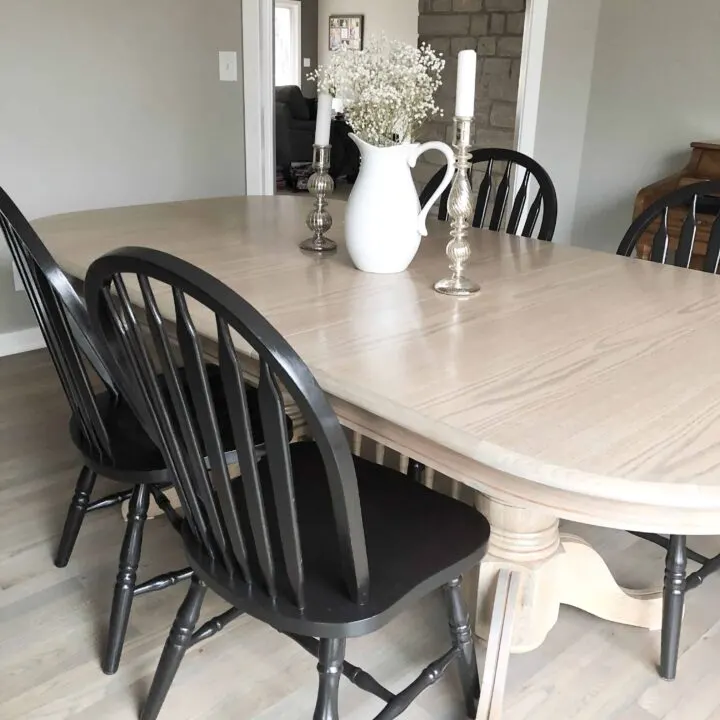
I was trying to match the stain to our floors. I think it’s pretty close.
Step 3 – Style the table
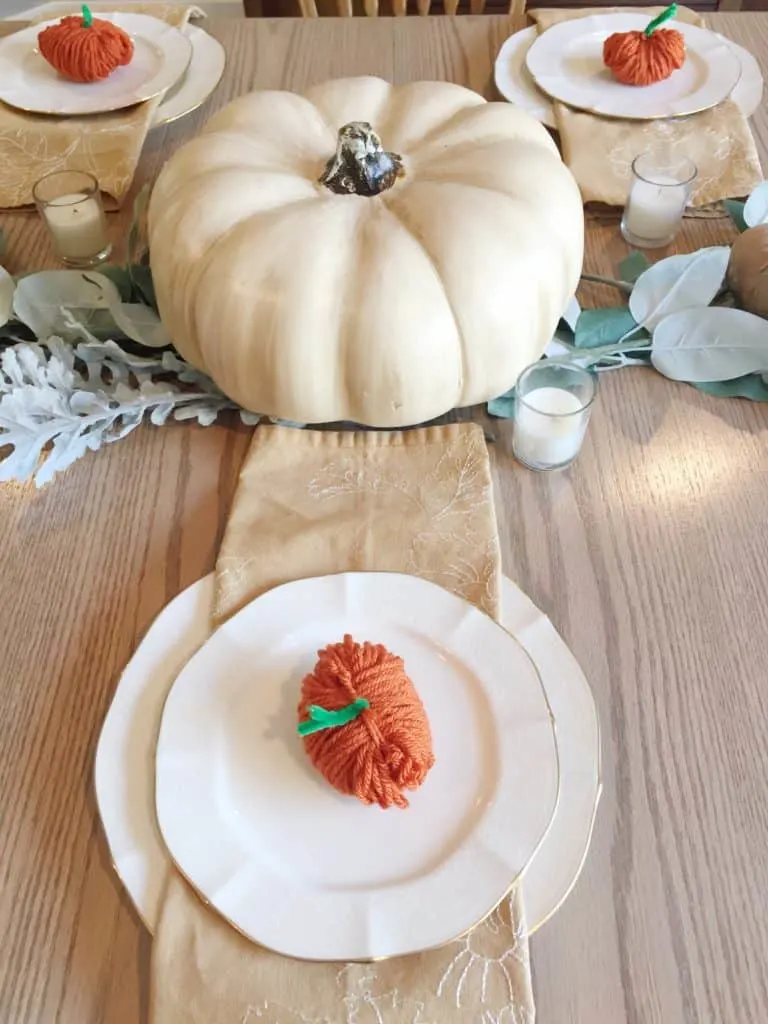
Yeah, it’s done! I let mine sit for a few days to fully harden, probably don’t need to do that but it made me feel better. Then I styled the table for Thanksgiving. Here is the finished product!
Now I could have painted the table, painted the base, and stained the top….there are endless options. I did not use paint because my kitchen table has a painted base with a stained top.
Other DIY Furniture Projects:
- How to DIY a Board and Batten Wall Inexpensively
- The Best Wood Stains for Pine
- How to Stain, Paint and Reupholster a Chair
- How to Build Industrial Shelves
- A DIY Vintage Desk Makeover Using Fusion Mineral Paint
- DIY Table Top: Fixing a Broken Patio Table on a Budget
- How to Build a Bench from Scratch

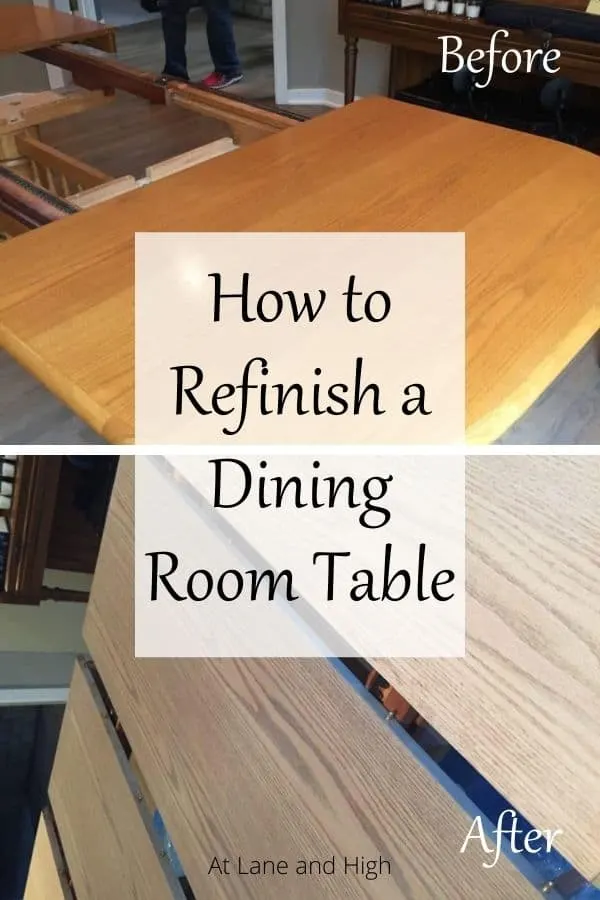
How to Refinish a Dining Room Table Without Using Stripper
Learn how to refinish a dining room table without the use of harsh chemicals found in furniture stripper.
Materials
Tools
Instructions
- Sand your table down using 80 grit sandpaper, then move to 120 then finish off with 220 grit.
- Clean the table thoroughly.
- Stain the wood using a foam brush or rag going with the wood grain.
- Rub the excess stain off before it dries.
- Allow it to dry for 24 hours.
- If you want to have a darker table you can apply another coat of stain now, allowing 24 hours for it to dry.
- Apply polycrylic (or polyurethane depending on the color you stained the table).
- Allow 24 hours to dry.
- Apply several more coats, sanding lightly in between with 220 grit sandpaper for a smooth finish.
- Allow 24 hours to dry in between all coats.
Notes
With all the dry time plan on giving this project at least a week as long as you can work on it every day. For most people it would take two weeks to completely finish.
As a licensed Real Estate Agent and an avid home decorator, I strive to give my clients the very best I can when it comes to staging, selling, and decorating their homes. I have lots of experience with paint color choices and love to DIY my home so I can have everything just the way I want it. I share my ideas and projects with the world in the hopes that I can help others have their homes just the way they want as well.


Melissa
Thursday 23rd of November 2017
It looks amazing Wendy! I love how you have it styled too! And I'm with you on polycrylic vs polyurethane. If I'm not worried about something yellowing, I always go for polyurethane. I can't wait to see your entire dining room!! Enjoy your turkey day on your new fabulous table.
atlaneandhigh
Saturday 25th of November 2017
Thanks Melissa! Thanks for all the support! Happy Thanksgiving.
Marly @ A Brick Home
Wednesday 22nd of November 2017
It looks beautiful Wendy! Such a stunning transformation. I am totally going to use a leaf blower next time to blow off the dust haha. Good idea. 😃
atlaneandhigh
Saturday 25th of November 2017
Haha, it worked pretty well. And to get all the dust off the floor of the garage! Thanks so much for the kind words.