Today I am going to share with you how to install shiplap walls for cheap but still get the modern farmhouse look you desire!
We all love the look of shiplap and the texture it gives walls. I personally feel like every room in the home should have some architectural element and shiplap is the hottest thing out there now!
*This post contains affiliate links. For my full disclosure click here.
How to Install Shiplap Walls
To keep costs down I am not using true shiplap. I will be using underlayment that is cut into 6-inch strips and attached to the walls with a nickel-sized space in between each board. This is how you get the shiplap look without the big price tag!
Prepare Your Walls
The first thing you need to do is make sure the walls are white. You don’t want a color or dark shadow showing in between the boards. The best thing you can do is paint the walls white. Prep work is so fun, isn’t it! 😂
Next, measure the wall space and figure out what square footage you will need. This will help you determine how much you need to buy.
Materials:
- Underlayment
- Nails
- Caulk
- Wood Putty
- Primer
- Paint
- Paint Supplies – check out my post on the must-have paint supplies I cannot live without.
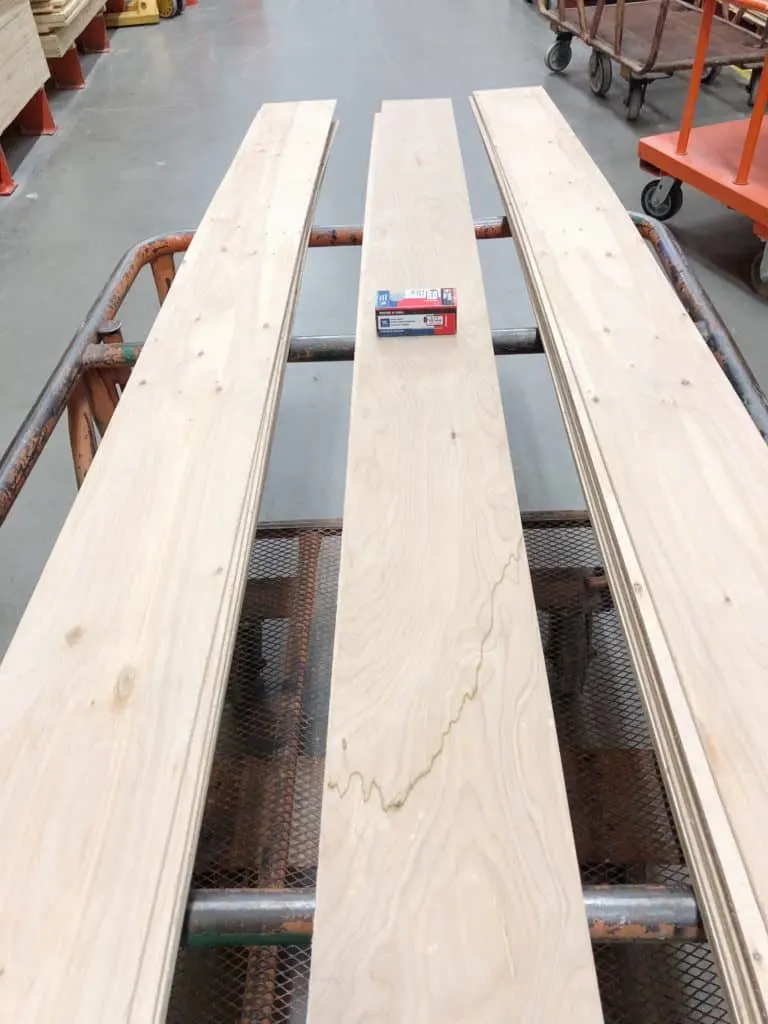
Go to your local home improvement store and purchase underlayment. It’s super thin wood that is used for underflooring.
The most economical way to buy it is in 4X8 foot sheets but you might not be able to transport that if you don’t have a large vehicle. So get what size you can maneuver home.
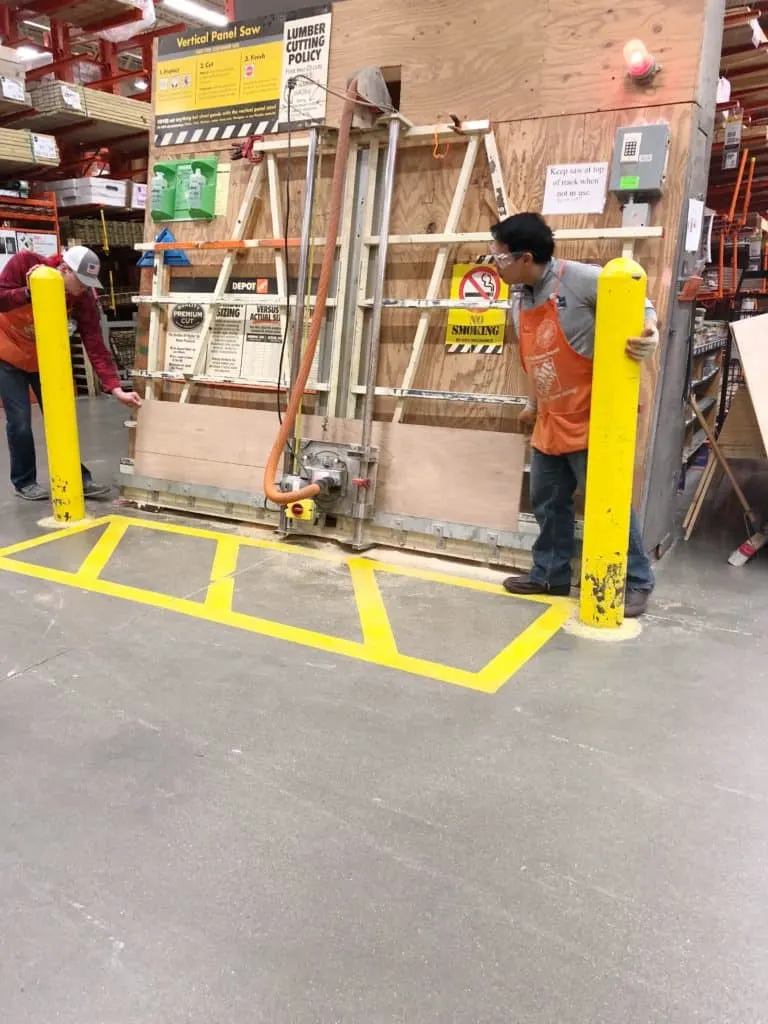
It would be great if the store would rip the sheets down to 6-inch strips for you. Otherwise, you need to have a table saw and do it at home.
I do not recommend doing this with a circular saw, the cuts won’t be straight and you will not be happy with the result.
Tools:
- Table Saw – This is only if you are cutting the underlayment yourself
- Miter Saw
- Nail Gun and Compessor kit
- Nickels
- Stud Finder
- Jig Saw
Most likely you will need to cut some of these boards to a shorter length and to do that you will need a miter saw. I just bought this new sliding compound miter saw and it is amazing. I love that it slides so I can cut wider pieces of wood! Plus, it wasn’t super expensive.
You also need a nail gun and finish nails. I bought this nail gun and compressor kit and I absolutely LOVE it! I have used it for so many projects, it’s worth every penny.
If want to use a hammer and nails that is fine but I highly recommend the nail gun, it’s so much faster. I would recommend that if you use a hammer to have a counterpunch to sink the nails down so you can putty over them.
You also need wood putty and caulk which you can grab from Amazon or your local home improvement store.
The only other things you will need are a stud finder, paint, and painting supplies.
Where to Start Your Shiplap
Start either at the top or the bottom of the wall. It all depends on your space.
The chances of your walls fitting all the boards in without having to cut one is very small. You will need to decide where you want that cut board to be, on the top or on the bottom.
Most of the time I recommend having that board on the bottom because you won’t notice it as much as you might at the top of the wall.
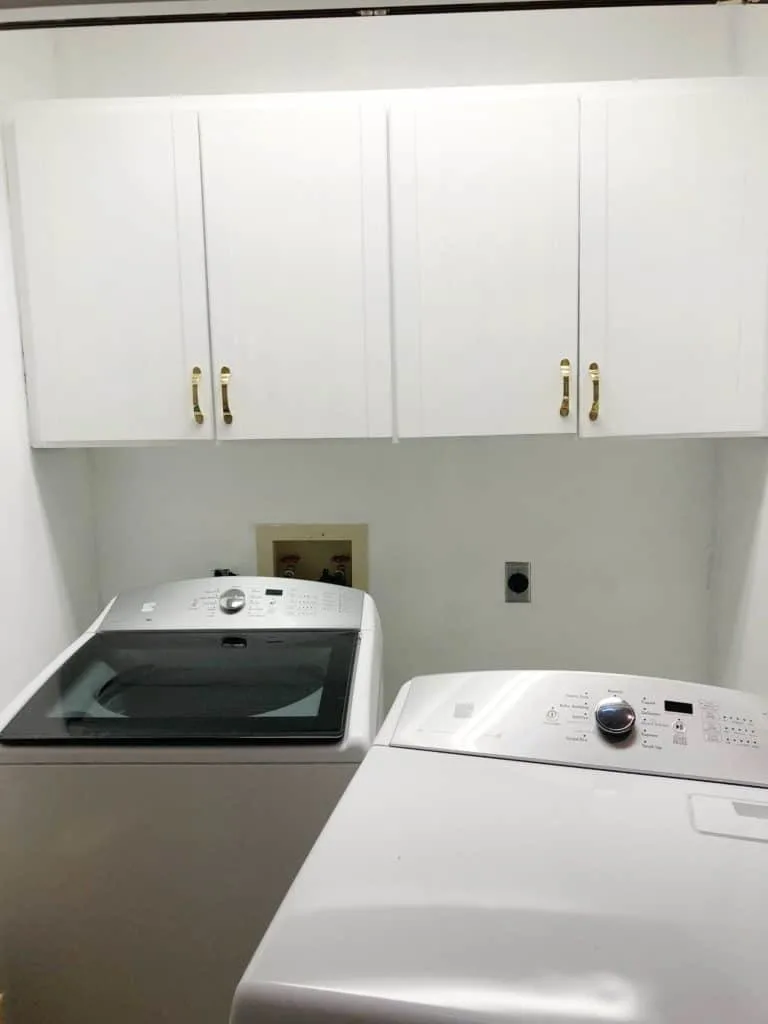
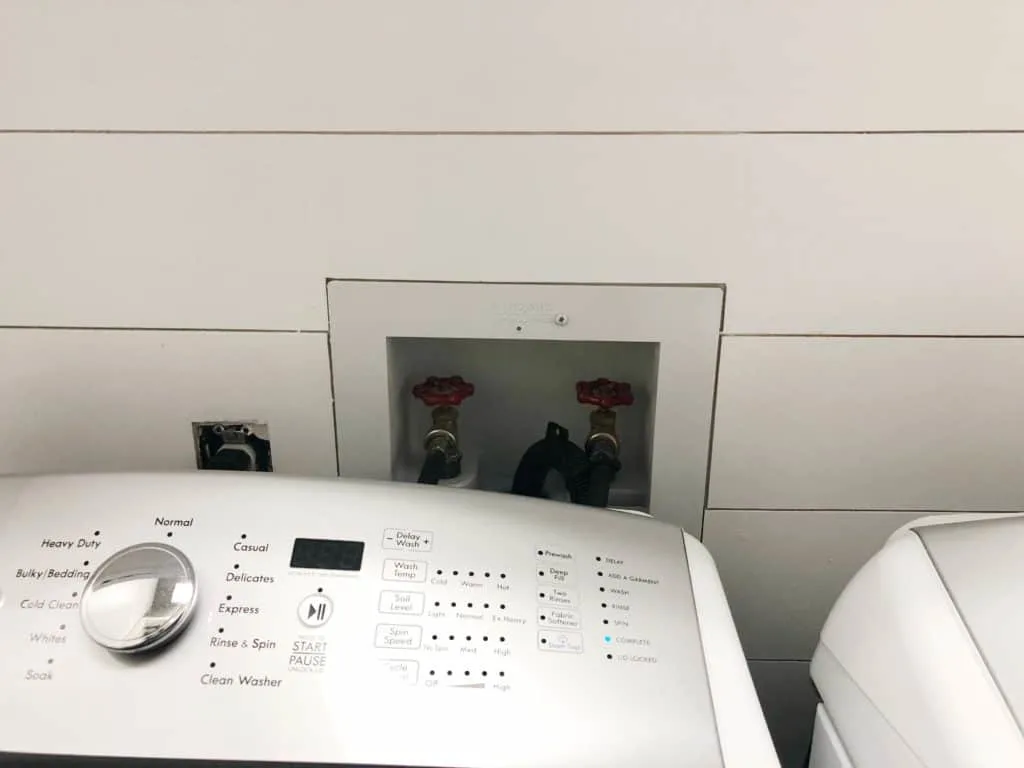
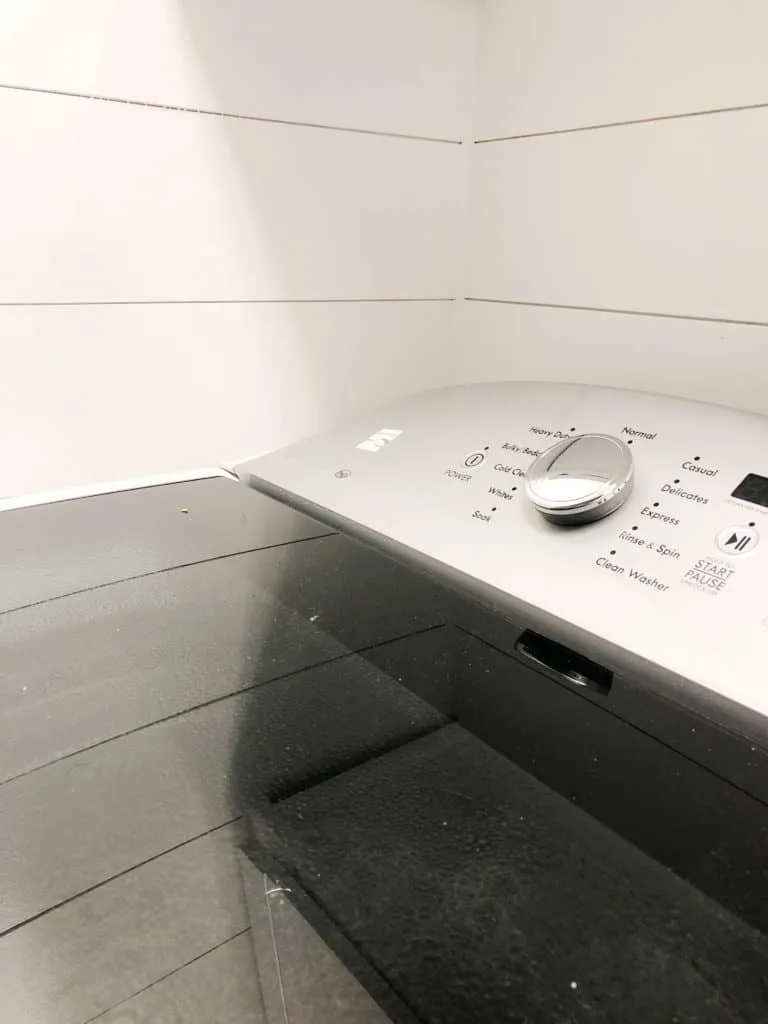
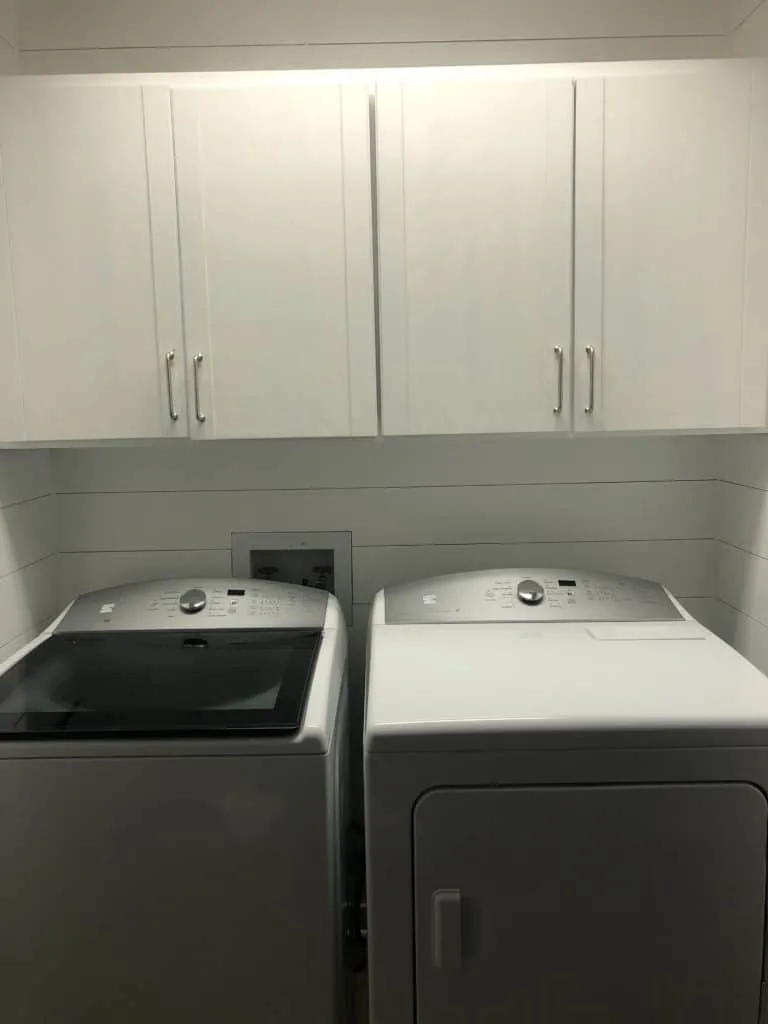
I decided to start just under the cabinets in my laundry room because that’s more eye level and I wanted it to be a full board there. If I had to have a cut board I wanted it behind the washer and dryer rather than at eye level.
How to Install Shiplap to the Walls
You will need a miter saw for this, or a hacksaw if you are doing it manually. I also highly recommend a jigsaw for cutting around outlets. I didn’t use one and I really wish I had.
If you have a wall shorter than the length of your boards like I do, then make the cuts with your miter saw to the appropriate length.
Using a stud finder mark where all your studs are on the wall. Hold up your first board and check for level. Then nail it! You really might need a second set of hands here, depending on how long your board is.
Using nickels or shims, whatever you want to use to measure the distance in between boards, put it in between the boards, and then nail up the second board. Continue with this method checking for level every board or two.
If you have to but two boards up together make sure those cuts are staggered! The rule of thumb is there shouldn’t be a joint in the same place every 3/4 boards.
Because I am doing a small room I don’t have any joints except where I had to make cuts.
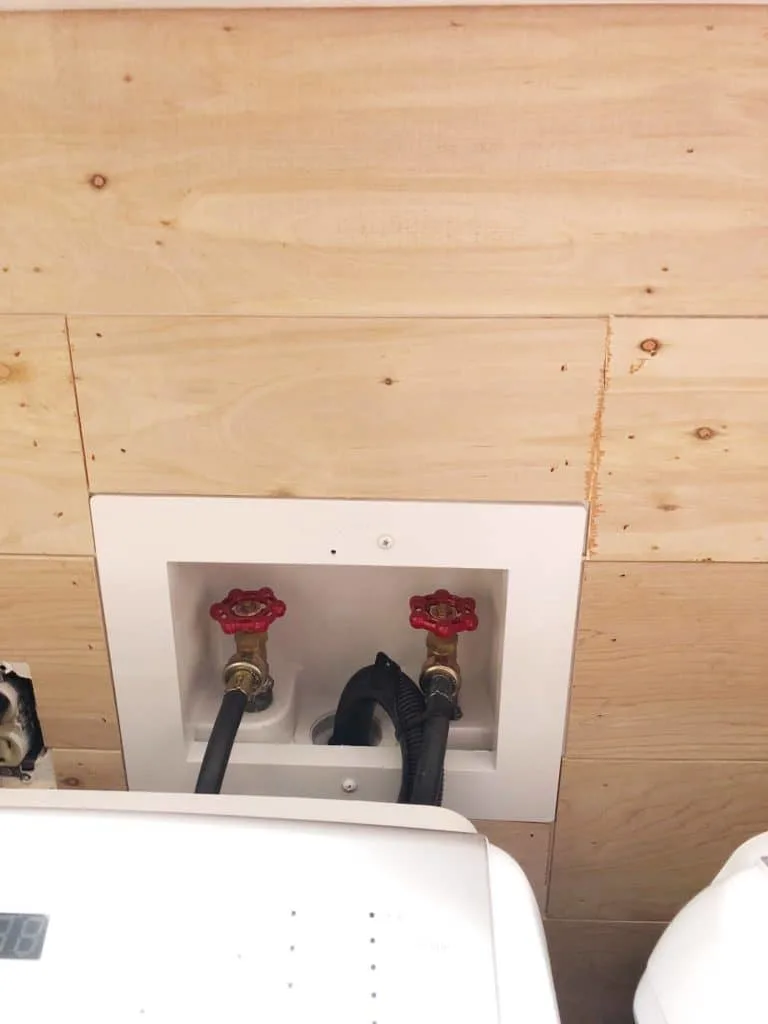
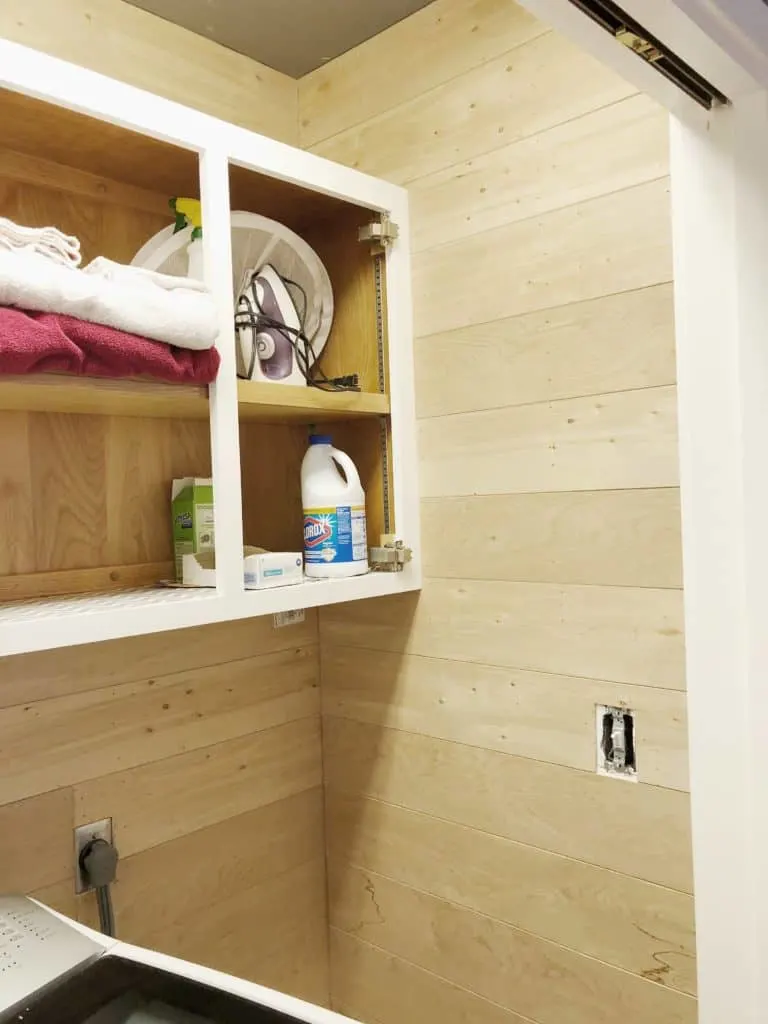
Once you have nailed up all your boards stand back and enjoy all the hard work! You deserve it! This project isn’t the easiest thing to do, especially doing the laundry room! LOL
Putty and Caulk the Shiplap
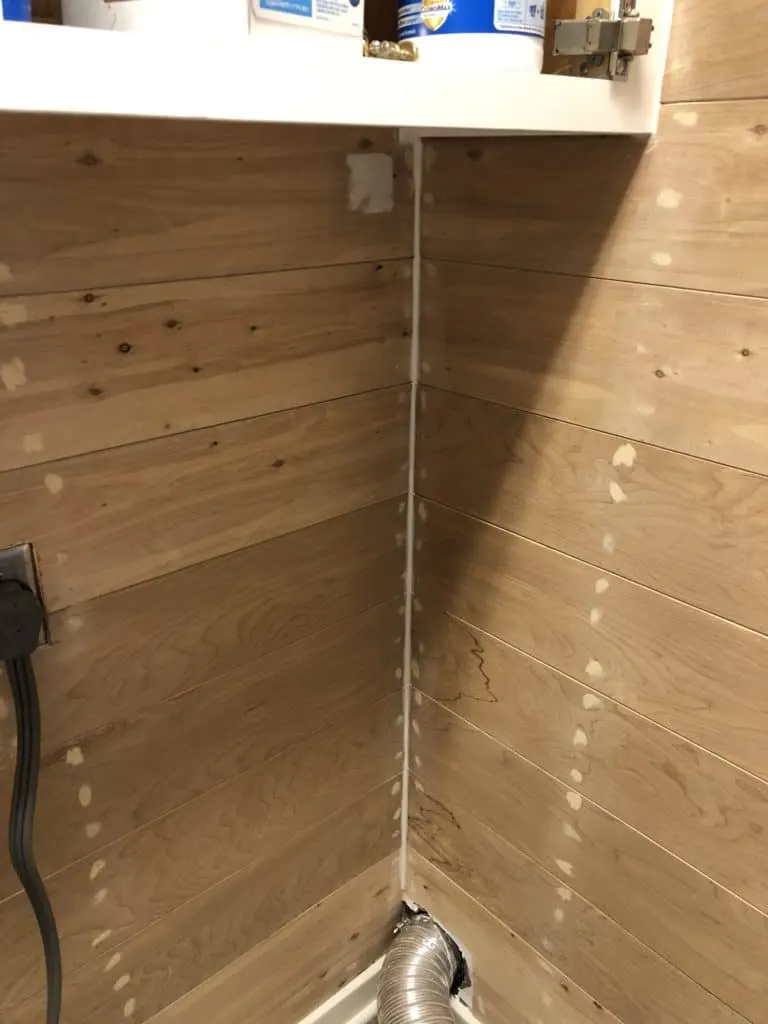
Okay, I call this the fun part but it is soooo not the fun part. Here is where you need to putty all the nail holes and places where you joined boards together.
Some people don’t do this, they leave the nail holes and this gives it a more rustic look. It’s really an aesthetic thing and it’s up to you if you want to do it or not.
Once the putty is dry you need to sand it so that it’s flush with the boards.
Make sure you use a good, all-purpose caulk that is paintable. You want to caulk where the boards meet the ceiling, where they meet the baseboard, and in the corners of the room where wood meets wood.
Another option for the corners is to put quarter-round up. This is a great look, it’s totally up to you. I personally used caulk and I really liked the look.
Time to Prime and Paint the Shiplap
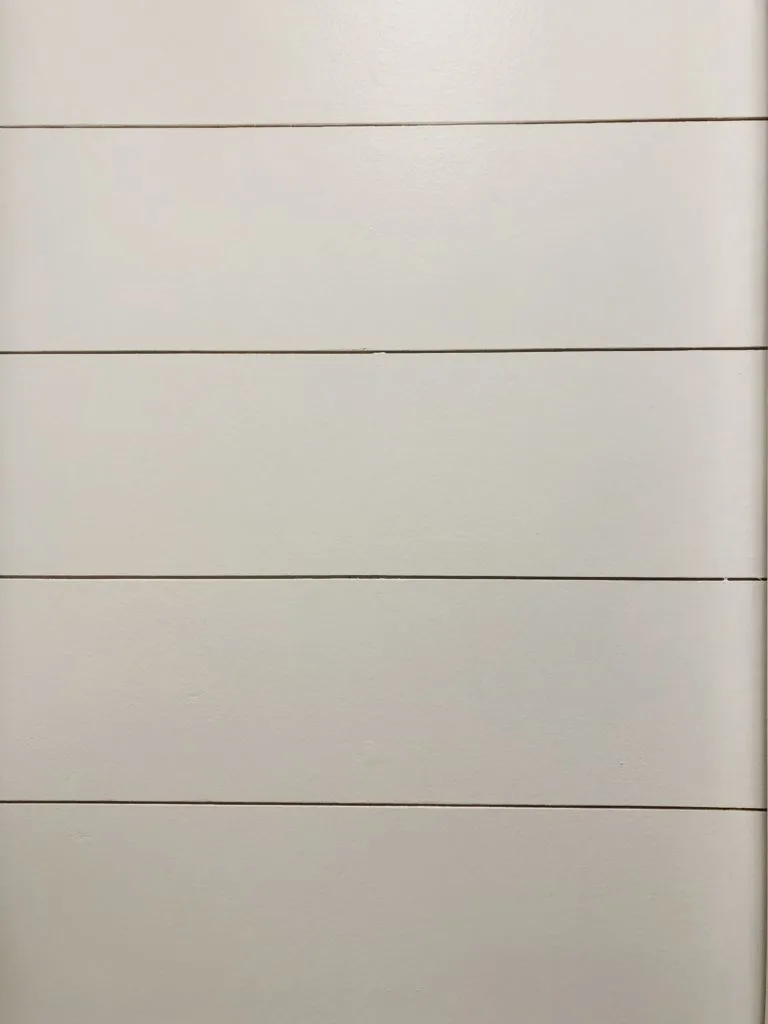
This is the time where the big impact comes. Most of the time white is the color of choice but you can do whatever you want.
Joanna Gaines did a matte black shiplap wall in season 4 of Fixer Upper and it was gorgeous. It’s totally your call.
Prime your wood walls before you paint to seal in the color and wood. Then paint the color of your choice.
If you choose to go with white make sure you do a coat of paint on all your baseboards and door frames just to make sure it’s all the same color.
Other Ways to Use Shiplap
I shiplapped my whole laundry room. I have seen lots of people just do an accent wall. Another great option is to do a wainscot with shiplap.
Recently I have seen a surge in popularity of vertical shiplap in bold colors. I am trying to figure out where I can do this in my home!
I used shiplap to make a farmhouse sign! I also put leftover shiplap on the ends of my DIY built-ins in my home office/den space!
All of these options are great and they all look amazing. If you do this I would love it if you could send me a picture! And if you have any other ideas please comment below!
Related DIY Wood Wall Feature Posts:
- DIY Picture Frame Molding on the Walls
- Amazing Accent Wall Ideas That You Will Want to Try
- 8 Amazing DIY Outdoor Accent Wall Ideas
- How to Inexpensively Create a Reclaimed Wood Wall
- How to DIY a Board and Batten Wall Inexpensively
- DIY Board and Batten Box Molding in a Stairwell


How to Install Shiplap Walls for Cheap!
Today I will show you how to Install Shiplap on your walls for very little money.
Materials
- underlayment
- wood putty
- caulk
- nails
- primer
- paint
- paint supplies
Tools
Instructions
- Paint your walls white.
- Purchase and cut your underlayment into 6-inch strips.
- Attach your wood to the wall using the nail gun, making sure it's level.
- Use nickels as spacers in between boards.
- Continue attaching boards using nickels and the level to space them and make sure they are level.
- Use the jigsaw to cut around outlets and light switches.
- Putty the nail holes and where your cuts meet.
- Caulk where the wood meets in the corners of the walls, walls, and ceiling and where the wood meets the baseboards.
- Prime then paint the walls waiting 24 hours in between each coat.
Notes
You will probably have to do 3 coats of paint if going white.
As a licensed Real Estate Agent and an avid home decorator, I strive to give my clients the very best I can when it comes to staging, selling, and decorating their homes. I have lots of experience with paint color choices and love to DIY my home so I can have everything just the way I want it. I share my ideas and projects with the world in the hopes that I can help others have their homes just the way they want as well.


Denise
Wednesday 7th of February 2018
Looks beautiful Wendy. Great job!
atlaneandhigh
Wednesday 7th of February 2018
Thank you so much Denise!
Grace Dempsey
Monday 5th of February 2018
We did this in our bedroom. Nail gun is well worth the cost.
atlaneandhigh
Tuesday 6th of February 2018
I completely agree Grace. I wouldn't want to do it without one for sure. That would be a lot of work, but doable.
Ivory
Thursday 1st of February 2018
I went out and got the material, and my hubby gave me beautiful shiplap walls. Thanks for sharing , it's beautiful.
atlaneandhigh
Thursday 1st of February 2018
That's so great Ivory! I am glad you like it.
Marly @ A Brick Home
Monday 29th of January 2018
This is gorgeous Wendy! It makes such a difference in your laundry room - love it!
atlaneandhigh
Monday 29th of January 2018
Thank you so much friend!
Gabby
Wednesday 24th of January 2018
I am seriously considering doing this in my upcoming laundry room makeover! You've inspired me :) Well, minus the injury part! Ha ha.
atlaneandhigh
Wednesday 24th of January 2018
Haha, thanks Gabby. I hope you do! It's hard work but man, it makes such a big difference. On a side note, my ankle is feeling a lot better! LOL