
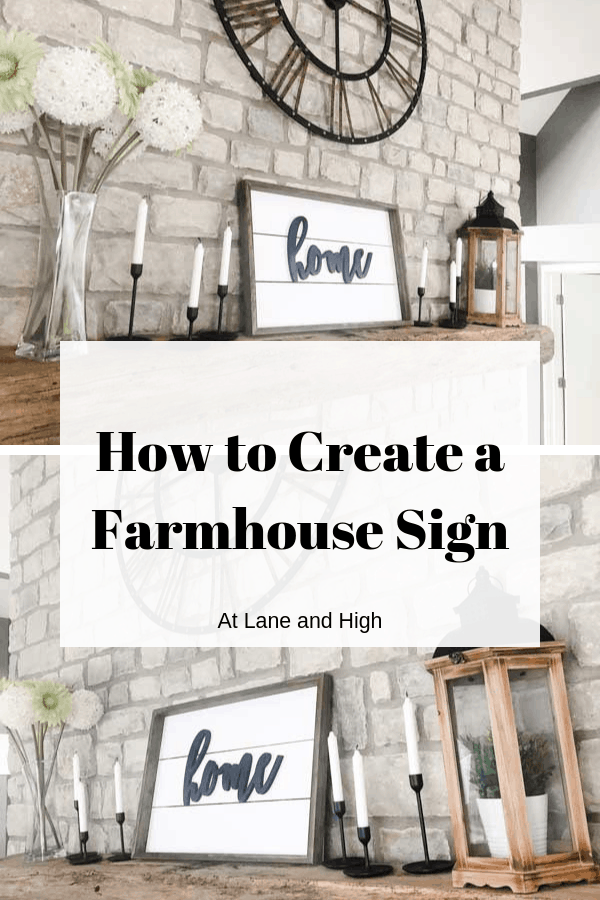
How to Make Your Own Shiplap Sign
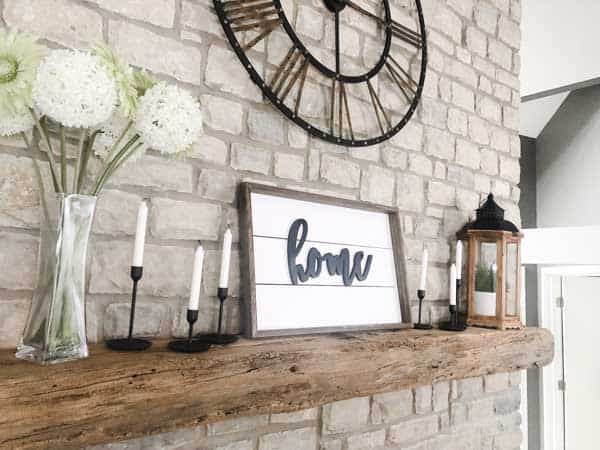
I am so excited to share with you my latest project, a Rustic Shiplap Sign. Most of the materials I had leftover from other projects! Isn’t that the best when you can create something out of what you already have!
As I was walking through Hobby Lobby one day and almost walked right by this wood cutout that says home. Immediately I stopped, backed up, and grabbed it! That baby is going home with me today!
I knew I wanted to create a farmhouse sign with it. And by using leftover shiplap, and 1X2’s I was able to create this cute sign that sits on my mantel.
*This post contains affiliate links, see my full disclosure for details.
DIY Shiplap Sign
Materials:
Step 1 – Spray Paint
The first thing I did was to spray paint the wood cut out that I picked up from Hobby Lobby.
I have all this black spray paint on hand because I plan on spraying my metal outdoor chairs and dining table. They are faded pretty badly. I just used a little of that spray paint in a matte finish.

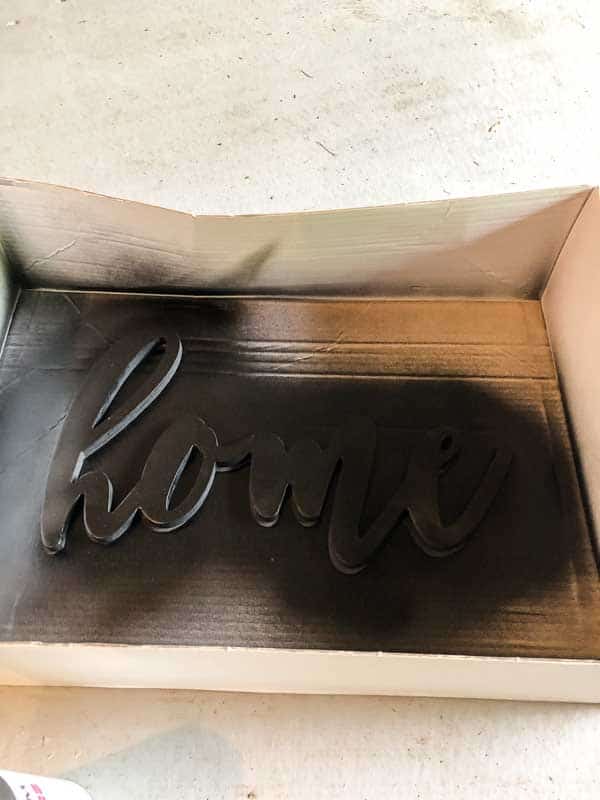
It took about three coats to cover every part of it in a solid color. Make sure you let it completely dry in between coats.
Step 2 – Cut and Paint the “shiplap”
I put the word shiplap in quotes because it’s not real shiplap. It’s actually underlayment that I had leftover from my farmhouse laundry room reno where I installed faux shiplap on the walls.
Place the home cutout on the shiplap and determine how many pieces of shiplap to use and how long the shiplap needs to be. Mine ended up needing 3 pieces of shiplap at 6 inches wide (so a total of 18 inches tall for the sign).
I cut the underlayment, aka shiplap, sanding the rough edges down. Then I primed and painted using white paint.
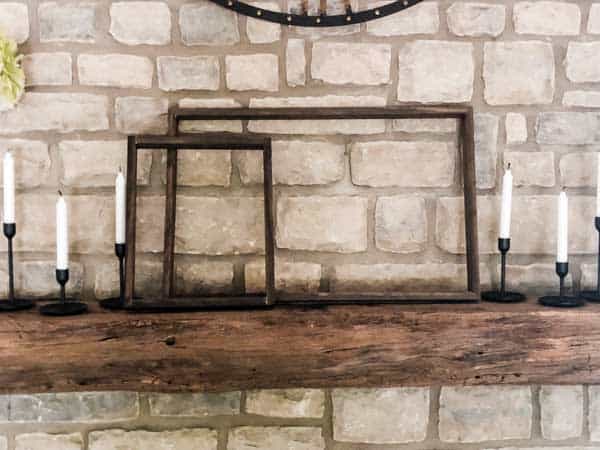
Step 3 – Make the Frame
I dedicated an entire post on How to Make a Rustic Wood Frame. You can check that out for the full details. Here is the short version of what I did.
First I measured the shiplap both tall and wide and added 1/8 inch for space between the pieces of shiplap to get that real shiplap look. If you are using real shiplap you don’t need to add the extra 1/8 inch.
I am using a square corner for this frame. When you do that the top and bottom piece will extend out over the side pieces. So add an extra 1 1/2 inches to the measurement for the top and bottom.
For example, if the width of your shiplap is 20 inches cut your 1X2 wood to 21 1/2 inches.
Cut your side pieces to the height of the shiplap.
Would you like to save this?
Assemble your frame using a nail gun or hammer and nails.
Stain the color of your choice.
Step 4 – Assemble the Farmhouse Sign
Here comes the fun part! Putting the whole thing together to get your final product is so fun.
Take your shiplap and attach it to the back of the wood frame. Make sure you leave just a small space in between the pieces of shiplap, about 1/8 of an inch. Traditionally it should be the size of a flat nickel.
I used my nail gun with one-inch nails to attach the shiplap to the wood frame. Make sure you don’t angle your nail gun or you will have a nail coming out the front of the sign and that’s not good!
Place your sign on a table, or like I did put it on the floor, and using the handy dandy hot glue gun I put a ton of glue on my wood word (home) and pressed it down on the shiplap. Be careful not to put glue where the gap in the shiplap is or you will get glue all over whatever surface you are working on.
I let it sit there for a few hours just to make sure it was good and hard, I didn’t want the word to slide down. (Of course, I forgot to take pictures of this part. UGH! I just get going and totally forget to take those pics for you! I am so sorry!)
If you have something with a significant weight you might want to use wood glue and place a heavy book on top to make sure it adheres well.
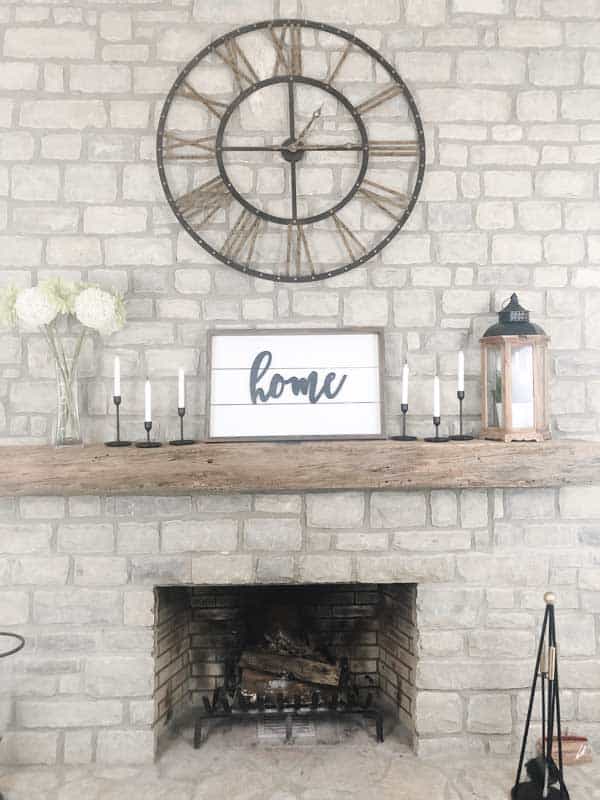
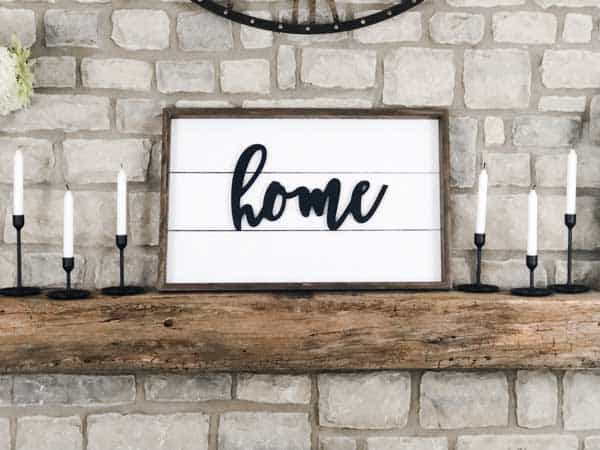
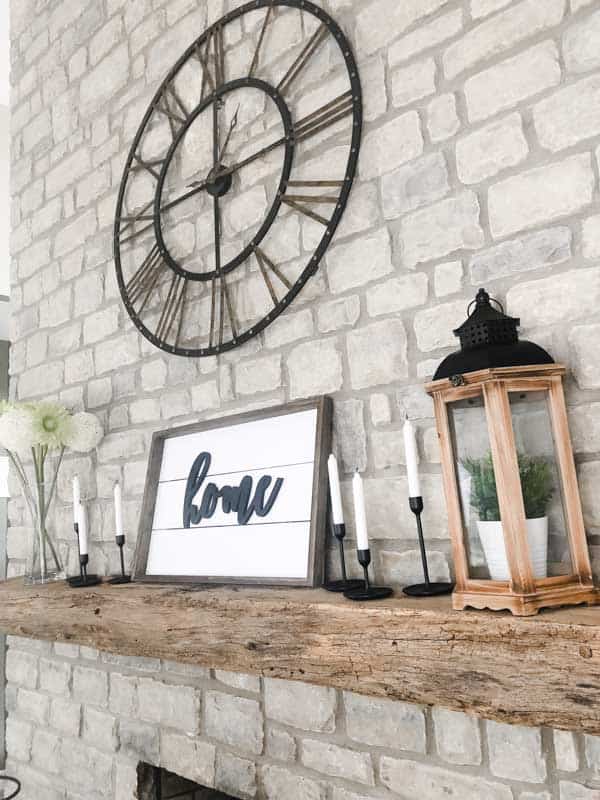
Finished DIY Shiplap Sign
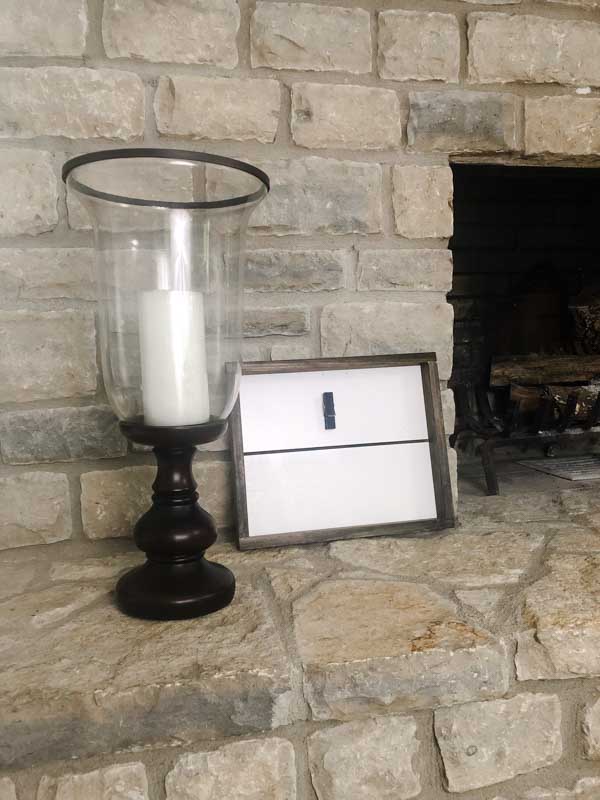
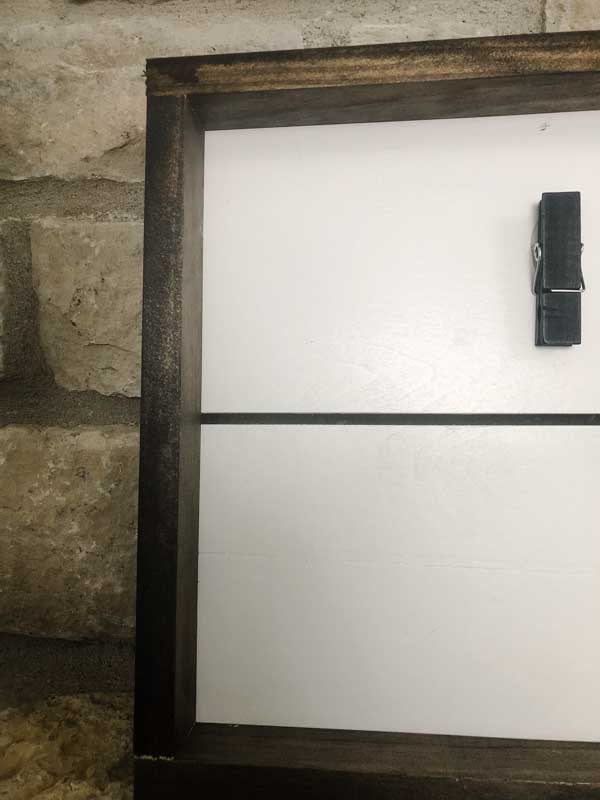
Another Option for a Shiplap Sign
I had some leftover frame and shiplap so I decided to make a second sign for my daughter.
Instead of using a word, I added a fancy clothespin that I had leftover from grad party decorations.
I hot glued it on and now she can add a cute picture of her and her boyfriend to it and hang it on the wall.
Related DIY Wood Projects:
- How to Build a Rustic Wood Frame
- How to Install Shiplap
- DIY Wooden American Flag
- DIY Board and Batten, The Dining Room
- Board and Batten Box Molding on Stair Walls
- How to Build Industrial Shelves


How to Make Your Own Shiplap Sign
Learn how to DIY your own shiplap sign.
Materials
- Home Sign
- Spray Paint
- 1X2 wood
- Shiplap
- Primer
- Paint
- Stain
- Nails
Tools
Instructions
- Spray paint your word cutout. In my case, it was the word home and I painted it black.
- Cut your shiplap to the correct height and width using the word cutout as a guide for size.
- Measure the height and width your shiplap is and cut your wood to the dimensions adding 1 1/2 inches for the top and bottom pieces.
- Attach the wood frame together using a nail gun.
- Stain your frame and allow 24 hours to dry.
- Paint your shiplap and allow 24 hours to dry.
- Attach the shiplap to the wood frame using the nail gun and. allowing a small gap in between boards the size of a nickel.
- Lay your shiplap and frame down on a level surface. Using hot glue on the back of the word cutout glue it down to the shiplap. Be sure not to get glue in between the gaps or you will glue it to the surface you are working on. Allow time to dry.
Notes
Allow 24 hours dry time for paint and stain.

As a licensed Real Estate Agent and an avid home decorator, I strive to give my clients the very best I can when it comes to staging, selling, and decorating their homes. I have lots of experience with paint color choices and love to DIY my home so I can have everything just the way I want it. I share my ideas and projects with the world in the hopes that I can help others have their homes just the way they want as well.


This type of sign, with the couple’s name or “Mr. and Mrs.” is popular for rustic wedding decor as well. Great tutorial! (BTW, found you via @heykristiehill 🙂 )
Oh thanks so much Bobette! My daughter might be getting married soon so I might have to make one for them! Thanks for stopping by!