
DIY Wood Slice Ornament – Easy and Customizable
I am so excited to finally share this DIY wood slice ornament with you! It was so easy and fun to do you won’t believe it!
I bought this bag of wood slice ornaments 2 years ago with full intentions of doing this DIY then. And you know how it goes, life happened. This year I finally got the chance to do this craft and it was so easy to do!
*This post contains affiliate links. For more details see my full disclosure.
Wood Slice Ornament
Here are the materials you need to make these.
- Wood slices
- Black Chalk Craft Paint
- Paint Brushes (I grabbed mine at Walgreens!)
- clamp (optional)
- Cricut
- White vinyl
- Transfer Tape
- Drill
- String or ribbon
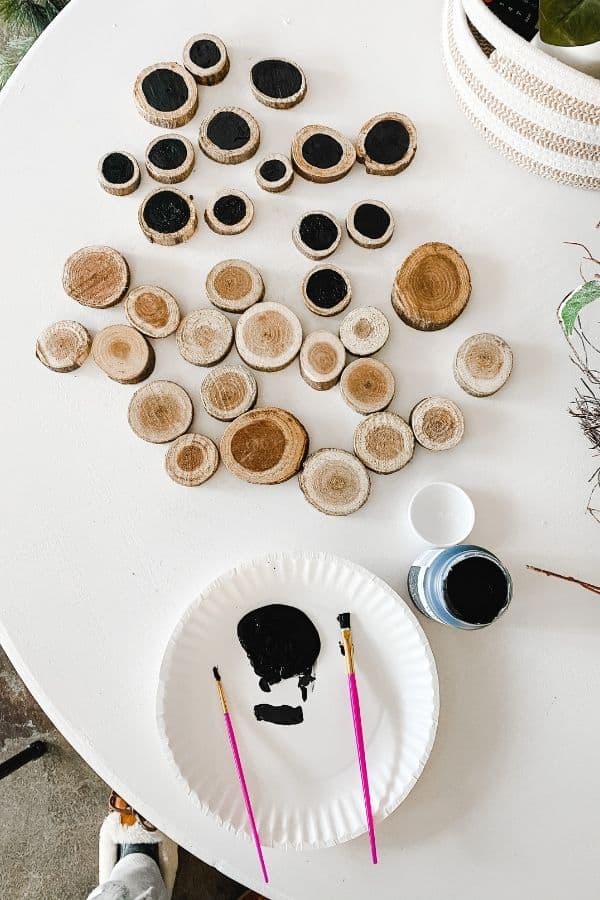
Step 1 – Paint the wood slices.
The first thing to do is paint the black circle on your tree slices. If you are anything like me this is the scariest part of the whole thing! I am not a good painter nor do I have a very steady hand. But this was actually pretty easy.
I started with a fatter paintbrush but then switched over to the skinnier one because it was easier to do the edges with a smaller brush.
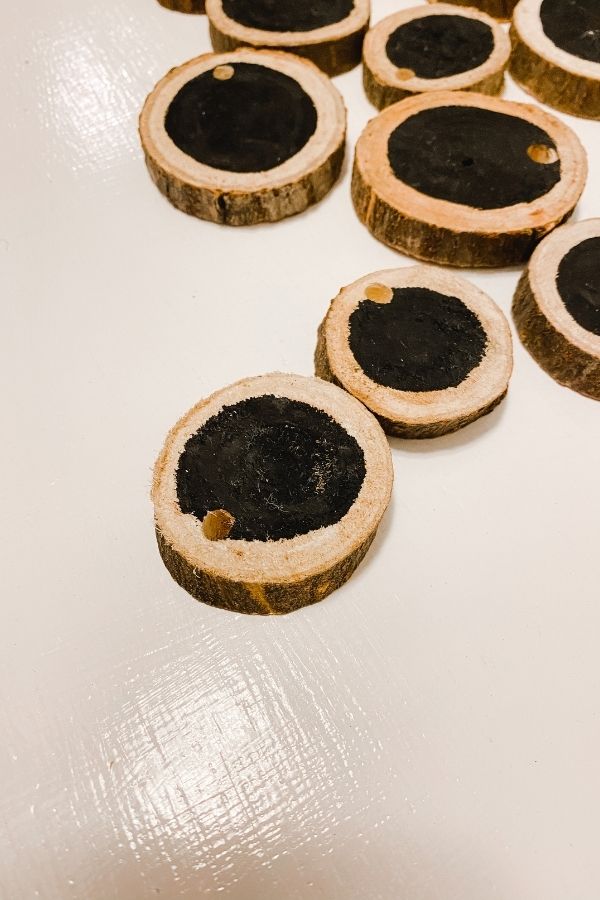
Step 2 – Drill a hole for hanging the wood slice.
Once the paint dries you will need to drill a hole in each ornament so you can put a string on it to hang.
I clamped mine onto my little craft table and drilled the hole. If you have a helper you can have one person hold the ornament and the other can drill. I didn’t have a helper today so I just clamped it down.
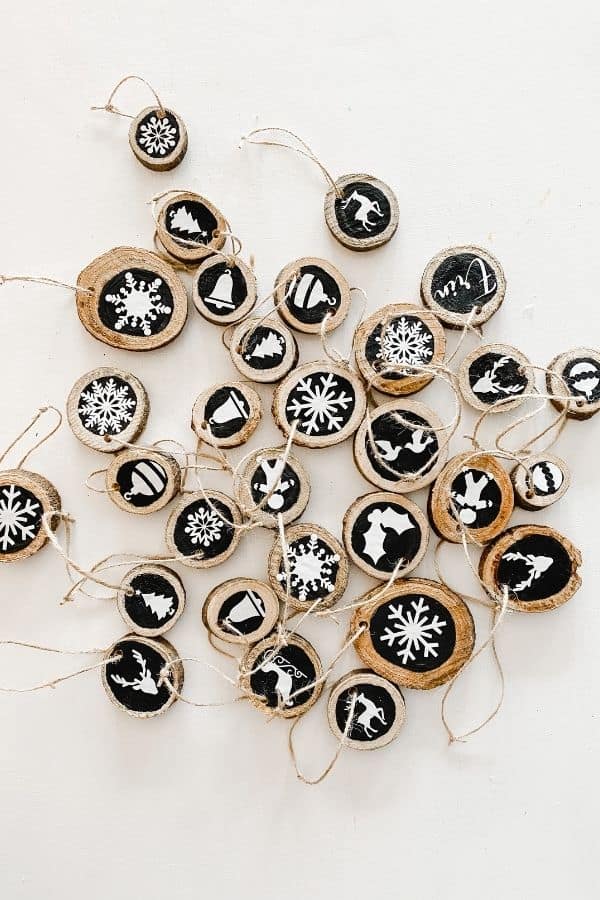
Step 3 – Create your design.
Now using your Cricut (or silhouette machine) design any Christmas images you like. I just used any that were available that were free. You can also download images to use if you want to. You can also write words, for example, Ho, Ho, Ho would be a good one.
Would you like to save this?
Measure the size of your black circles and make sure you size your images to be smaller than the circle.
Go ahead and have the Cricut cut out the images, weed out all the parts you will not be using.
Using transfer tape transfer your images from the vinyl backing to the ornament. Carefully peel the transfer tape off at a 90-degree angle. Since it’s a rough surface I had to press really hard on the image before peeling back the transfer tape.
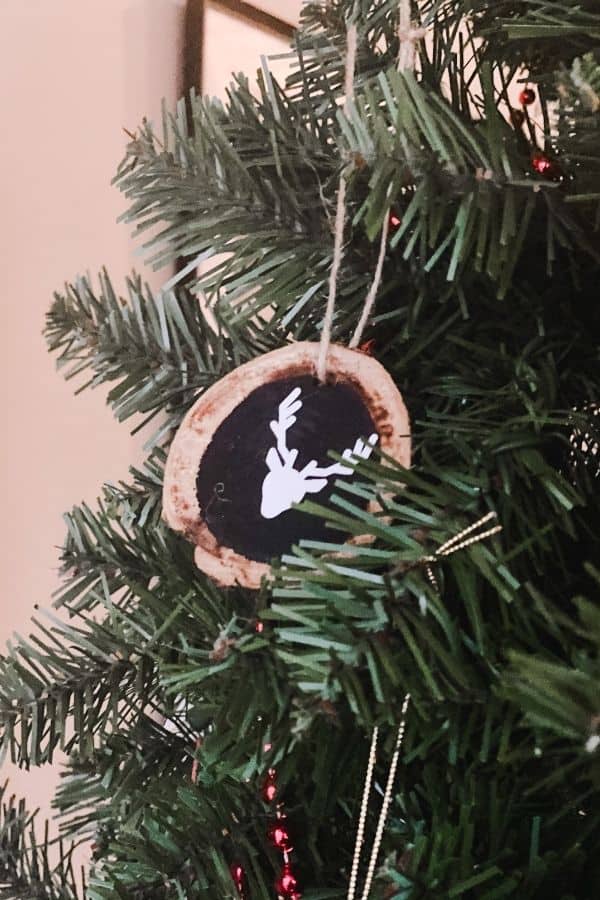
Step 4 – Add a ribbon or twine for hanging.
Add ribbon or twine to your ornament and tie a knot. All you need to do now is hang it on the tree!
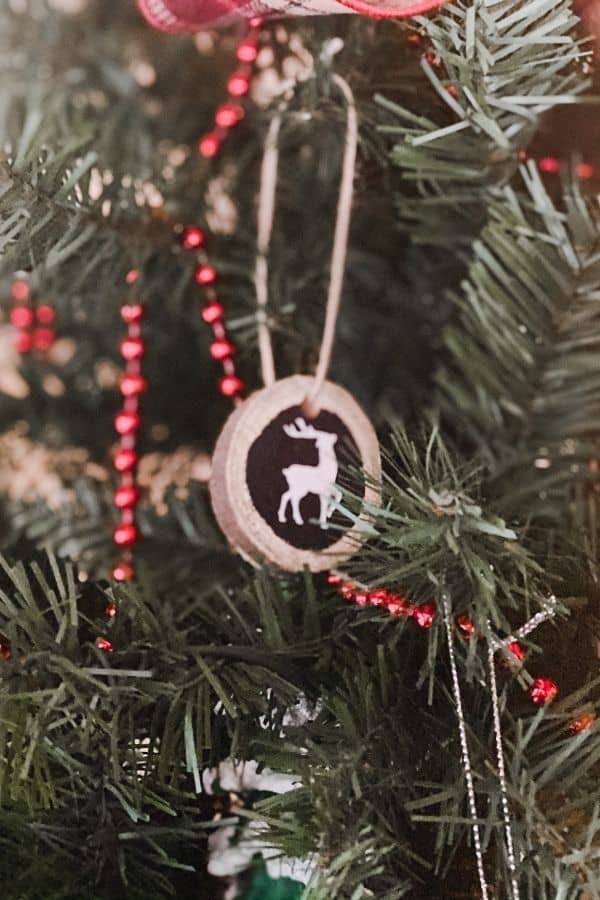
The finished Wood Slice Ornament!


Other DIY Christmas posts:
- DIY Coffee Filter Christmas Tree to Brighten Your Holiday Decor
- Farmhouse Christmas Printables to Decorate your Home
- How to Make Pinecone Gnome Ornaments
- Homemade Felt Christmas Tree Ornaments
- DIY Wood Bead Ornaments
- How to Make Salt Dough Ornaments for Christmas

I hope you will give this Wood Slice Tree Ornament a try. It was super easy and totally fun!

As a licensed Real Estate Agent and an avid home decorator, I strive to give my clients the very best I can when it comes to staging, selling, and decorating their homes. I have lots of experience with paint color choices and love to DIY my home so I can have everything just the way I want it. I share my ideas and projects with the world in the hopes that I can help others have their homes just the way they want as well.


That is so pretty. I have never used a Cricut, I didn’t know you can do such nice things with it. It’s beautiful! I saw this in Design Space and thought about making one too. It looks so pretty on the tree. Great tutorial to follow. Thanks for sharing.
Thank you Lisa!