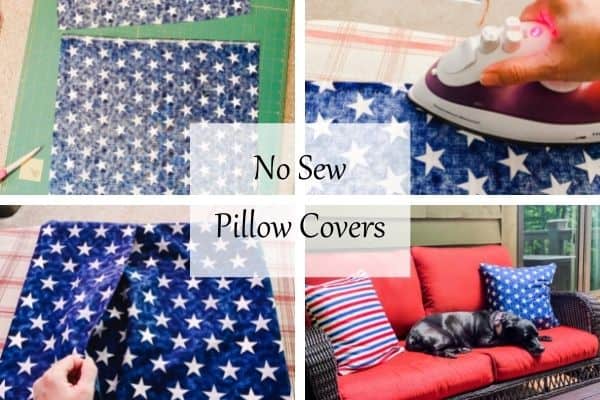
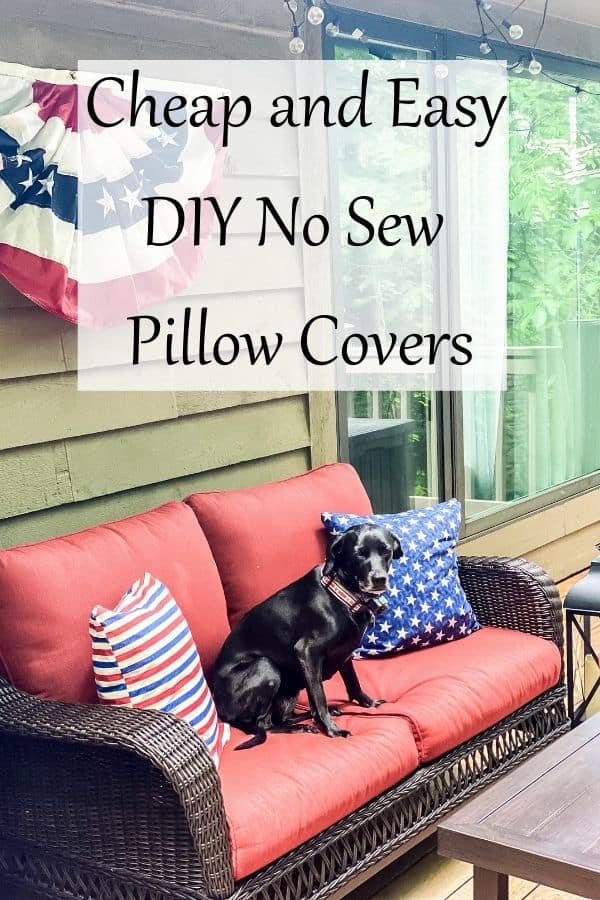
Cheap and Easy DIY No Sew Pillow Covers
I am so excited about my DIY no sew pillow covers! They were so easy to make and didn’t take me very long at all!
My Mom is a seamstress and a really good one. She made all my prom dresses when I was in high school. She also made my clothes when I was little. Unfortunately, these skills did not get passed down to me.
I have made curtains and hemmed a couple of pairs of pants but that is the extent of my sewing skills. I think for me it’s just tedious and I get frustrated very quickly. Give me a piece of furniture to build and I will be much happier.
*This post contains affiliate links. For more details see my full disclosure.
DIY No Sew Pillow Covers
My lack of sewing skills brought me to this point. I wanted some fourth of July pillow covers but I couldn’t find any that I liked, and the last thing I need is more pillows to try to store. Covers are the best, they take up much less space.
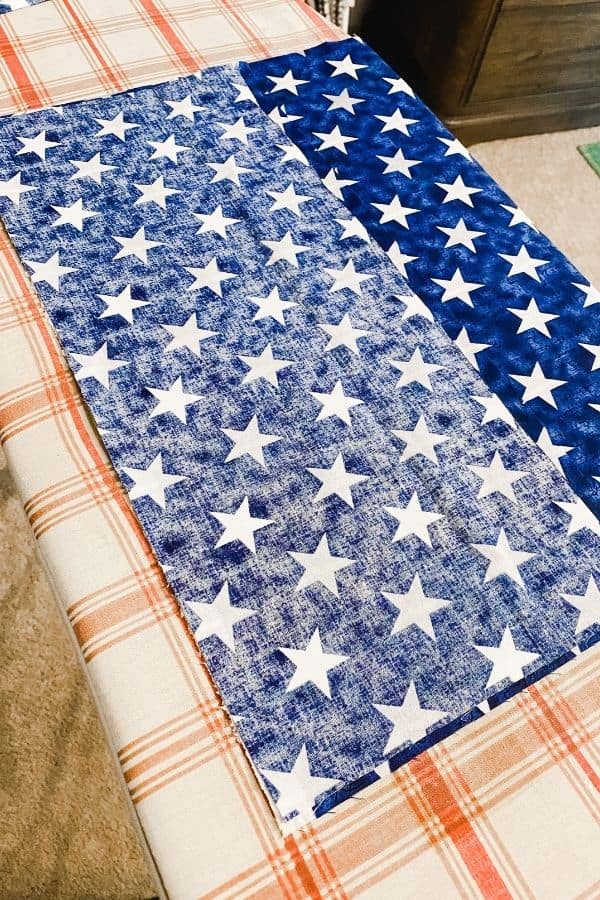
I went to JoAnn’s and got half a yard of these two July 4th fabrics and some hem tape. The fabric was on sale so all in this project cost me about $15. It’s hard to find pillow covers for that cheap!
The only other thing you need is an iron and ironing board. And the first thing to do is to give your fabric a good ironing, smoothing out any folds.
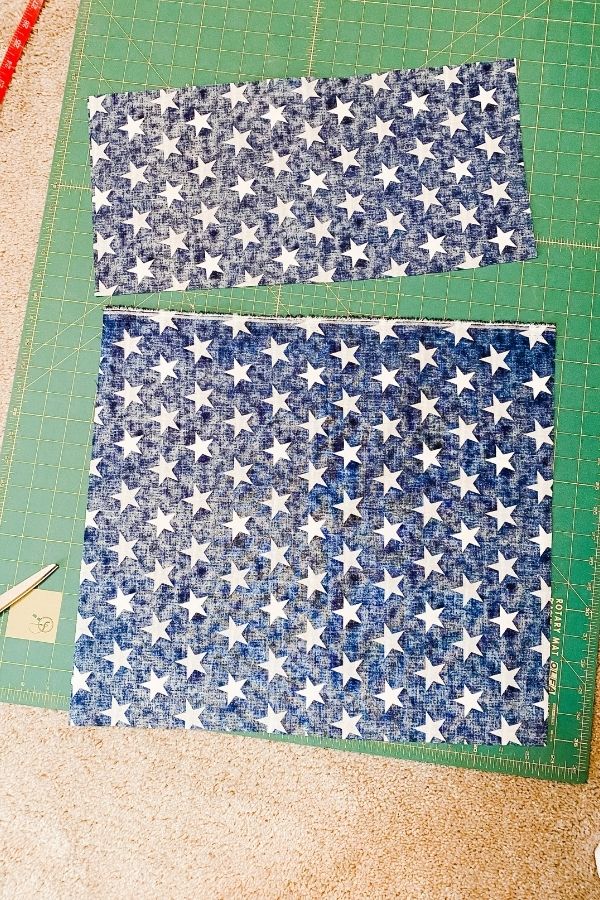
Cut your fabric
Measure the pillow that you are using from seam to seam. Mine is 18 inches. My hemming tape is 3/8 of an inch wide so I cut the front of my pillow 19 inches square, allowing for the extra needed to fold over for the hem tape.
Cut the back panel at 24 inches by 19 inches. Then make another cut at 16 inches. So for the back you will have an 8 inch piece in length and a 16 inch piece. This will make up the fold over section in the back to get the pillow in and out.
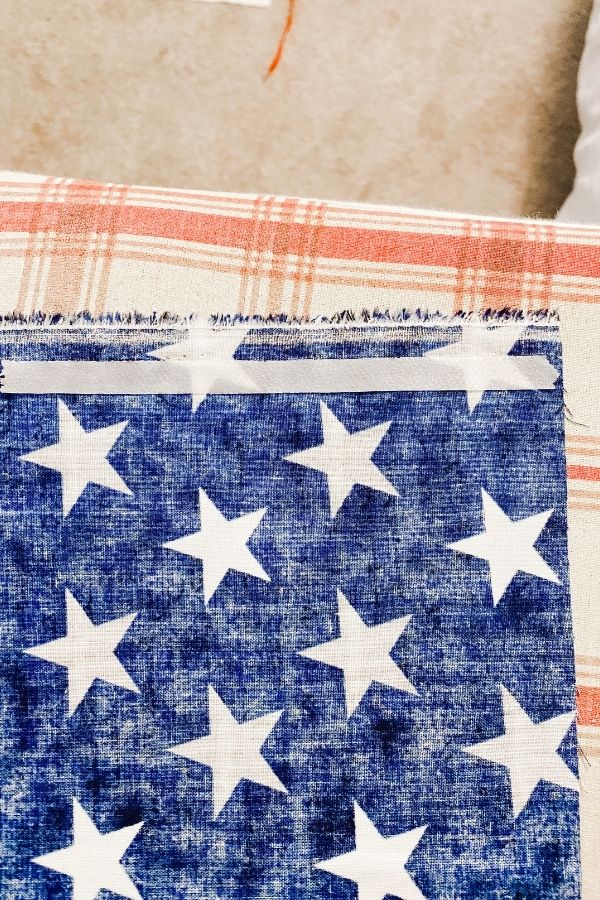
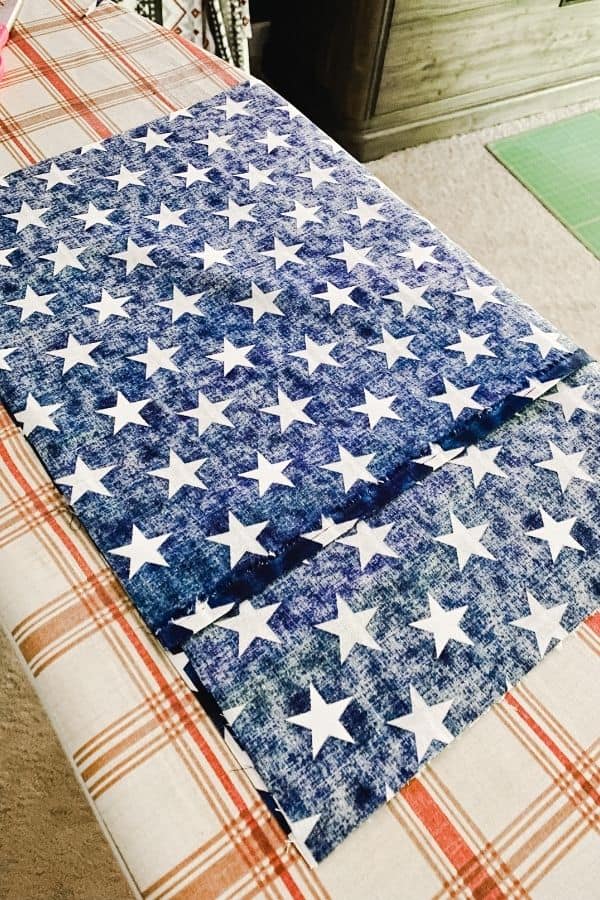
Hem the folded section
Think of this as a pillow sham. This opening where you put the pillow in and out needs to be hemmed. Cut your hem tape the width of the fabric. Fold over the edge on the wrong side of the fabric with the hem tape inside and iron it for a few seconds.
Would you like to save this?
Do this for both sections of the fabric that will be your opening.
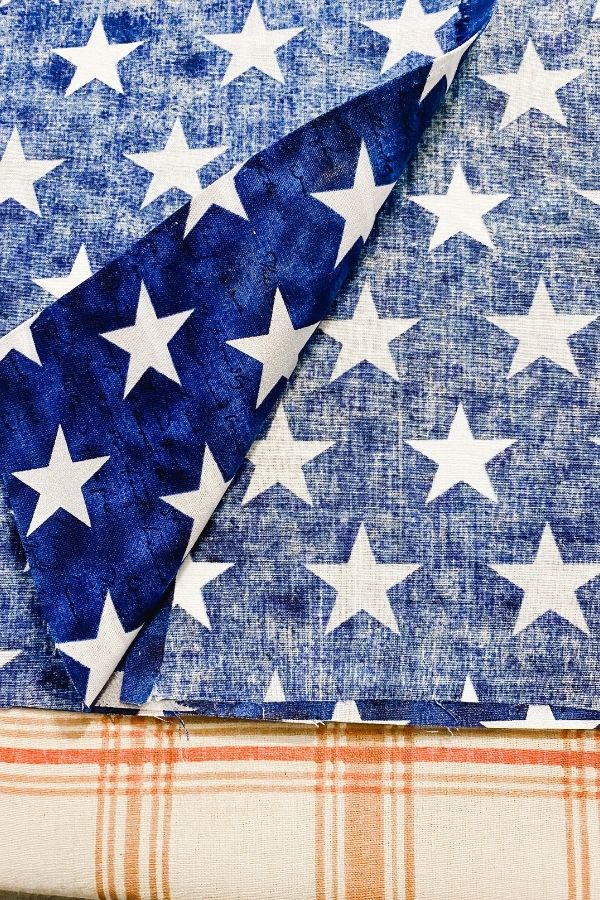
Final Step
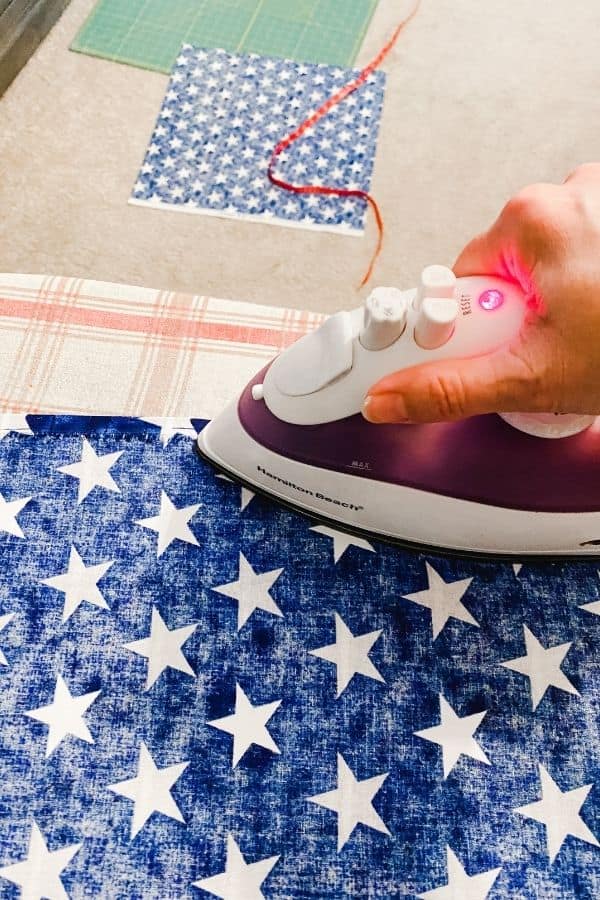
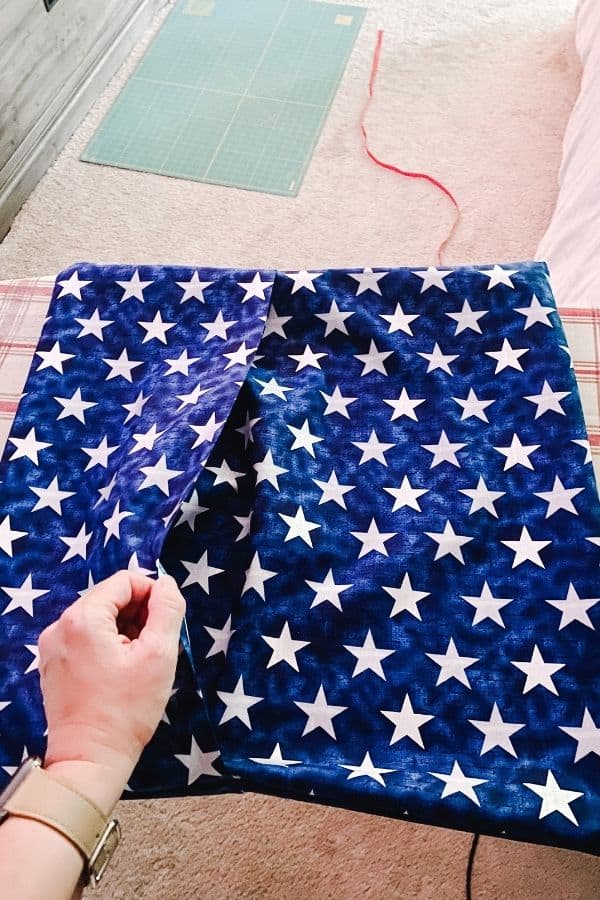
Now place your front piece (the 19 inch piece) right side up. Place your two other pieces of the back right side down on top of the front piece. The back pieces should overlap where you hemmed the edges.
Place hem tape all around the edges in between the two pieces of fabric and iron it sealing them together.
You will need to place hem tape in between the two sections that will overlap and secure them together.
No Sew Pillow Covers
Once it’s all connected you can turn your pillow cover right side out and insert your pillow! Viola!
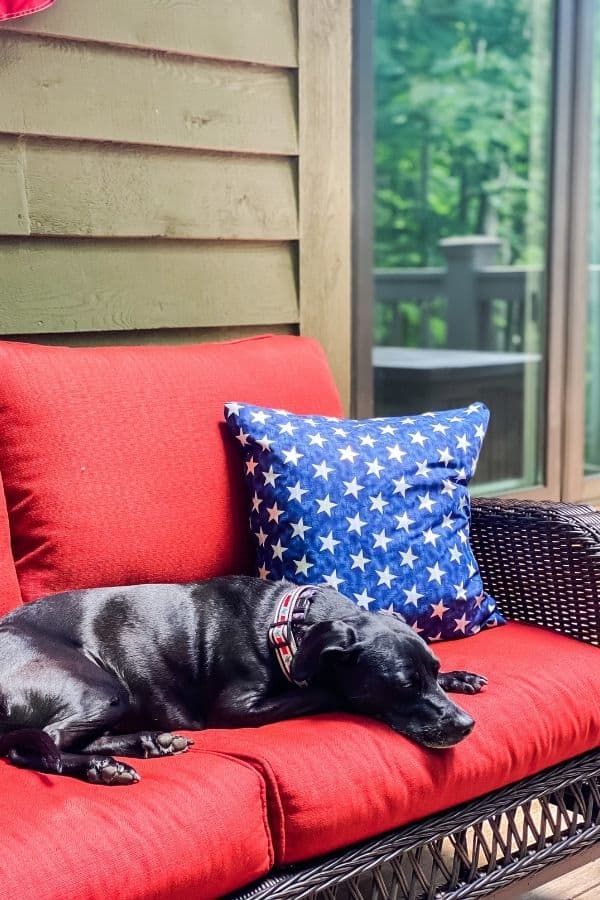
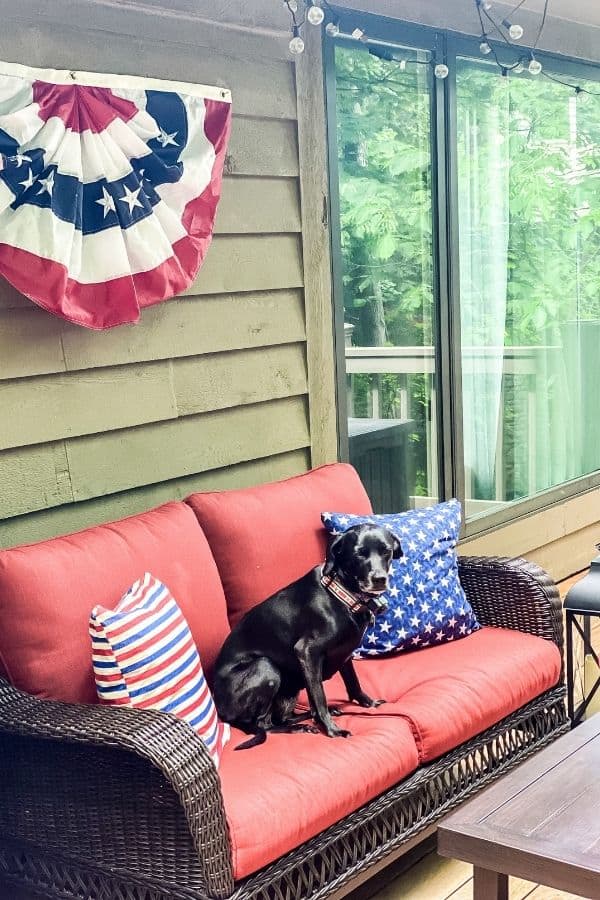
I think Lilly approves of my new no sew pillow covers!
Other July 4th projects:
- Cheap and Easy July 4th Decorating Ideas
- DIY Wooden American Flag
- DIY July 4th Firecrackers


As a licensed Real Estate Agent and an avid home decorator, I strive to give my clients the very best I can when it comes to staging, selling, and decorating their homes. I have lots of experience with paint color choices and love to DIY my home so I can have everything just the way I want it. I share my ideas and projects with the world in the hopes that I can help others have their homes just the way they want as well.