
Cheap and Easy DIY Shiplap Walls
DIY Shiplap Walls are easy to create and oh so cheap!
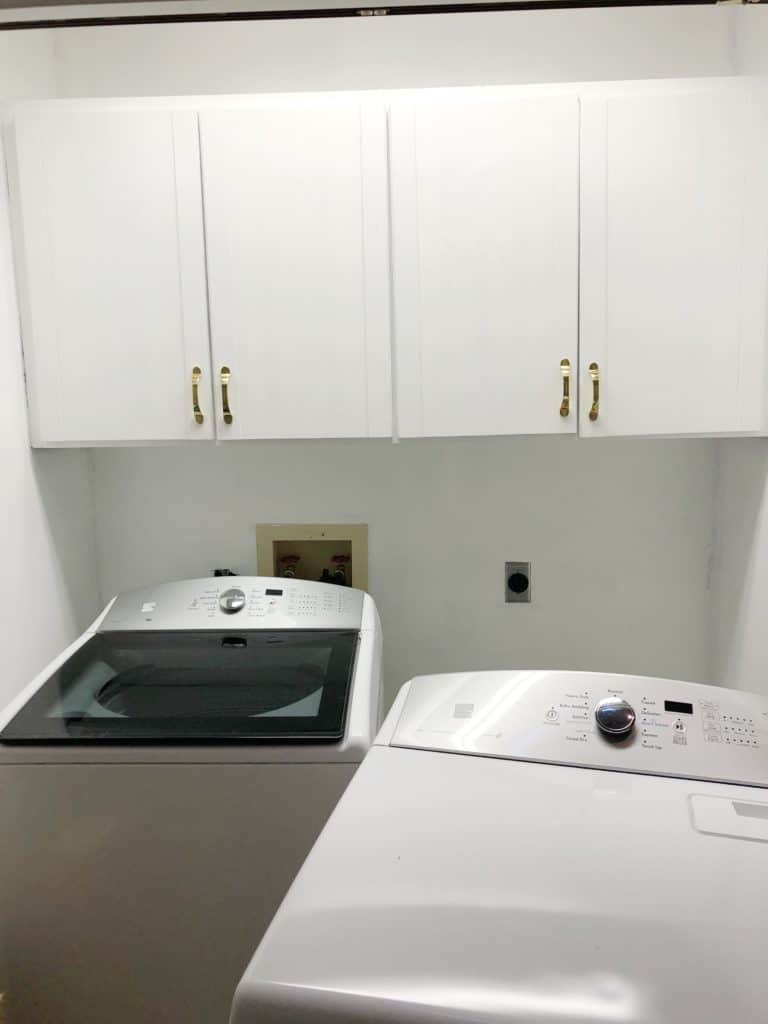
My DIY shiplap walls are up and it’s made a huge difference! The added texture on the walls makes a huge impact on the room.

For full details on the $100 Room Challenge, you can go here. The basic idea is Erin over at Lemons, Lavender and Laundry put together this challenge and you redo a room in your house, in one month and with only $100!
In case you missed the other weeks here they are:
Week 1 | Week 2 | Week 3 (that’s today) | Week 4 | Week 5
*This post contains affiliate links. For more details see my full disclosure.
DIY Shiplap Walls
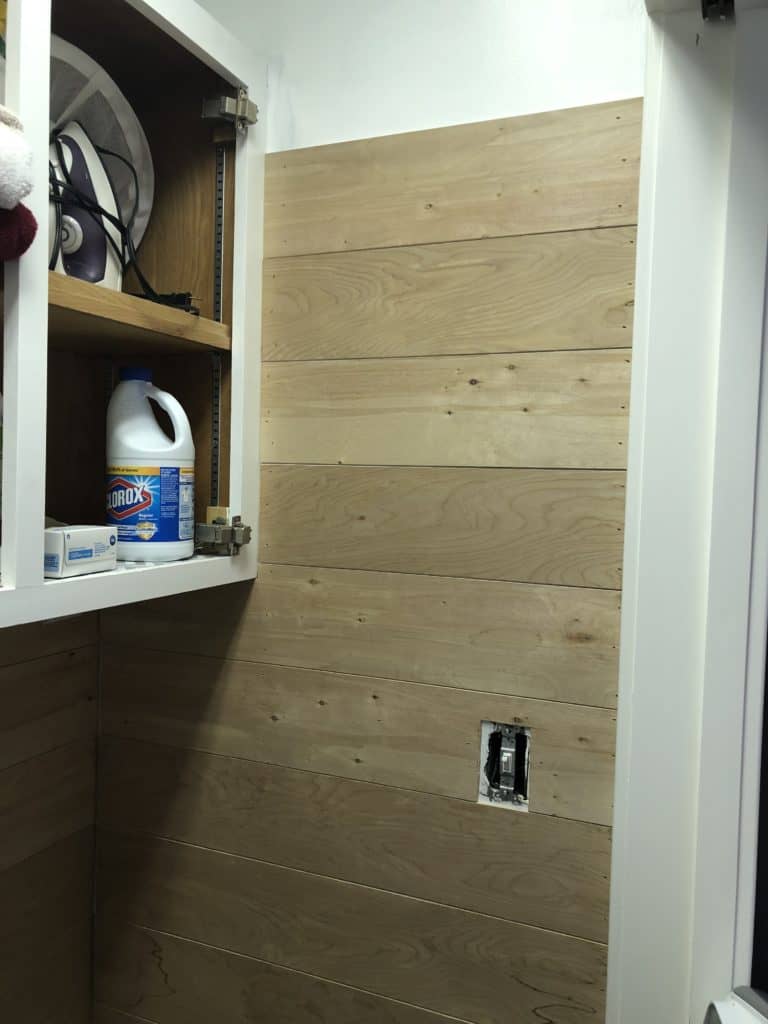
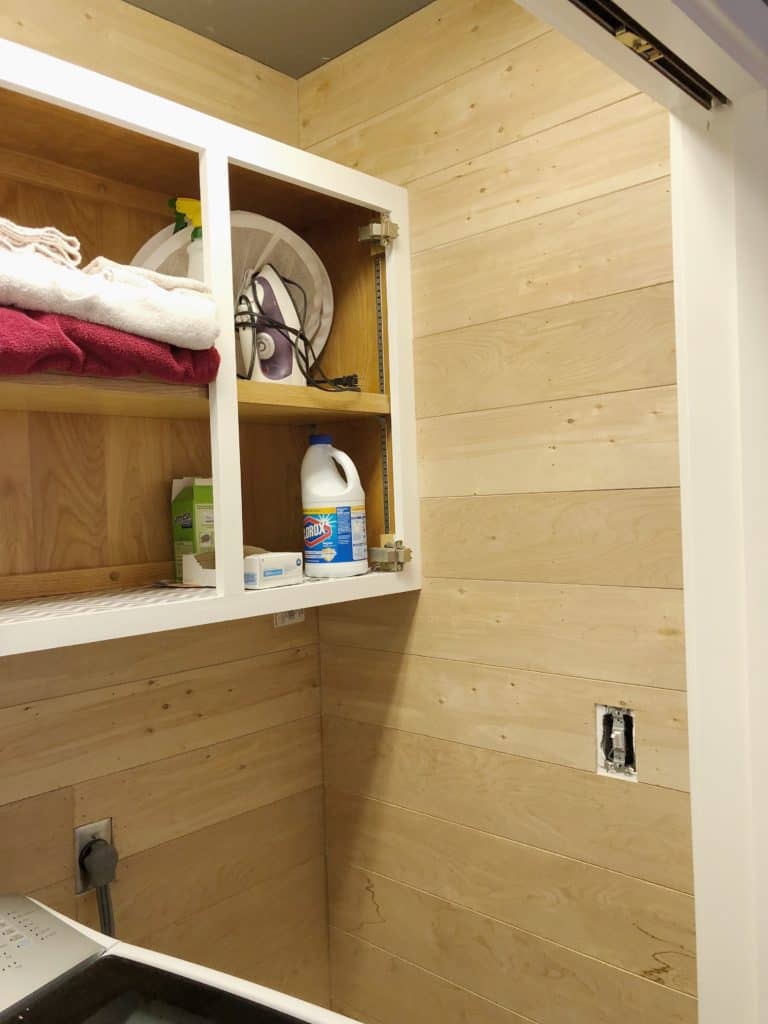
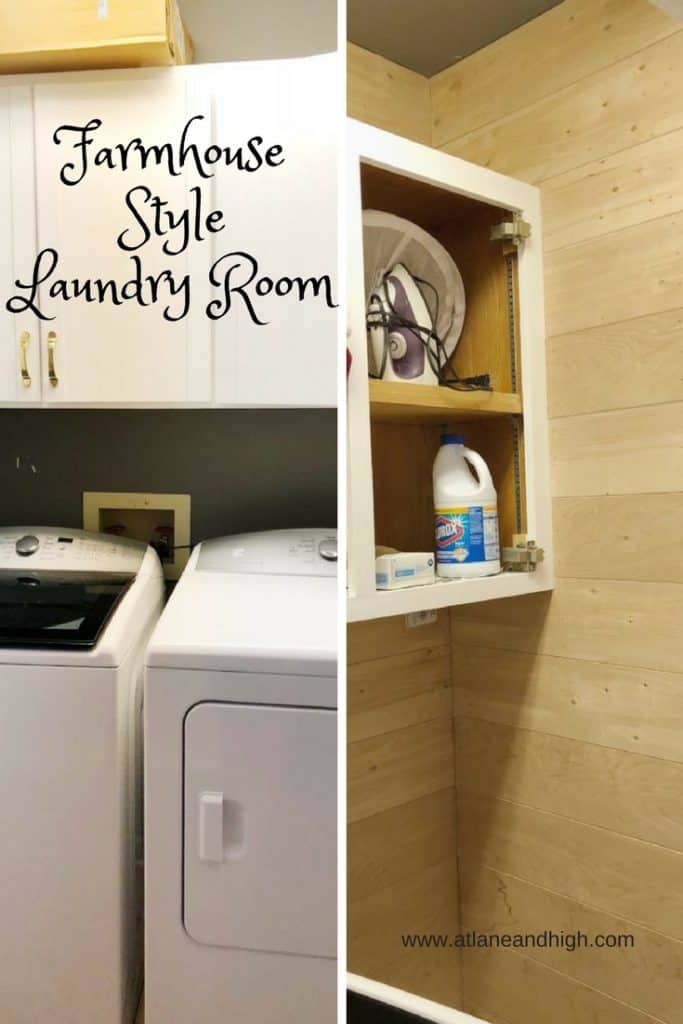
If you missed the overall plan for the laundry room you can check it out here. Last week I got the room painted and bought the wood and the lovely guy at Home Depot cut it all for me! Here is a look at where we left off.
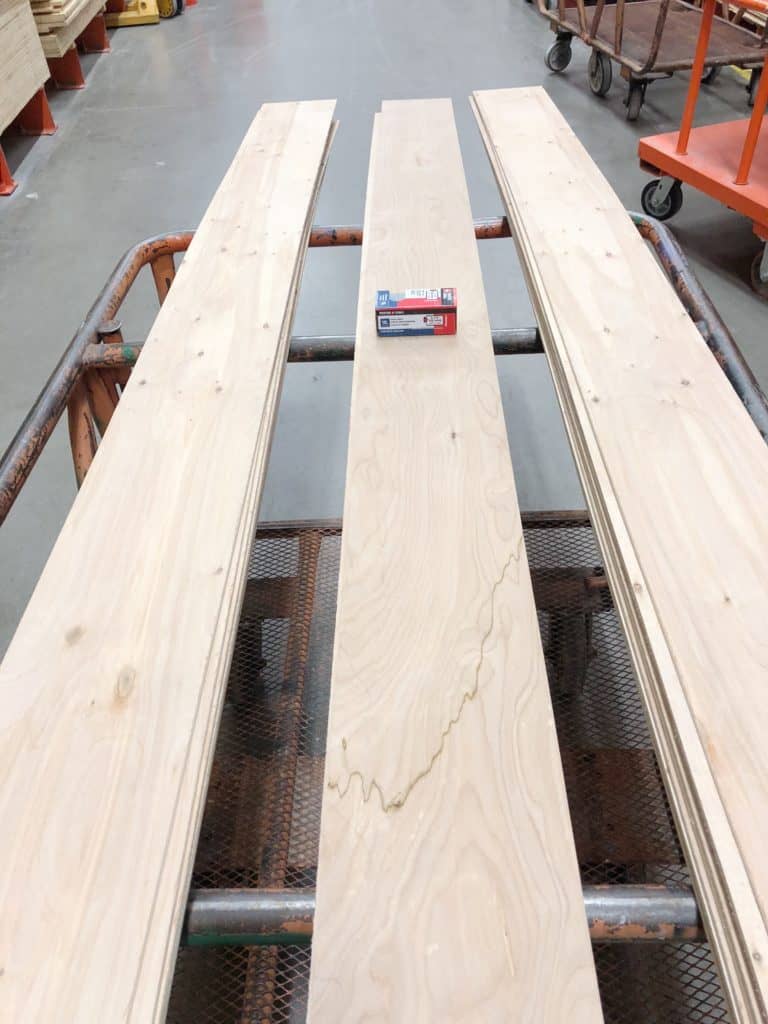
The first thing I had to do this week was sand all the edges where they cut the wood. It’s super rough and you will get a splinter plus if you don’t sand it the wood will look shaggy in the gaps between boards. I think a nice clean look will be better.
Adding the Wood to the Walls
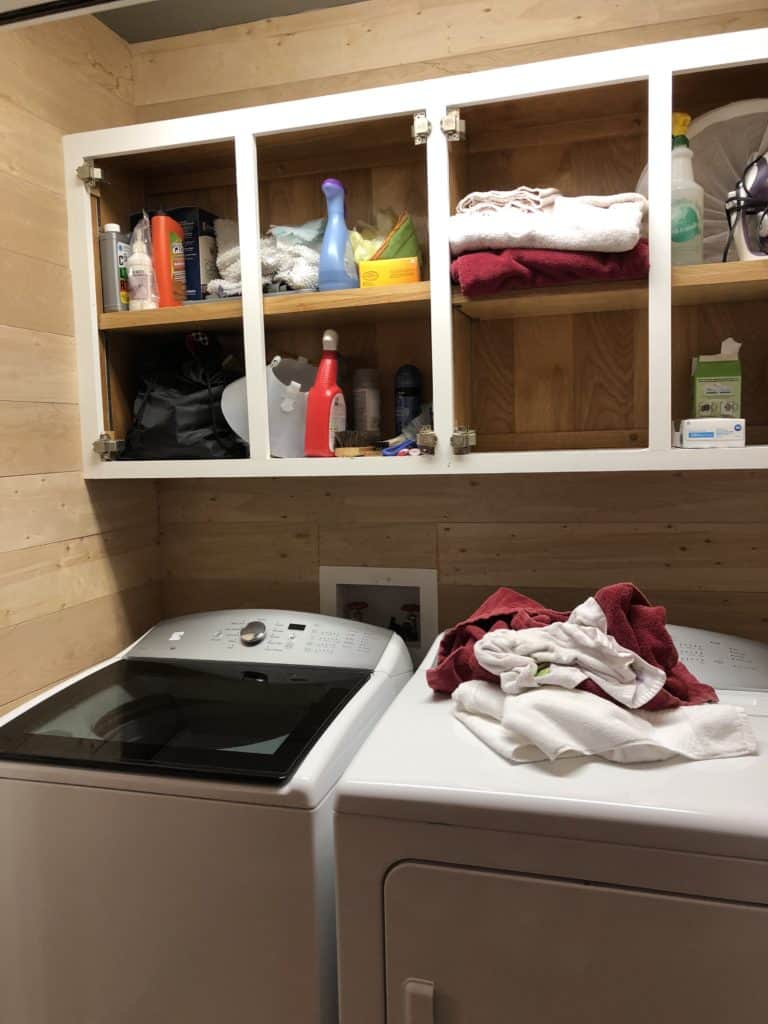
I started attaching the shiplap under my cabinets on the back wall and made my way down to the floor.
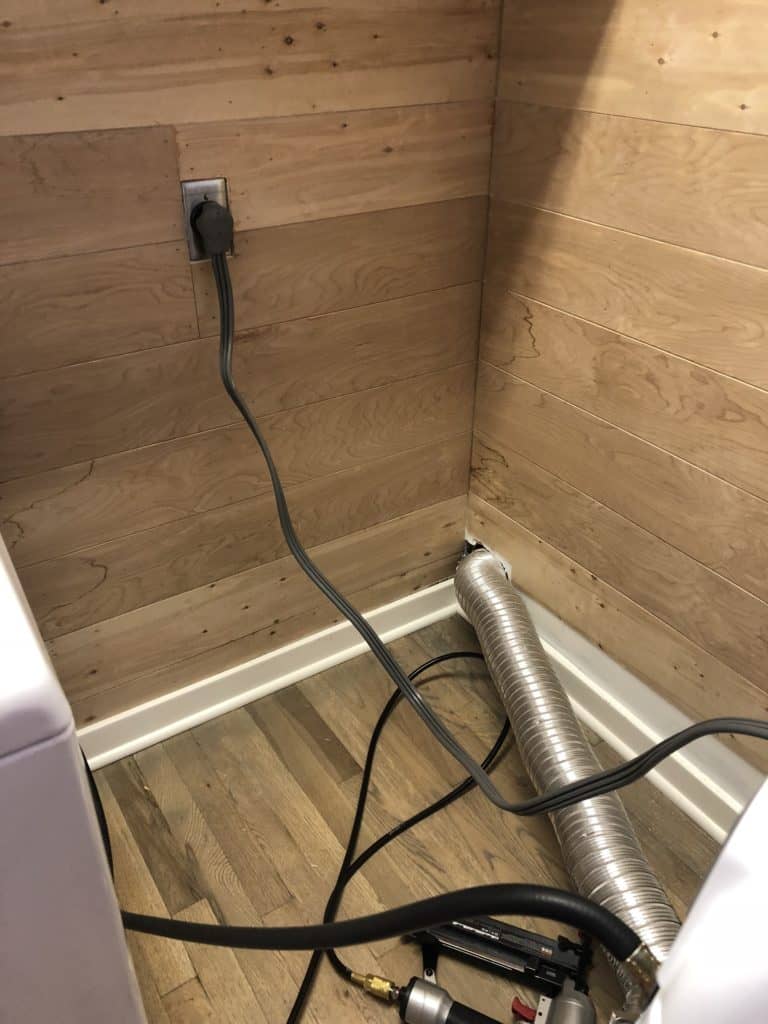
I used my finishing nailer and 1 1/4 inch nails to put the boards up starting on the back wall, then on the sides the same way.
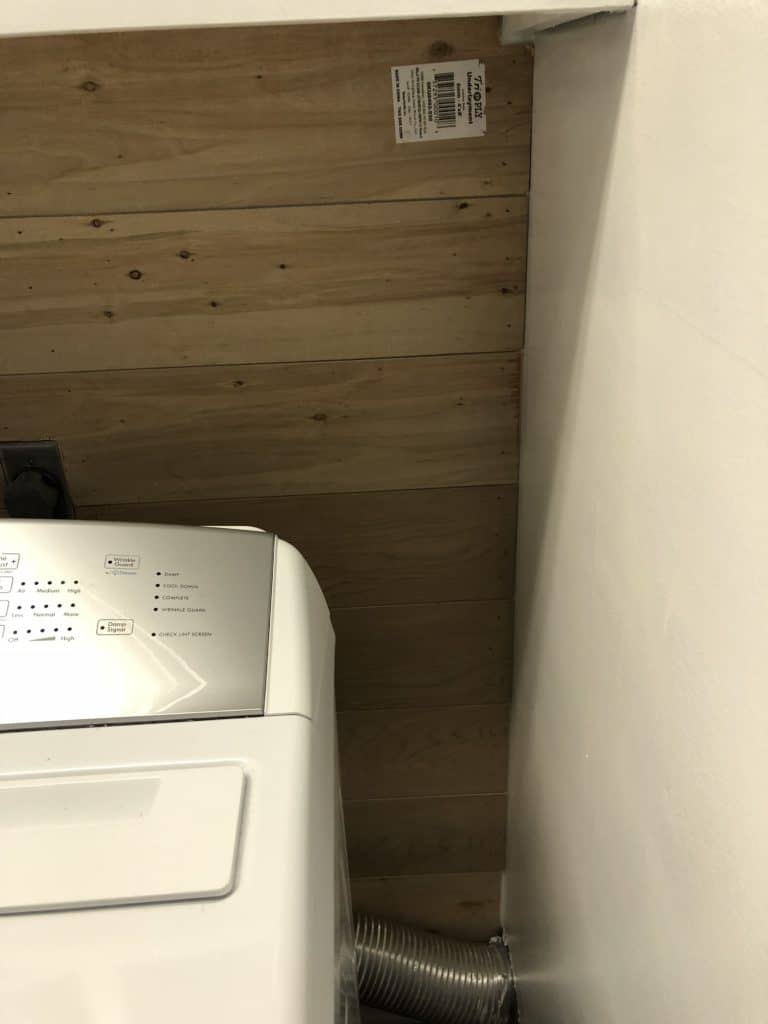
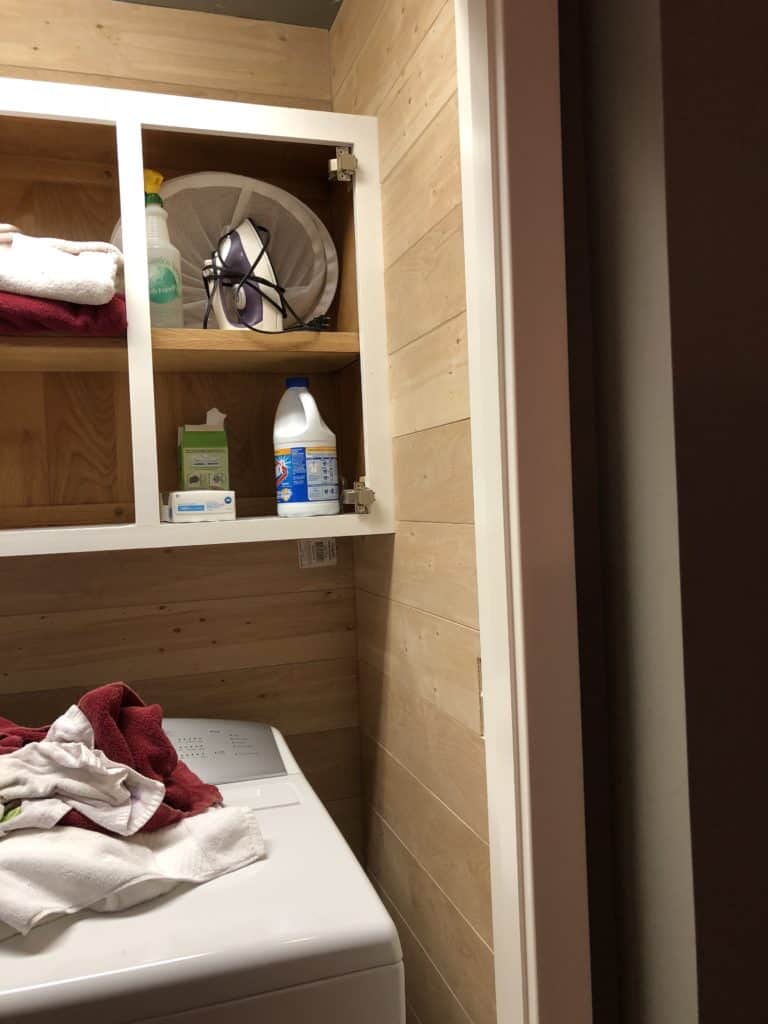
Once that was done I went up the two side walls to the top of the cabinets until I got to the last board before the top. I stopped because I really wanted to use two full boards on the back wall above the cabinets, which means I will have two full boards on the side walls. It would be so much easier to use full boards there and not have to cut that long of a piece of wood.
I went ahead and nailed up those two boards on the back wall above the cabinets. Then I did the same thing on the side walls.
The space between the top two boards and the last one I finished on the side walls was about 3/4 of an inch smaller than the regular 6-inch board I was using. I cut that smaller board to fit and nailed it up. I don’t think it’s obvious that that particular piece is smaller.
Please don’t judge my messy cabinets! 😂
Would you like to save this?
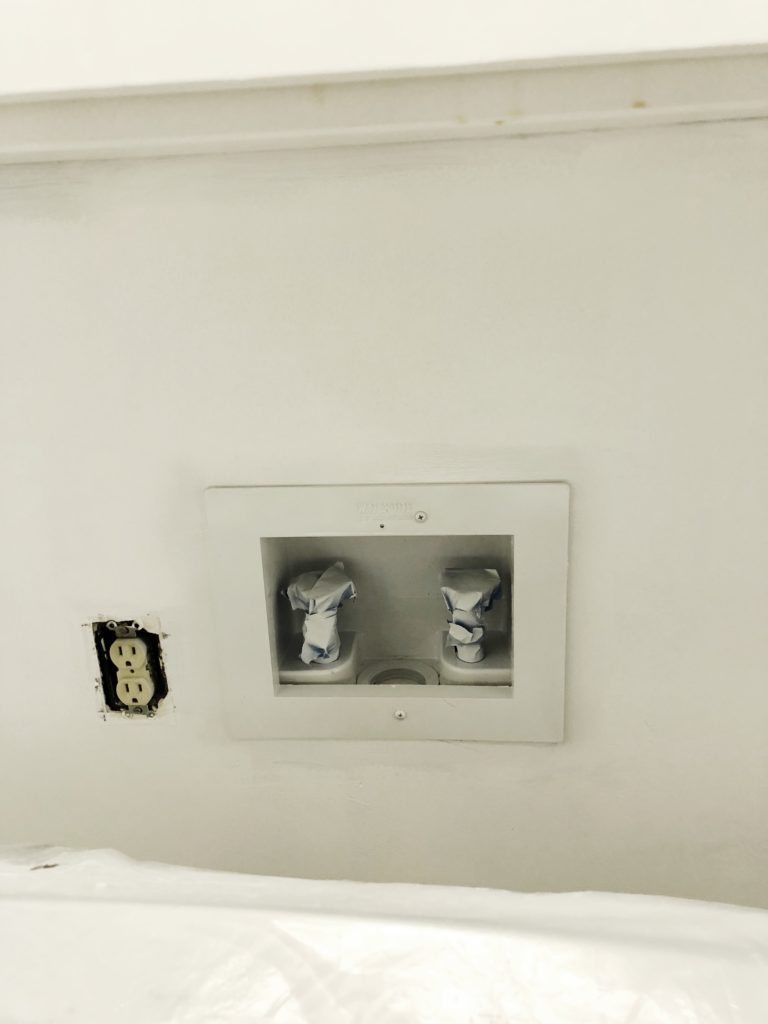
How to Cut Around Outlets
It was not easy cutting around the outlets and water hookups. I envisioned having one long board and just cutting out for those things. But I don’t have a jigsaw and that is the tool you need to accomplish that. So I cut the boards around and just had to putty to make them look like I have one long board.
I used a variety of ways to cut those boards, the miter saw, a hacksaw and circular saw (with my hubbys help), but I highly recommend getting a jigsaw, they aren’t that expensive and I have one on my next Home Depot list of things to buy.
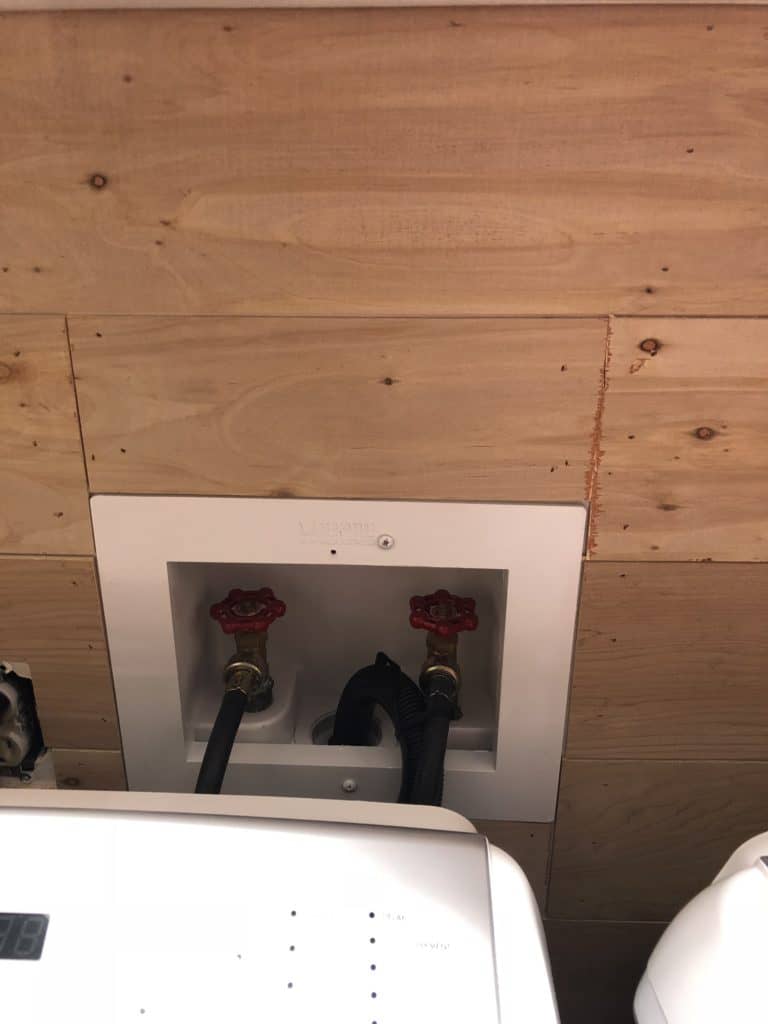
I will be honest, this thing took me all weekend. Bathrooms and laundry rooms are the hardest to work with because there are several things to cut around, not to mention climbing over and around the large machines.
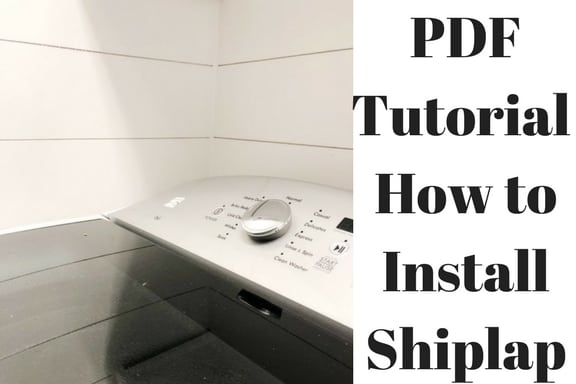
For a complete printable tutorial on how to install shiplap in a PDF version that you can download click HERE.
Money spent this week….$0. So I am still at my $54 and change that I spent on the shiplap and nails last week.
Still need to do:
paint the shiplap
build a shelf
DIY a laundry Sign
put up a bucket to hold lint
shelf decor
new hinges and hardware for the cabinets.
Wow, I am tired from installing the shiplap, my to-do list makes me want to go to bed! YIKES!!! Lot’s to do still! Hang in there with me while I finish up this crazy project!
Other $100 Room Projects:
- Wine Cellar Ideas: Building a Wine Cellar in your Basement
- DIY Patio Ideas on a Budget: How to Transform Your Patio for Less
- Teen Hangout Room
- Fixer Upper Inspired Coffee Bar

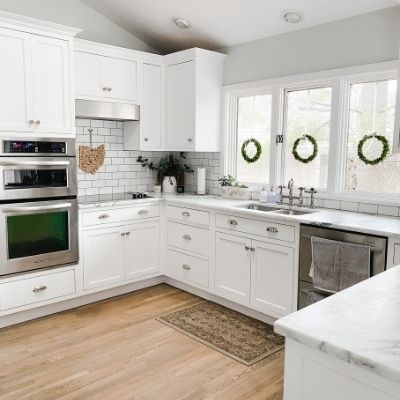
I hope you feel like you can easily do these DIY shiplap walls. It wasn’t hard, just a little time-consuming. But totally worth it! I won’t want to close these closet doors and hide my laundry room anymore.
Make sure you check out all the other bloggers participating in this challenge, they are all linked below!

As a licensed Real Estate Agent and an avid home decorator, I strive to give my clients the very best I can when it comes to staging, selling, and decorating their homes. I have lots of experience with paint color choices and love to DIY my home so I can have everything just the way I want it. I share my ideas and projects with the world in the hopes that I can help others have their homes just the way they want as well.


Wow. That shiplap is gorgeous and looks like it was a ton of work. You’ll love it forever.
Thanks Patti! It was a lot of work but I think it’s going to be so worth it!
Love love love! Did the same thing in my laundry room and absolutely love going in there every time. Can’t wait to see how it all comes together!
That’s so good to hear! I can’t wait to see it too, LOL!
Looking good! I can tell you put some work in, but it looks great. Nice job.
Thank you so much Toni!
I just love it, friend! You’ve done an amazing job! Can’t wait to see it painted.
Thanks Natalie! I can’t wait either!
This looks fab! My laundry room is next up on my project list and you might have inspired me to do shiplap instead of just paint!
That’s so cool Gabby! Isn’t it funny how we all have lists of projects around the house! My staircase is next, having to put a hold on the dining room because it’s too cold to go outside and sand the buffet. UGH, weather! Can’t wait to see your space too! Thanks for coming by!
It’s amazing Wendy!! I love love love shiplap and it’s going to be so pretty in there! I’m so excited to see it all finished!
Thanks Melissa! My Mom said I should leave it the wood it looked pretty! LOL, but I love the cleanliness of white in the laundry room.
Wow! You got so much done! It’s looking fantastic!
Yay!!! It looks great! It took my husband a long time to do our shiplap wall too so don’t feel bad!
Thanks! I appreciate it. I always think a project will take x amount of time and I should just always know it will be double that, LOL.
That was a lot of work Wendy. Good thing it looks fabulous already! Loving the farmhouse shiplap, I need to get a move on in our boring builder beige house….
Thank you Lisa! It was a lot of work but I think it will be totally worth it.
Thank you Lisa! It was a lot of work but I think it will be totally worth it. Why don’t I come help you! LOL, I would love to come for a visit.
looks amazing!
Thanks Emily!
The room looks so good! We are planning on buying our first home this year and I love seeing what people do with their spaces. It’s very inspiring.
Wow Anne that’s so exciting! Your first home is always close to your heart. Good luck with finding the right place!
Wow it’s looking so good!! Can’t wait to see it painted!
Thanks Meg! More painting UGH! I do love how much paint changes a space though.
Wow! What a huge difference and obviously a ton of work! It’ll all be worth it!
Thanks Kim…I think it will be totally worth it. We shall see right!
What a lot of work but it’s looking great! (I’ve got a jigsaw on my list too.)
Just went to Home Depot today to look at them. I totally want one now! Thanks for the compliment, I can’t wait til it’s done!
OooOOOh this is going to look so good!! Love it!
Thanks Liz!
While you spent a lot of time on this space, it is going to be SO worth it!!! And I think all your cutting around “all that is the laundry room” looks pretty incredible! Great job this week!!!
Thank you so much Erin! I can’t wait for it to be done and have a nice space.
You did a great job! It is so difficult to go around all of those things!
Oh my it was so hard. Thank you so much!
Wendy this is looking AMAZING! I love it! Cannot wait to see it all come together!
Thank you so much Maria!