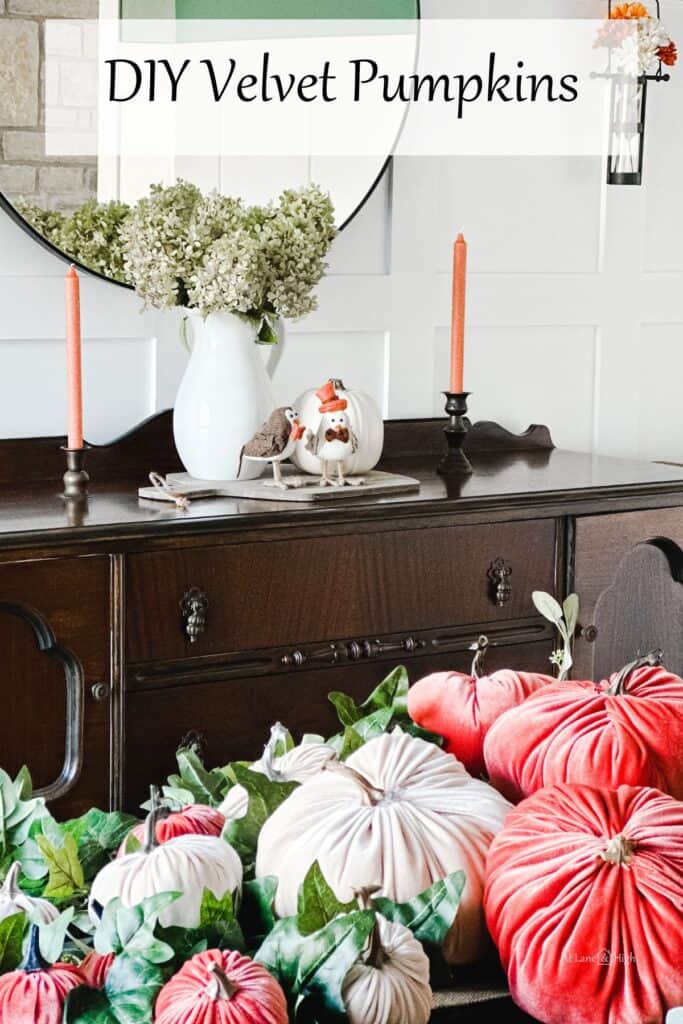
DIY Velvet Pumpkins
Today I want to show you how you can make these DIY Velvet Pumpkins for your home for very little money!
If you are into Instagram or follow a lot of blogs then you have seen these gorgeous velvet pumpkins. There is a company called Hot Skwash that sells most of the ones you probably have seen but they are waaaaaaaay out of my budget.
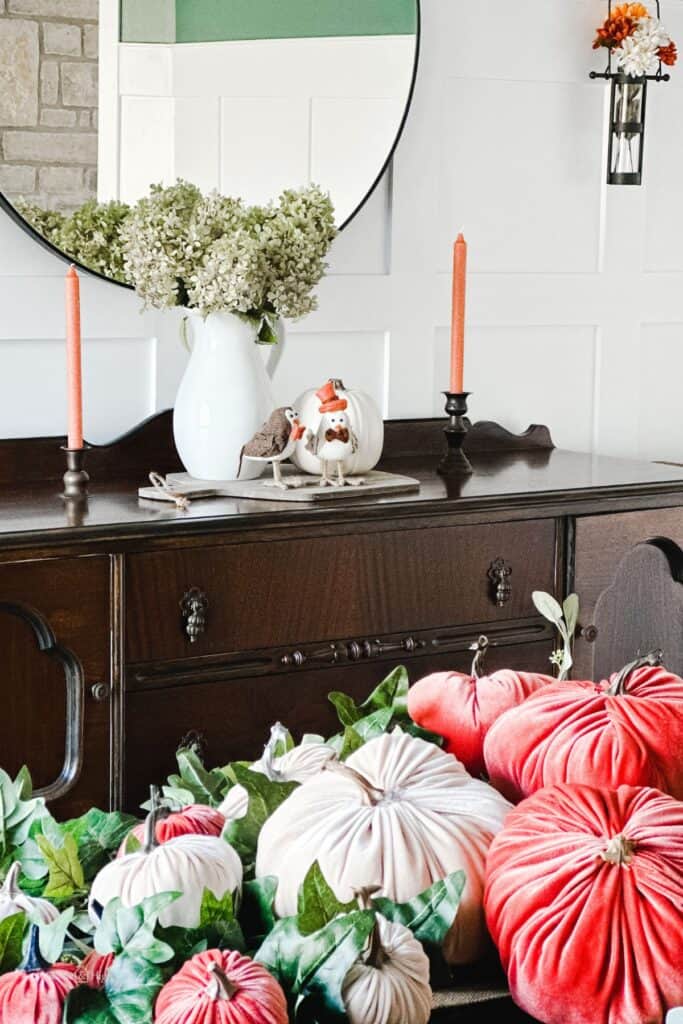
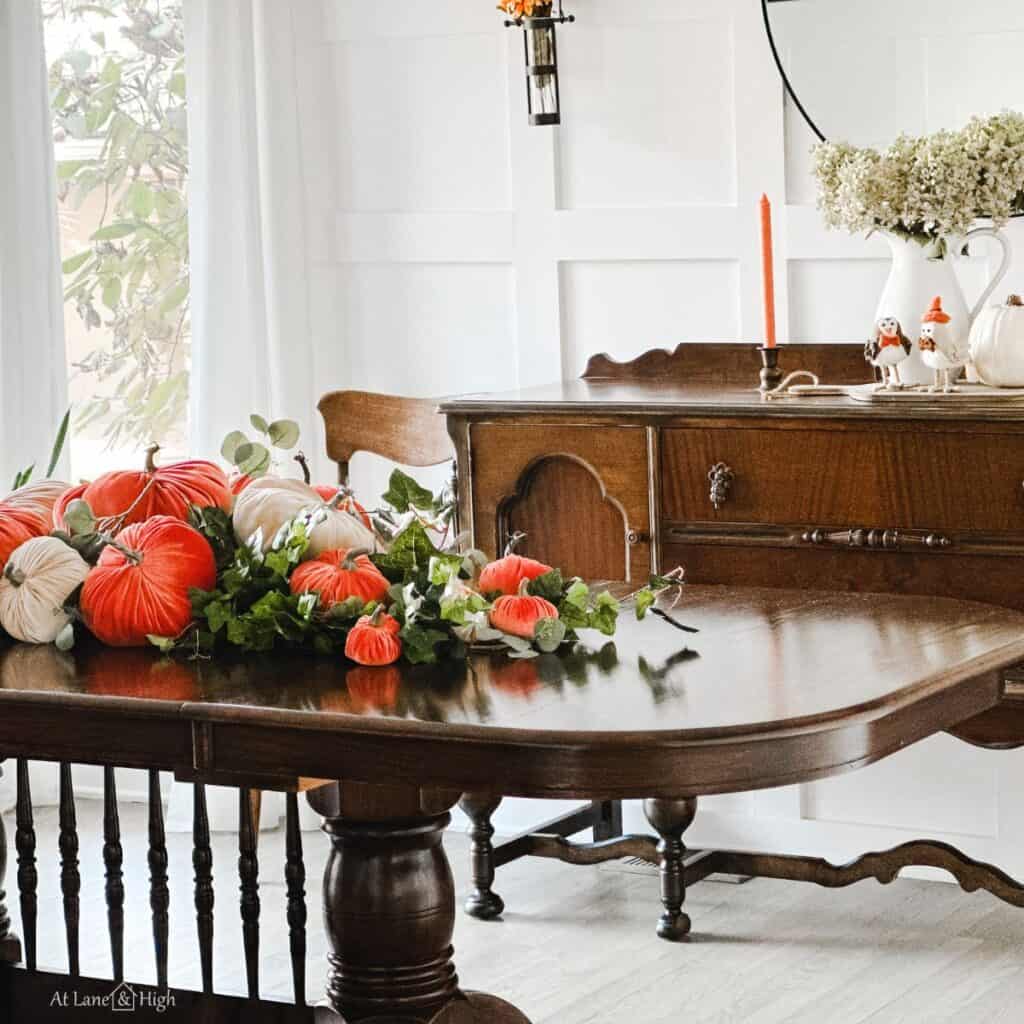
What do we do when we want something but cannot afford it, we make it ourselves! So that’s what I did. I made this whole table full of pumpkins for less than $50!

Let me show you how I created this masterpiece!
*This post contains affiliate links. For more details see my full disclosure.
DIY Velvet Pumpkins
I found this great Etsy shop that has tons of different colors of stretch velvet. I first went to Joann’s but they didn’t have much at all. So I recommend saving your gas and just ordering from the Etsy shop.
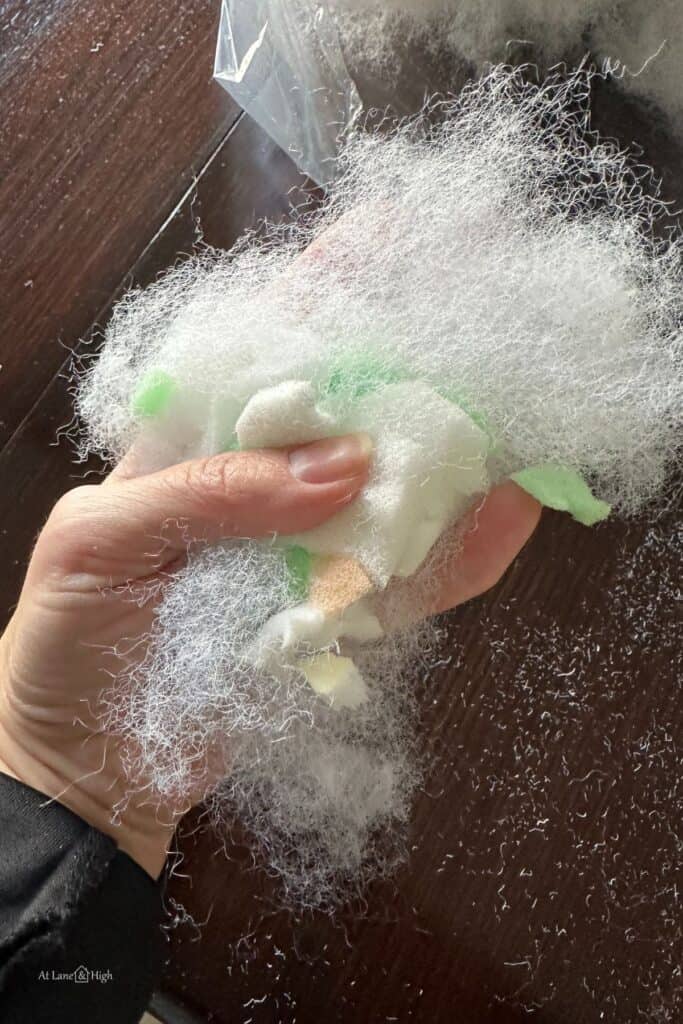
You will also need fiberfill, shredded foam, and rice or beans. I used rice but you could use beans if you prefer. Any kind of beans will do;)
The other thing you need is a strong thread and a needle.
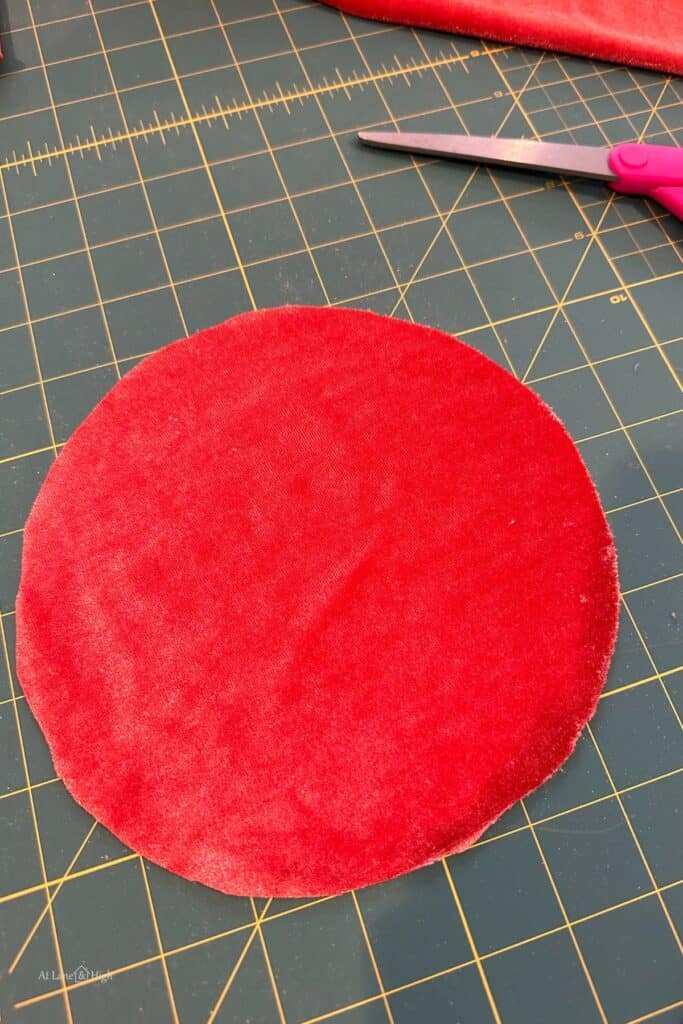
Step 1 – Cut out your pumpkin from the fabric
Gather a few different-sized items to cut out your circles. I used two different-sized plates, a bowl, and a large platter.
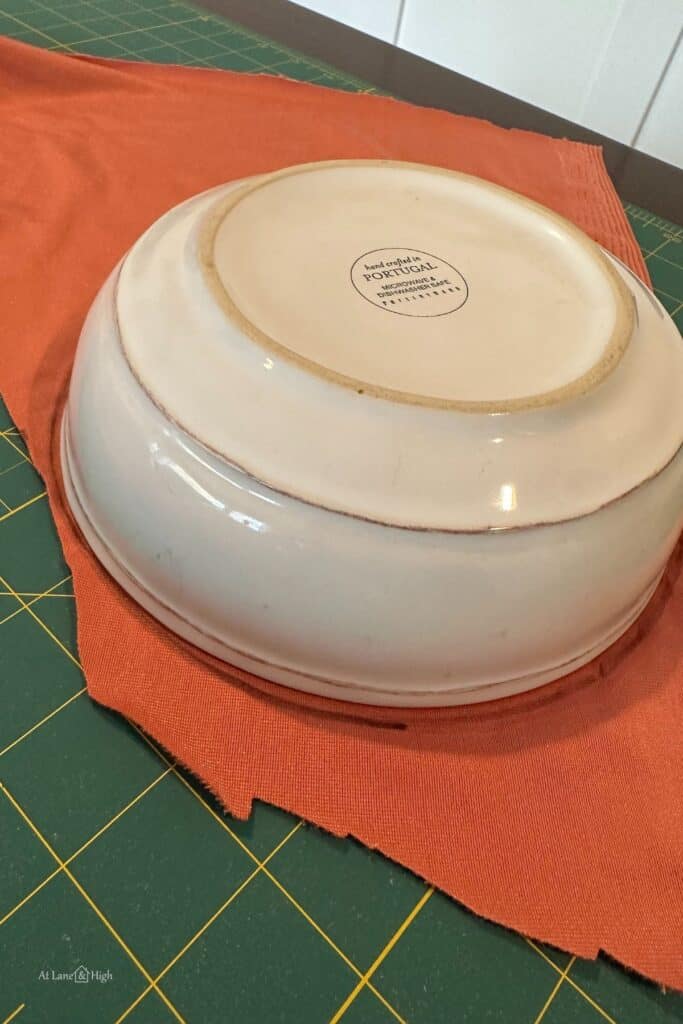
I used a sharpie to outline the circle and then cut it out.
Step 2 – Sew your pumpkin
Stitch up your circle with a needle and thread. Make sure you knot the end of your thread about 4 or 5 times. If you don’t the knot will slip through the fabric when you pull it tight. Trust me on this one, LOL.
This is called a basting stitch. It’s super easy, just over and under really for those of us that aren’t seamstresses (ME!). I had to ask my Mom what the stitch was called.
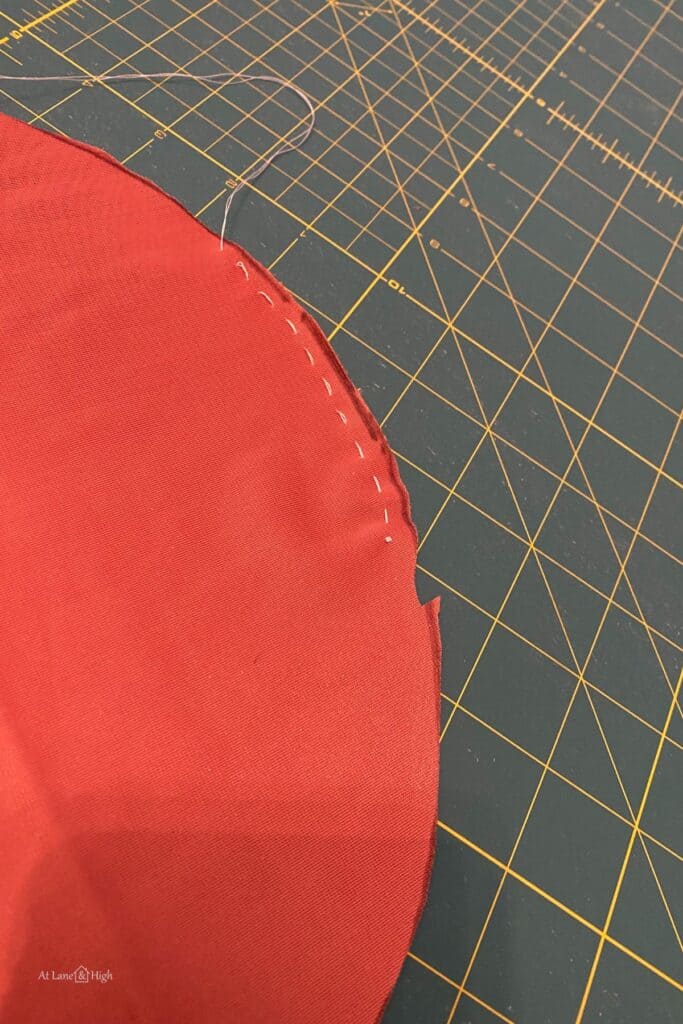
Stitch up about 80-85% of the circle then pull tight.

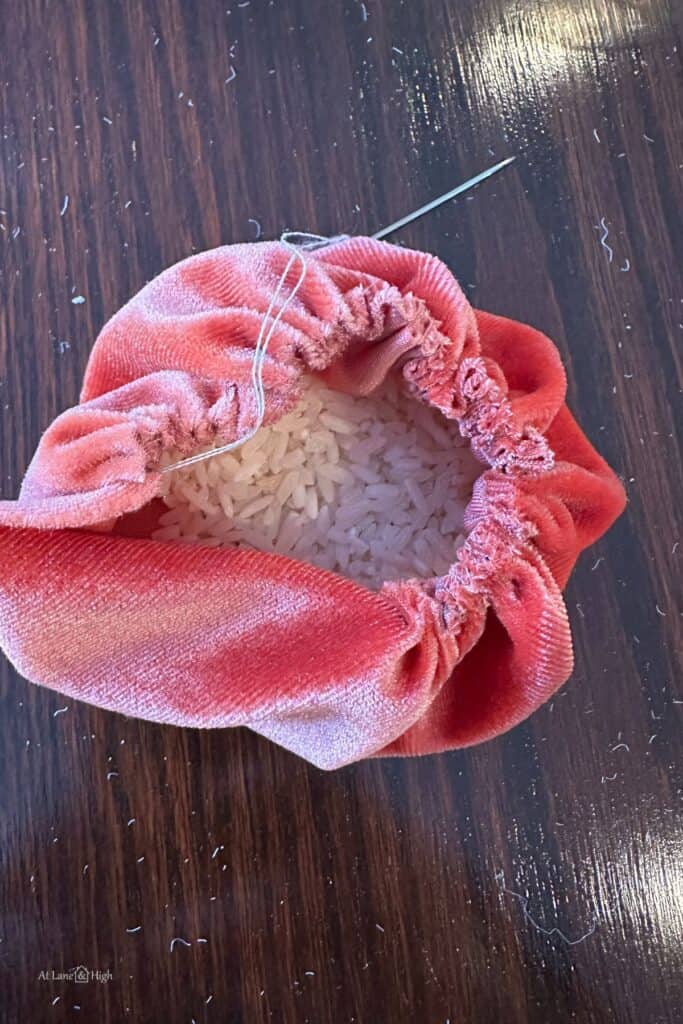
Step 3 – Fill Your Pumpkin
Put rice in first. I used a couple of tablespoons for the smaller ones and a couple of cups for the larger ones. How much you put in really doesn’t matter, just as long as it has a nice base.
Would you like to save this?
Next, add some fiberfill on top of the rice.
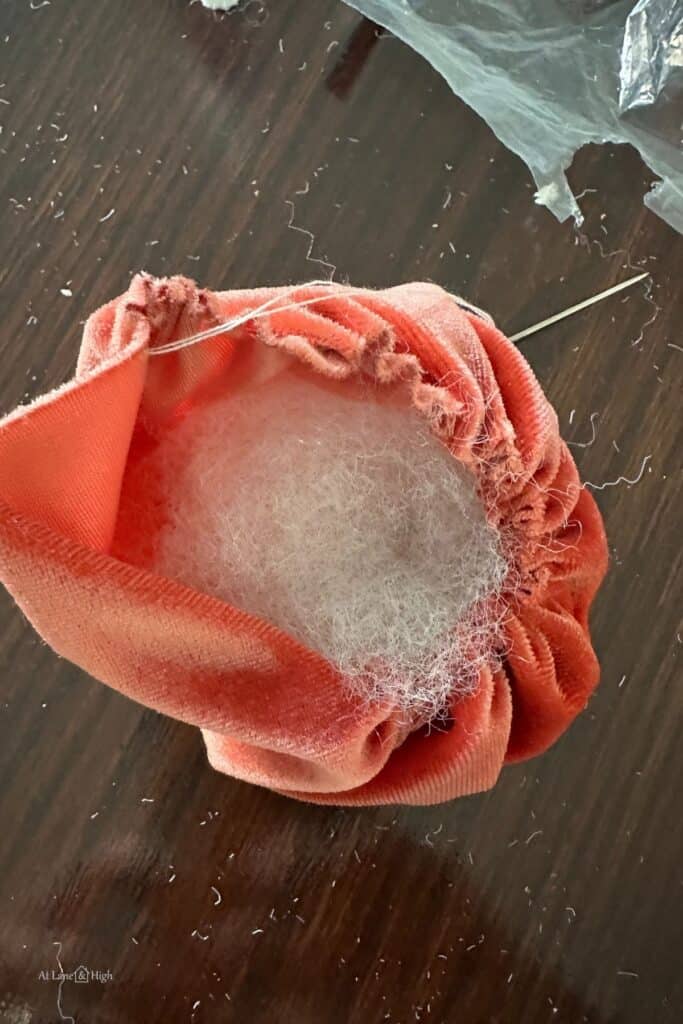
The next step is what gives these pumpkins the same look as the Hot Skwash pumpkins.
Take a bit of fiberfill and in the center put some shredded foam. Then put it in the pumpkin. You should put two or three handfuls of this in.
Make sure you fill your pumpkin very full.
Step 4 – Finish sewing up your pumpkin and add the stem
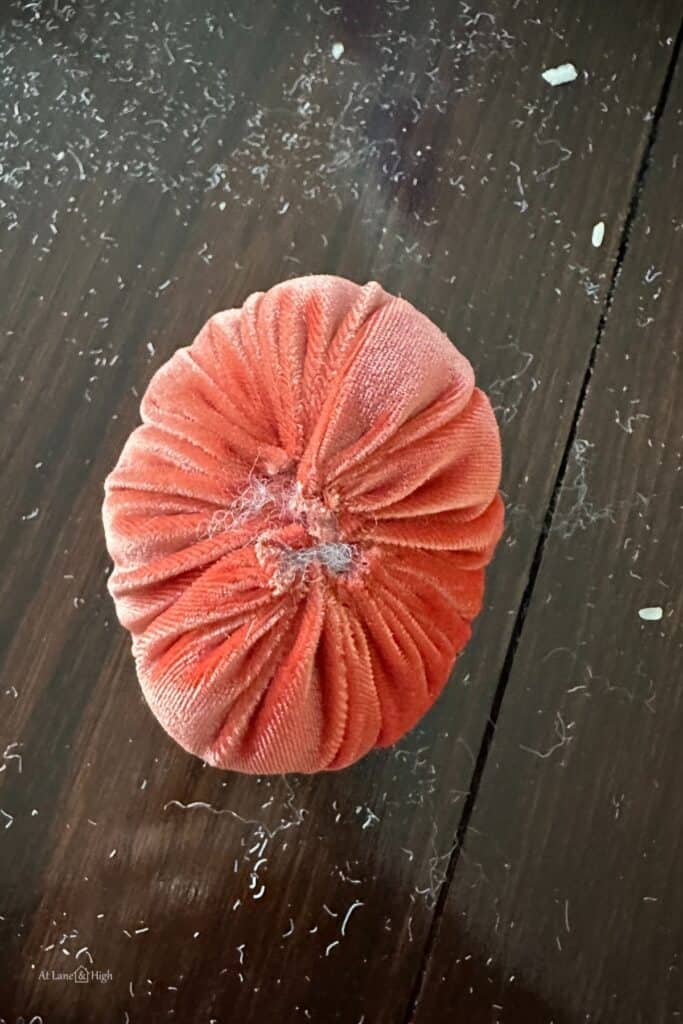
Finish sewing up your pumpkin making it really tight.

At this point, I went from side to side and sewed up the hole.
The best stems to use are real ones. You can snap them off your pumpkins and dry them out then glue them on the top. I didn’t have any real ones so I got these from Amazon. For the larger pumpkins you will need larger stems and for the smaller ones a smaller stem.
My stems have a part that goes down into the pumpkin then I added a dab of hot glue to make sure it didn’t come out.
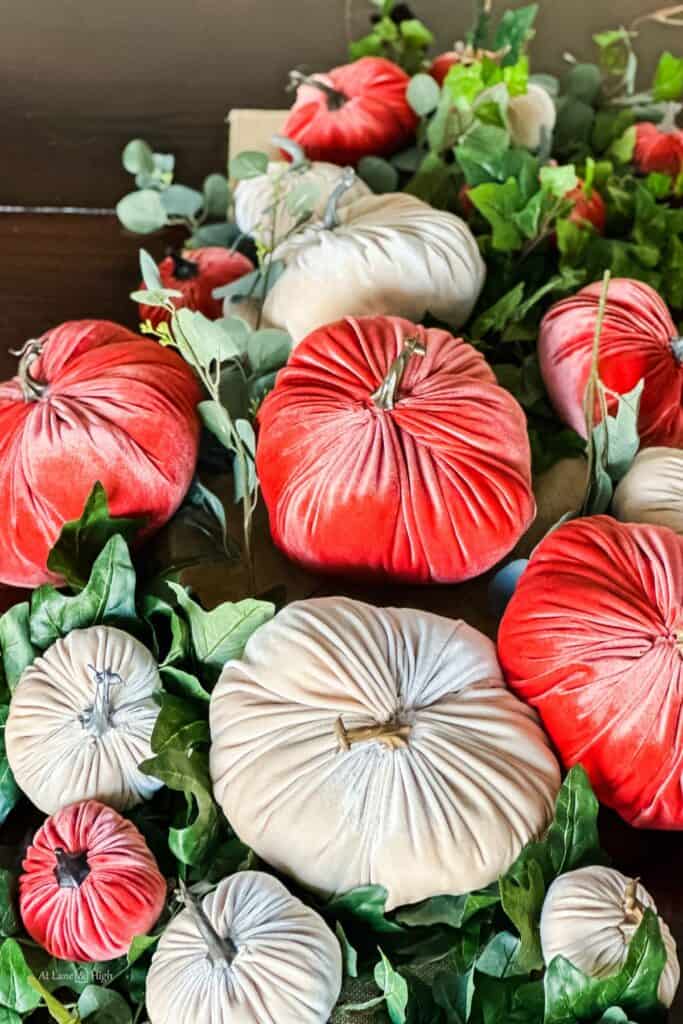
The Finished DIY Velvet Pumpkins
Here are the finished pumpkins! I love having a ton of them, it’s like an installation of pumpkins!

Other Fall Decorating Posts You Might Like:
- 23 Easy and Fun Fall Cricut Decor Ideas
- Fall Decorating in my Kitchen and Breakfast Nook
- 65 Easy Fall Crafts for Adults
- 19 Gorgeous Fall Mantels You Will Want to Copy This Year

DIY Velvet Pumpkins
Learn how to make these DIY Velvet Pumpkins for much less money!
Materials
- Stretch Velvet
- Needle
- Thread
- Rice
- Fiberfill
- Shredded Foam
- Stem
Tools
- Circular objects such as plates and bowls
- scissors
- Sharpie
- Hot Glue Gun and Glue
Instructions
1. Trace using the sharpie a circle using whatever item you choose and cut it out.
2. Using the needle and thread sew up 80% of the circle in a basting stitch. Then cinch it up tight.
3. Add Rice to the bottom.
4. Add fiberfill on top of the rice.
5. Put some shredded foam inside some fiberfill and add it to your pumpkin. Do this two or three times depending on the size of your pumpkin.
6. Finish sewing up the pumpkin.
7. Sew up the remaining hole.
8. Add the stem and put a bit of hot glue to hold it into place.
Notes
Make sure you put a large knot into the end of your thread to prevent it from slipping through the fabric. I knotted it around 4 or 5 times.


As a licensed Real Estate Agent and an avid home decorator, I strive to give my clients the very best I can when it comes to staging, selling, and decorating their homes. I have lots of experience with paint color choices and love to DIY my home so I can have everything just the way I want it. I share my ideas and projects with the world in the hopes that I can help others have their homes just the way they want as well.