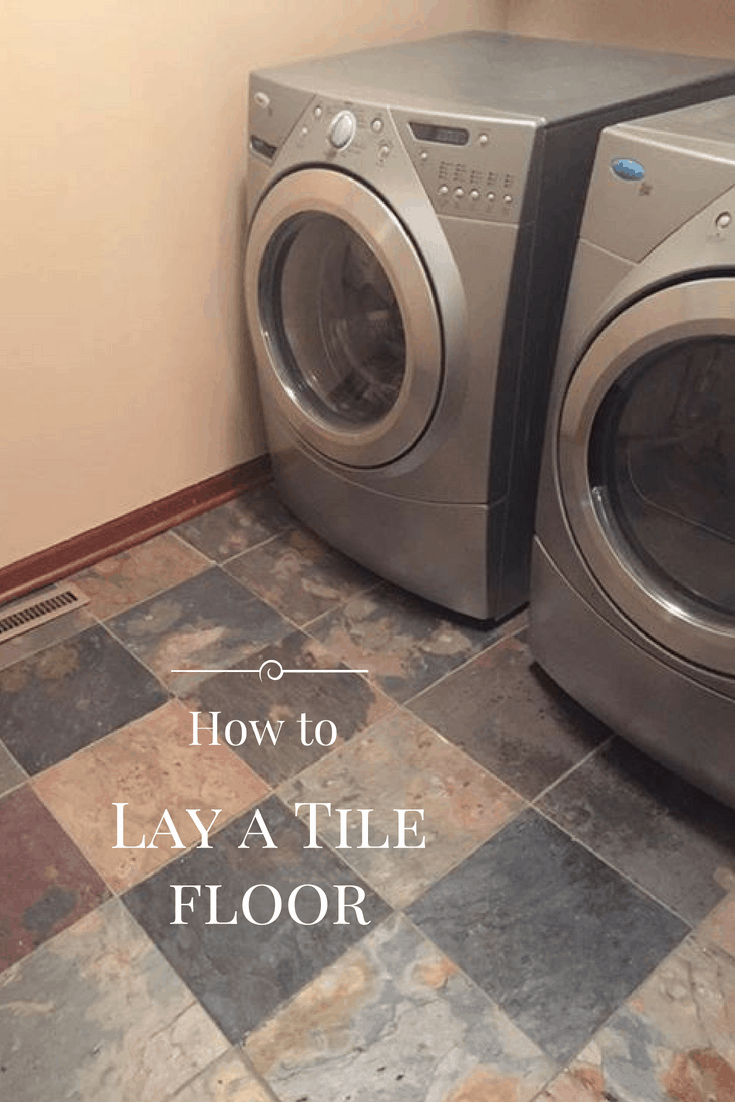
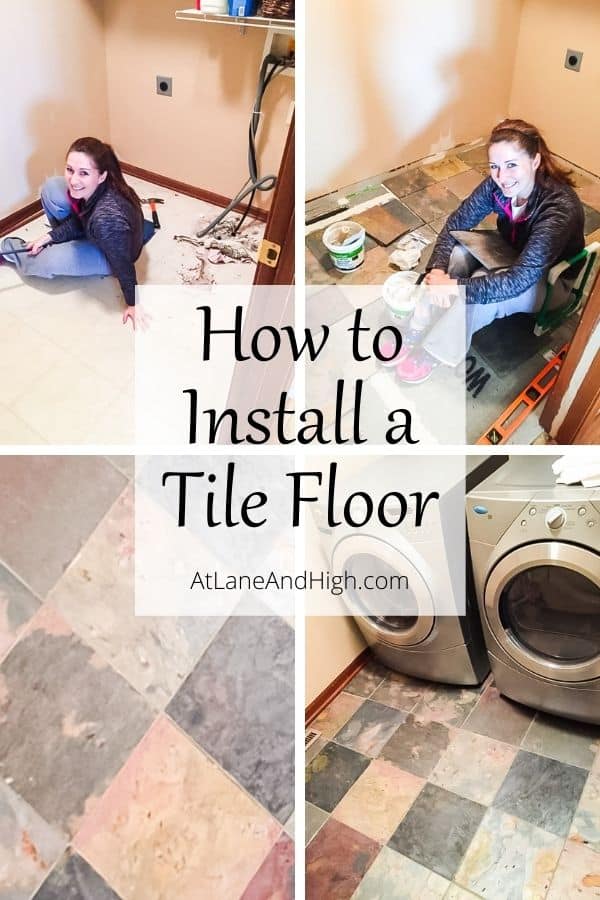
How to Install a Slate Tile Floor
I am so excited to share with you how to install a slate tile floor as I did here in my laundry room. It really elevated the entire look of the room and it’s a simple project that can be done easily in a long weekend.
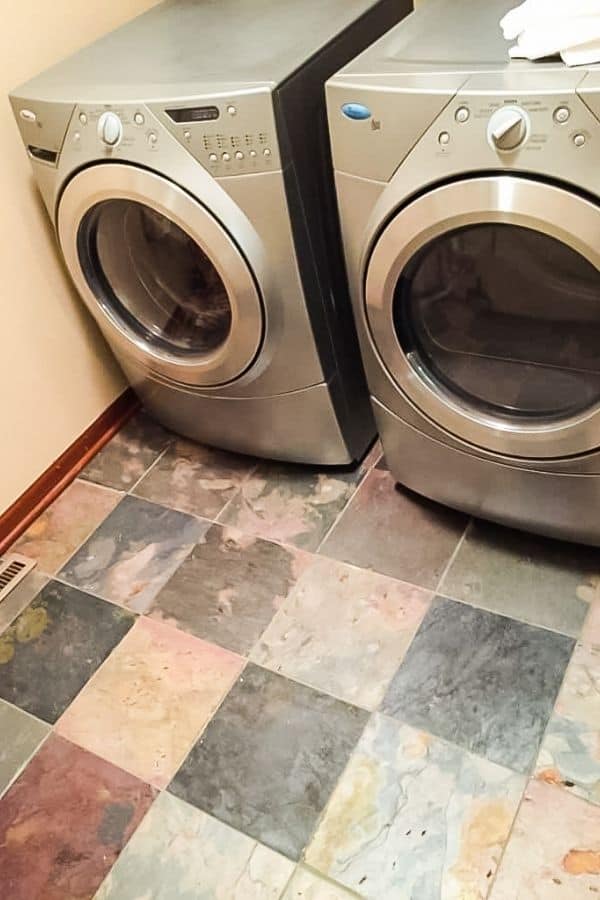
We did this because the linoleum was ugly and gross and it was so incredibly hard to keep clean! We have this amazing slate tile floor in the powder room which is just a few steps away so it just made sense to put slate here as well.
The big reason to upgrade this floor too was to put our house on the market! This room is right off my kitchen and everyone knows kitchens and bathrooms sell houses. I couldn’t have this ugly linoleum next to the pretty hardwood floors in the heart of the home.
For not a lot of money at all we were able to increase the value of the home! that is a total win-win if you ask me!
*This post contains affiliate links. For more details see my full disclosure.
How to Install a Tile Floor
Full disclosure, I had never done this before. I did a ton of research and learned that it’s not rocket science! Installing a tile floor is a really doable project for the average DIY’er, or even the novice DIY’er.
Materials and Tools Needed
To determine the amount of tile you need measure the length and multiply it by the width to get the square footage of space in the room.
Luckily for us, the tiles were in 12 in squares so determining how many we would need was pretty easy. Just make sure you account for some overages, just in case you break one or cut one wrong. The general rule of thumb is 5% more.
Materials
- Mortar – I used this one that is already pre-mixed.
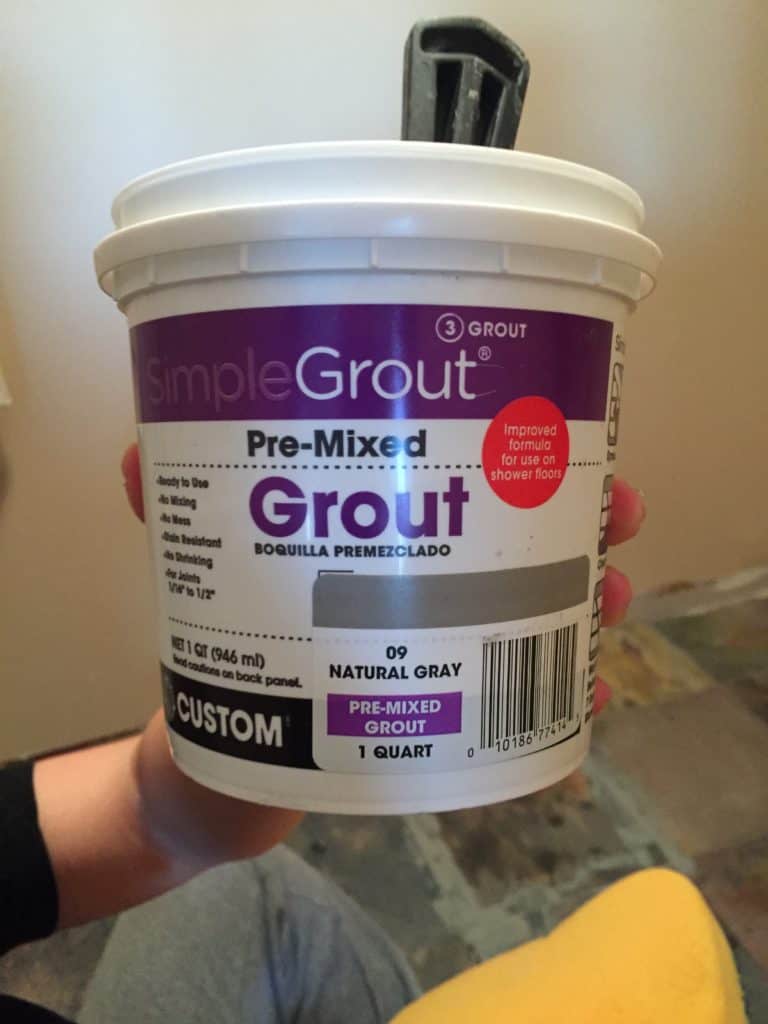
- Grout – I used this one that is also already pre-mixed which makes life pretty easy
- Spacers
- Seam tape
- Backer Board
- Tile of your choice
Tools
- Tile-laying kit – this includes a trowel, sponge, and rubber grout float
- Pry bar – We have used this thing for so many things around the house, and my neighbor has borrowed it a ton too!
- Wet Saw – we rented ours from Home Depot but if you want to purchase one this is a good one.
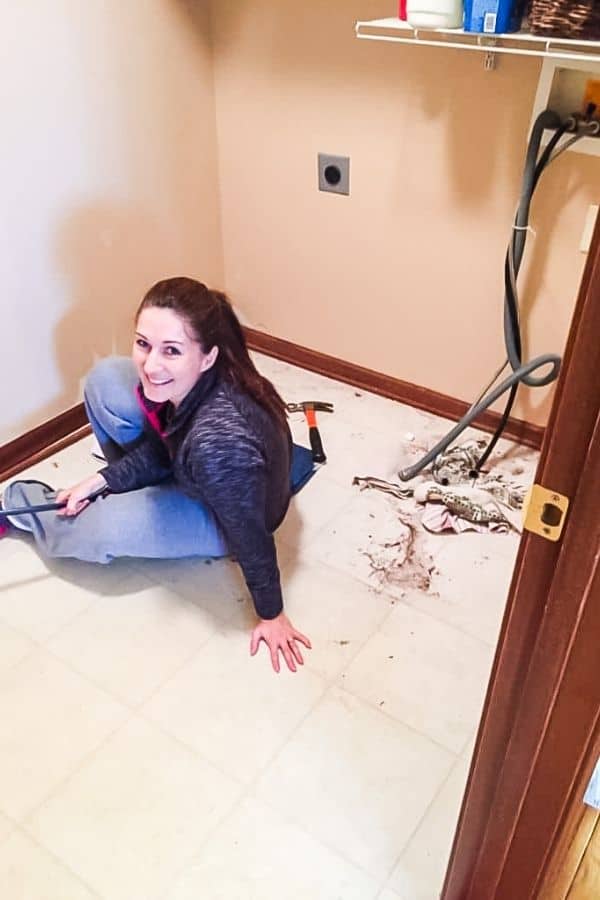
Here is the before picture….notice the excitement! I always feel that way right before a DIY project.
Prep work
The prep work is always the most important part of any project. If you don’t do the prep work properly the end result will not come out as you want it too.
Remove everything from the room and take off the baseboards using the pry bar. Make sure you label them so you know where they go when putting them back in the room.
Pull up whatever flooring is already down. We had ugly linoleum so it was pretty easy to pull up.
Make sure that your subfloor is smooth and even. If it isn’t then you will most likely have problems down the line with tiles chipping or cracking.
Install Backer Board
Put down the backer board on top of your subfloor. Please read the manufacturer’s directions on how to install the backer board.
My Wonderboard (brand name of the backer board I used) directions said I had to put the mortar down, use the trowel to make grooves. (That’s the notched side:)) Then put down the backer board.
Then you will need to tape over the seams of the backer board. The seam tape is self-adhesive so it will stick. But then you have to go over it with mortar. Again, follow the directions that came with the backer board.
Would you like to save this?
Let all that dry before you move forward.

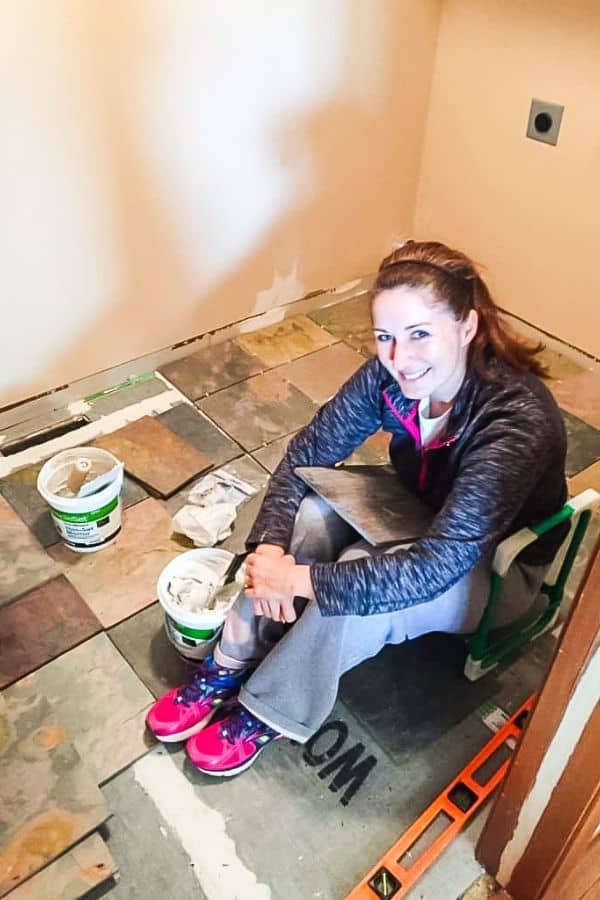
Install the Tile
Find the center of the room, this will be where you begin. It’s a great idea to lay out your tiles in a dry run just to make sure you like the way it looks.
Work in small areas putting down mortar and spread it out. Using the notched side of the trowel make grooves in the mortar, and put down the tile.
Make sure you wiggle it down into the mortar, but not so much that mortar comes up between the tiles, just enough to set it in place. Put spacers in between each tile.
Let this dry according to the mortar’s manufacturers’ suggestions…usually about 24 hours.
Grout the Tile
Once the mortar is down it’s time to grout! Remove the spacers and using the grout float from the kit press grout in between the tiles.
Work in small areas to press the grout in between the tiles. Then use a bucket of water and the sponge to remove the excess and clean off the tiles. Work at a 45-degree angle.
If you have a hazy film on the tiles after doing this go over again with the sponge and water to remove it. Again, let this dry.
Finishing touches
Now it’s finishing touches time. Put the baseboards back on, you can use a brad nailer to do this or a hammer and nails as we did.
You will need a transition piece most likely for where the tile meets the other flooring. In my case, it was tile meeting hardwood so I bought a T-shaped piece that matched my hardwood floors and nailed it into the floor.
Now it’s time to fill the room back up and you’re done! Yeah!
Related DIY Posts:
- 8 Bathroom Flooring Trends
- Everything You Need to Know About Herringbone Floors
- The Best Area Rug Pads for Hardwood Floors
- Cheap Flooring Ideas for an Instant Update
- Everything You Need to Know About Black Grout
- How to Choose the Right Grout Color for Your Tile

Conclusion: How to Install a Slate Tile Floor
I hope you learned a little something today about how to install a tile floor. See, I told you it wasn’t hard, just takes time and patience. If I can do it anyone can!!!!

How to Install a Slate Tile Floor
Materials
- Mortar - I used this one that is already pre-mixed.
- Grout - I used this one that is also already pre-mixed which makes life pretty easy
- Spacers
- Seam tape
- Backer Board
- Tile of your choice
Tools
- Tile-laying kit - this includes a trowel, sponge, and rubber grout float
- Pry bar - We have used this thing for so many things around the house
- Wet Saw - we rented ours from Home Depot but if you want to purchase one this is a good one.
Instructions
- Remove the baseboards and label where they go so you can re-install later.
- Pull up the old flooring.
- Install the backerboard to the subfloor using mortar.
- Attach the seam tape to all the joints then go over it with mortar.
- Let everything dry for 24 hours.
- Using a trowel put mortar down on the backerboard and make ridges in it using the notched side of the trowel.
- Lay the tile down and push it into the mortar slightly.
- Use spacers in between the tiles. Work in small areas until the whole floor is done.
- Let everything dry 24 hours.
- Using a rubber float spread grout into the spaces between tiles. Using a sponge and water clean up the excess.
- Let everything dry 24 hours.
- Re-install the baseboards using a hammer and nail or a brad nailer. And it's all done!

As a licensed Real Estate Agent and an avid home decorator, I strive to give my clients the very best I can when it comes to staging, selling, and decorating their homes. I have lots of experience with paint color choices and love to DIY my home so I can have everything just the way I want it. I share my ideas and projects with the world in the hopes that I can help others have their homes just the way they want as well.