
Reclaimed Wood Wall: Week 3 of $100 Room Challenge
It’s week 3 of the $100 Room Challenge. I can’t believe how fast it’s flying by! This week I created a reclaimed wood wall for $60.
If you aren’t familiar with the $100 Room Challenge, it was started by Erin from Lemons, Lavender, and Laundry. The idea is to redo a room in one month and for less than $100.
In case you missed it you can find the other weeks below:
Week 1 | Week 2 | Week 3 | Week 4
*This post contains affiliate links. Please see disclosure for full details.
Recap:
So last week I was drowning in rain, unable to go to the hardware store and buy wood for the reclaimed wood wall. I really wanted to get this project going because I was afraid it would be pretty tough. But, not happening.
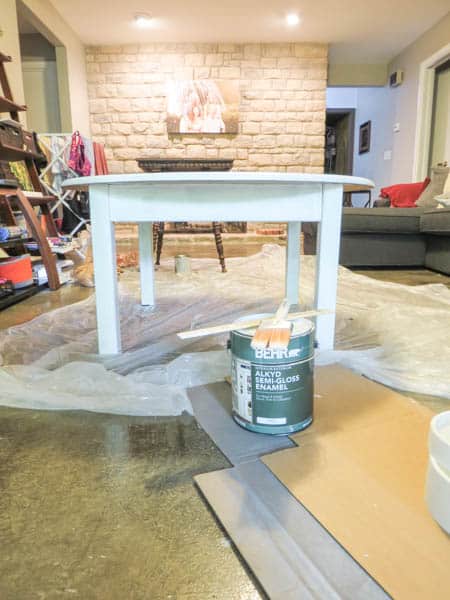
So instead I painted the coffee table white, after trying to stain it gray which didn’t work out…LOL, are you catching a theme here…things not working out! LOL.
This week we got to the hardware store, purchase the wood, loaded it in the truck….then the truck wouldn’t start. Not kidding….wouldn’t turn over. So we called roadside assistance and waited. Fifty minutes sitting in the hot sun waiting.
We couldn’t sit in the truck because it was a million degrees, seriously, a million! So we stood outside the truck. On the bright side since I am short I was able to find shade under the wood sticking out of the truck bed. I guess sometimes it pays to be short!
But seriously, this reclaimed wood wall might just be cursed!
Okay, moving on to the reclaimed wood wall….
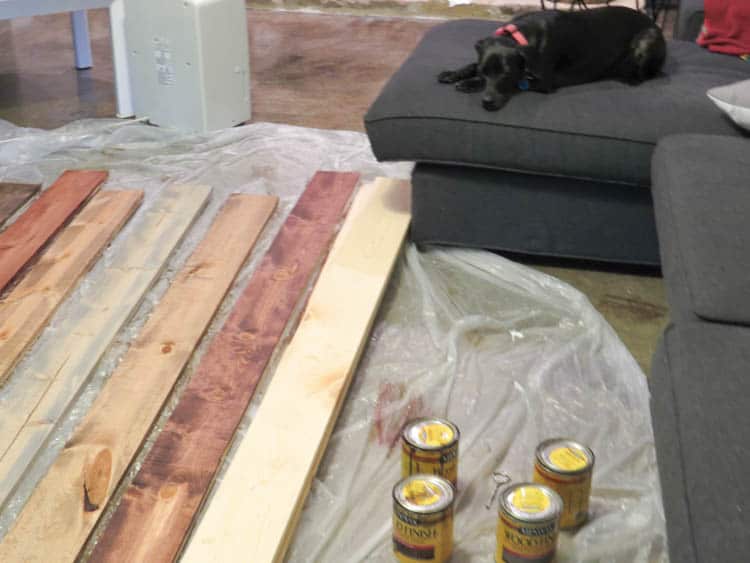
I finally got the wood home (and a new battery in the truck too!) and started staining. I can only do about half at a time due to space constraints. You can see I have four colors I am working with. I have Jacobean, Special Walnut, Red Mahogany, and Gray.
Would you like to save this?
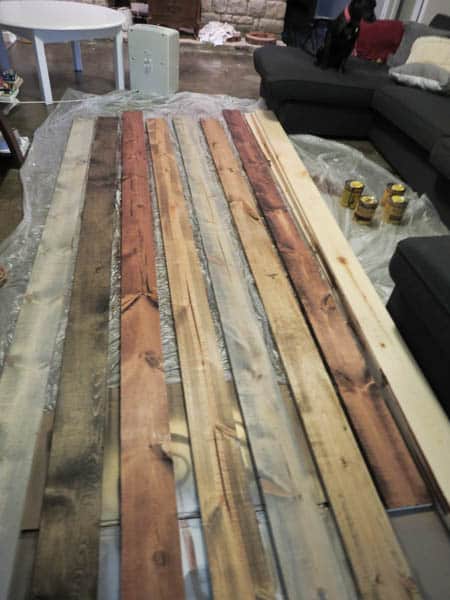
I am staining the first four boards each color, then for the rest, I will be mixing them. By mixing the colors you will get that variation that you see in authentic reclaimed wood.
Another thing you can do to the wood to age it is bang it up, for example, beat with a hammer or a chain. This recreates the look of age.
The last thing I am going to do is go back over the knots in the wood and darken them with some of the darker stain. This is something that would happen naturally while wood ages. I will show you what that looks like next week….still working on getting the first coat or two of color on!
A lot of people use pallets for a reclaimed wood wall. Creating a pallet wall is a great idea because the wood looks weathered already, rather than buying it new as I did.
The only problem, which is why I steered away from it is you have to make sure you get the right pallets, the ones that haven’t been treated in chemicals. This made me nervous, so I opted for 1X6 pine boards in 10-foot lengths.
Let’s talk budget
This week is the first I have spent any money. Last week I used paint that I already had on hand but this week I bought the wood for the wall and furring strips. All of the stain I already had on hand. So the total so far is about $60.
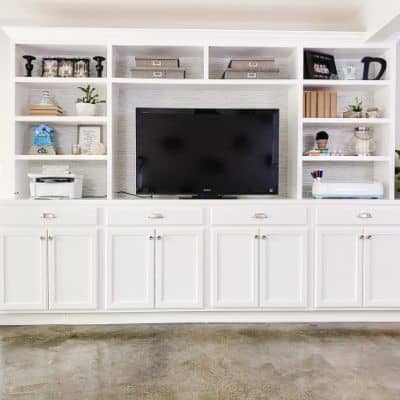
Not too bad for getting through most of the project. The rest will be used on decor. I figured out what I am going to do with the leaning shelves, you will have to wait till next week to see!
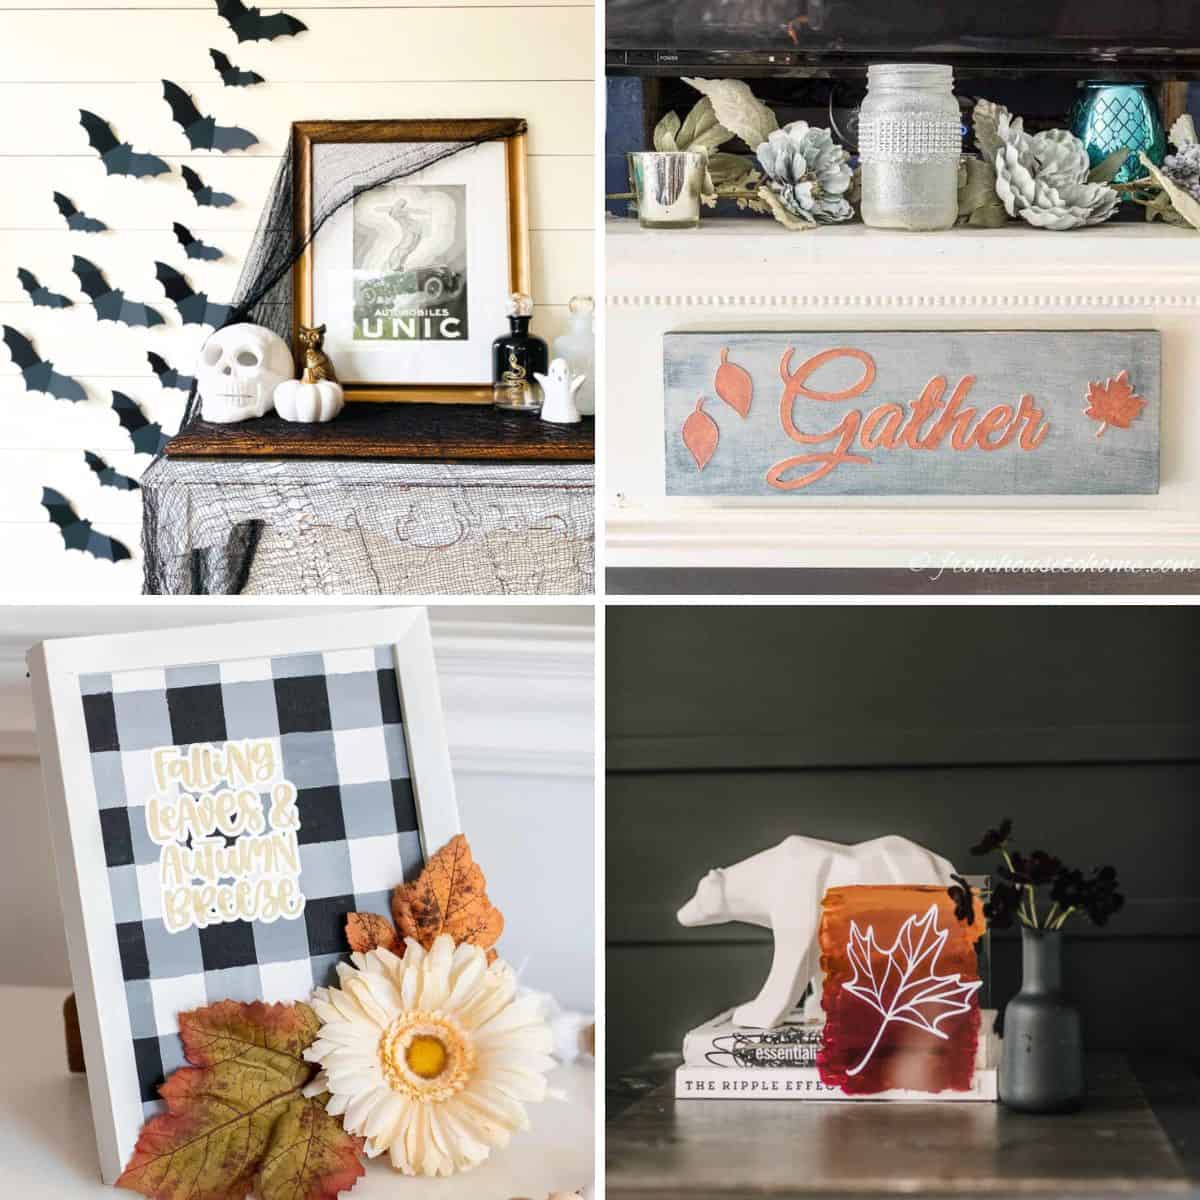
Don’t forget to check out the other amazing bloggers who are participating!

As a licensed Real Estate Agent and an avid home decorator, I strive to give my clients the very best I can when it comes to staging, selling, and decorating their homes. I have lots of experience with paint color choices and love to DIY my home so I can have everything just the way I want it. I share my ideas and projects with the world in the hopes that I can help others have their homes just the way they want as well.


You have done a great job mixing the colors on the wood. This room is going to be beautiful!
Thanks so much Sherry, I am a little bit OCD about it. I hope it all looks good once I get it on the wall!
Love your DIY partner! lol! Seriously, I can’t wait to see this wall! It’s going to be A.ma.zing! I’m like you, wood from pallet scares me! And it’s so much work to take them apart! Keep up the good work!