
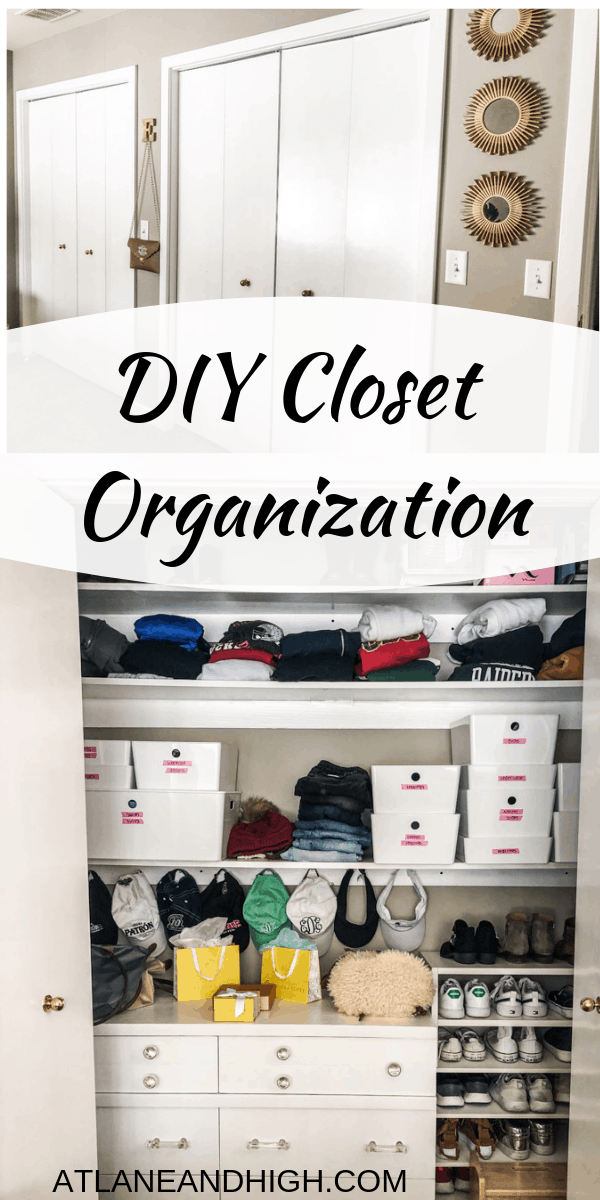
DIY Closet Organization Ideas on a Budget
Today I want to share my DIY Closet Organization Ideas. I have been helping my daughter organize her (massive) amount of clothes but keeping to a budget. I am spilling all the details of what we have done!
It’s that time of year and Netflix is killing it with the new hit TV show utilizing the KonMari method of organizing. Everyone is talking about it and I have been working a lot this past year in my daughter’s room to make it perfect for her.
Today I am going to show you all the closet organization we did. I am trying to channel the Kon Marie method of making a place for everything….and this kid has a lot of stuff.
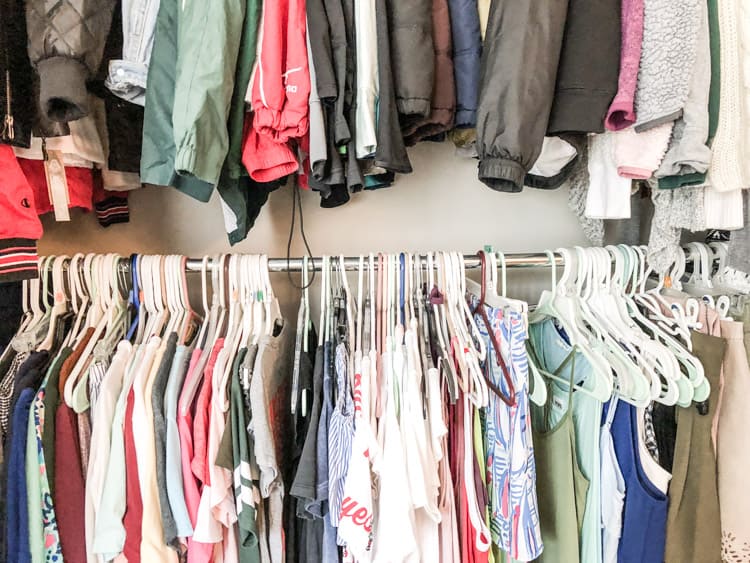
I am going to warn you, this kid has a fantastic closet and the clothes to go with it. She basically spends her life-guarding paycheck on clothes.
She is a savvy shopper, and never really pays much for what she gets but at this point, I think she has more clothes than the rest of us combined! Let me show you.
*This post contains affiliate links, see disclosure for full details.
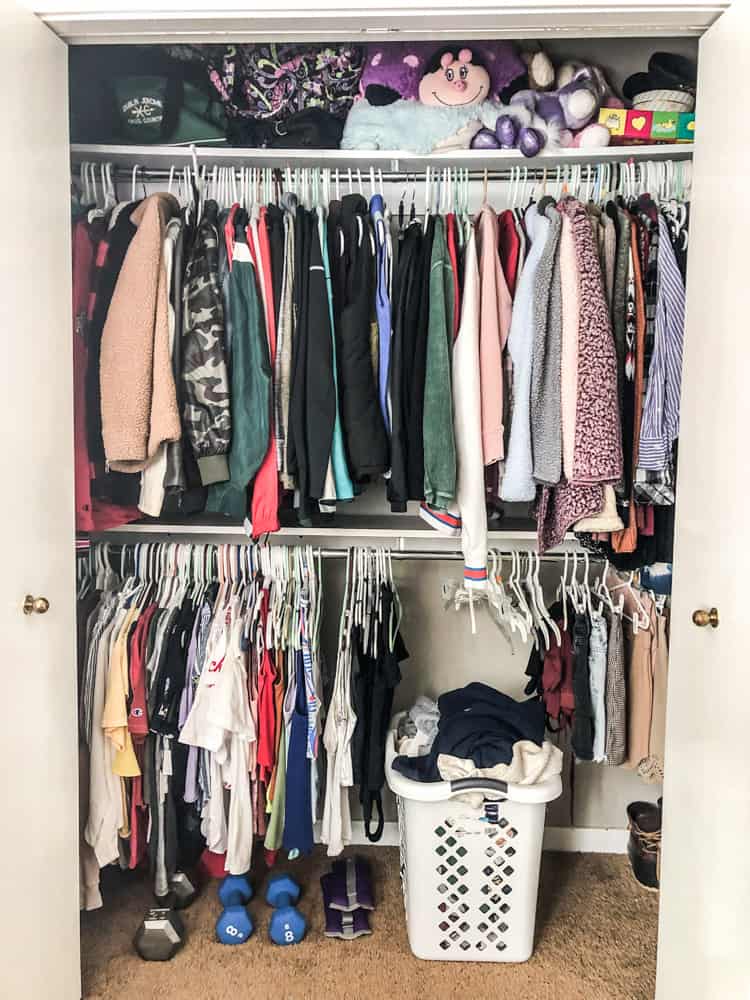
DIY Closet Organization: The Right Side
When we moved into this house I let my youngest choose which room she wanted because my oldest was going to college in a few months. Erin chose the room with two full closets, smart girl! 😊
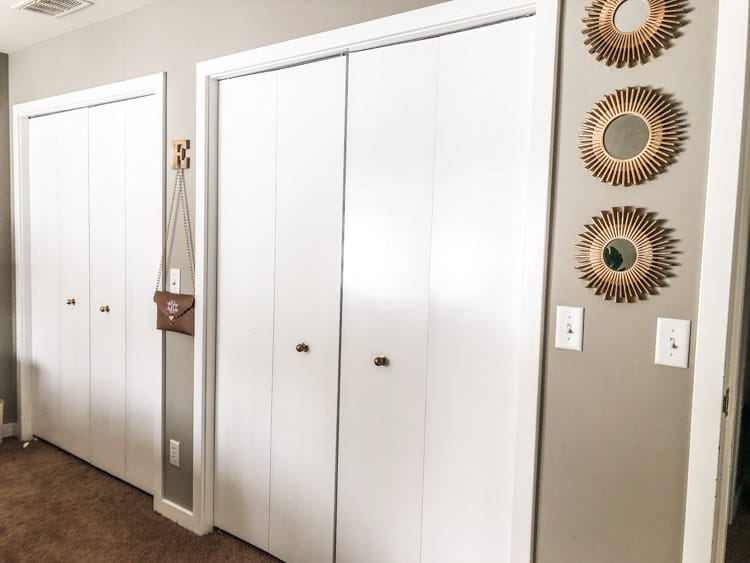
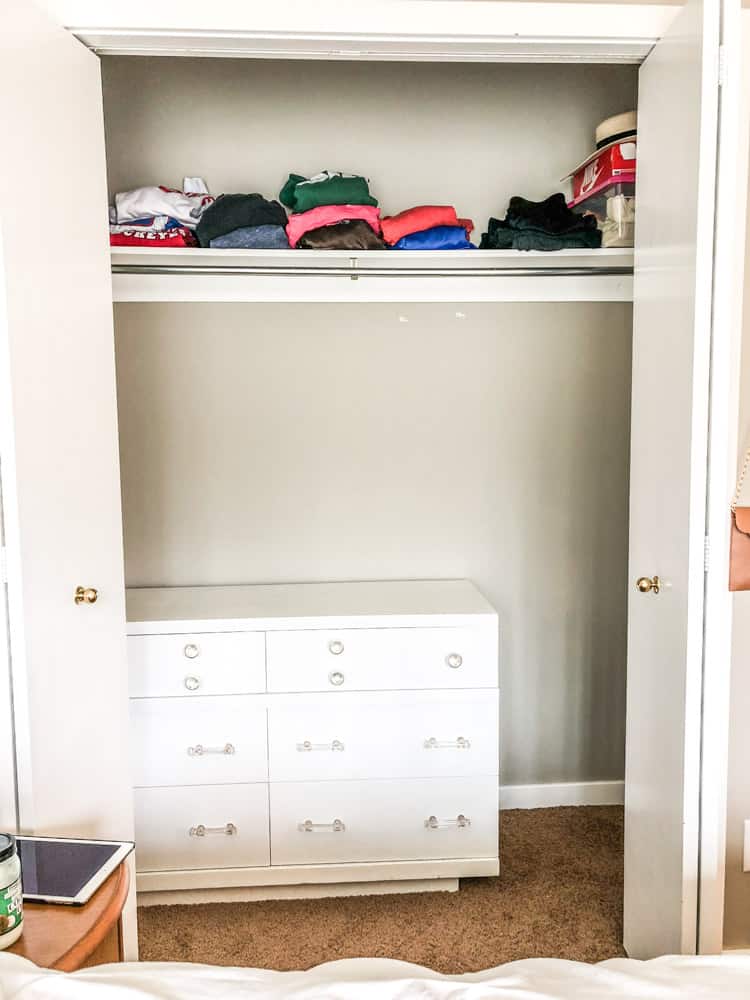
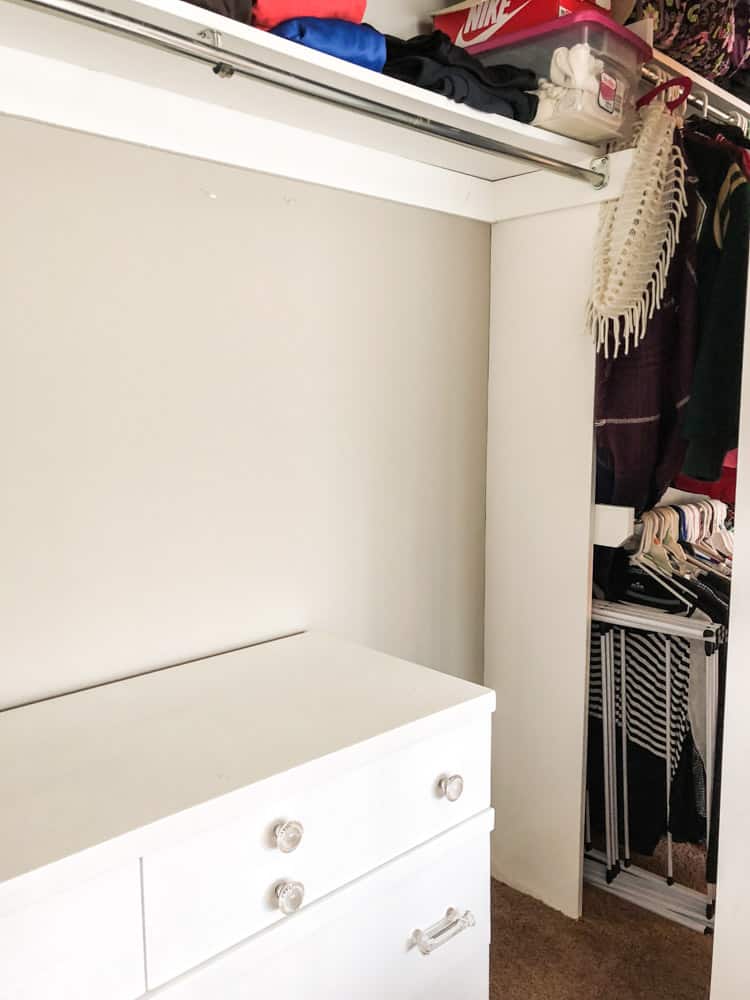
Erin didn’t want to have a dresser in her room, she had other plans for that space so we decided to move the dresser into the closet.
I didn’t have the funds to go all crazy with the organization from Home Depot or someplace like The Container Store. I needed to keep this whole thing under $200. So we moved the dresser into the left closet.
The first thing I noticed was the bottom bar in the closet on the right bowed a little in the middle. It didn’t have a shelf with a support in the middle like the others do so I added a shelf and took the support bracket off the hanging bar in the left closet because we were turning all those into shelves.
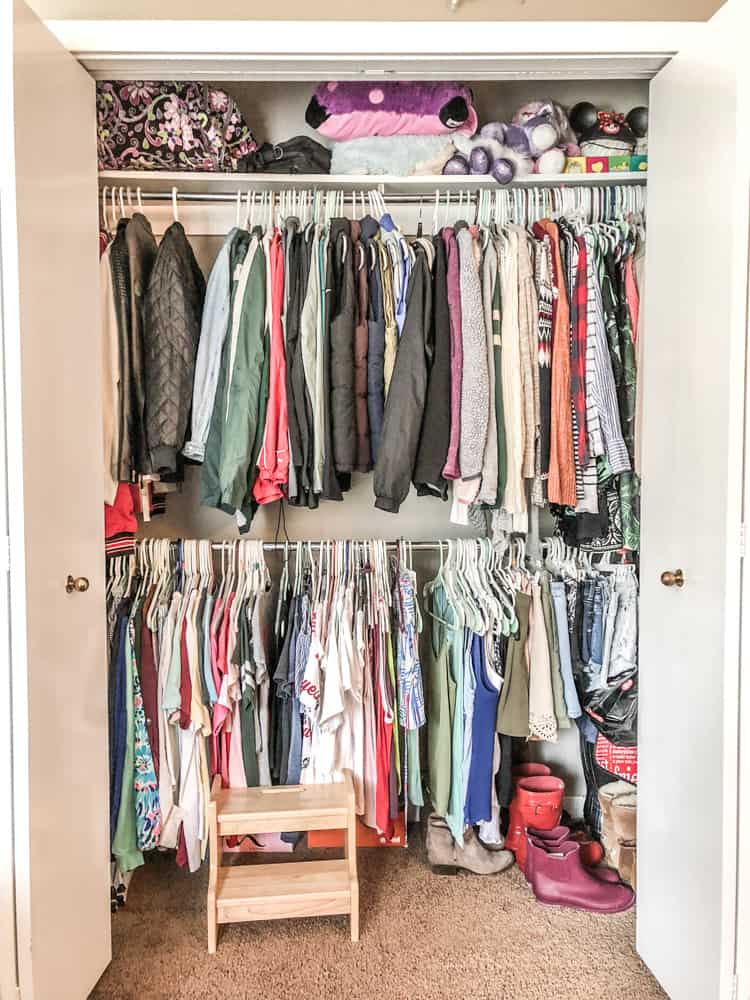
In order to add the shelf, I had to put a 1×4 on the back wall to support a 1×12 shelf. You can see which boards I added because of the screws. I also pre-painted everything white. Once the shelf was up I attached the hanging bracket and the bar no longer bowed.
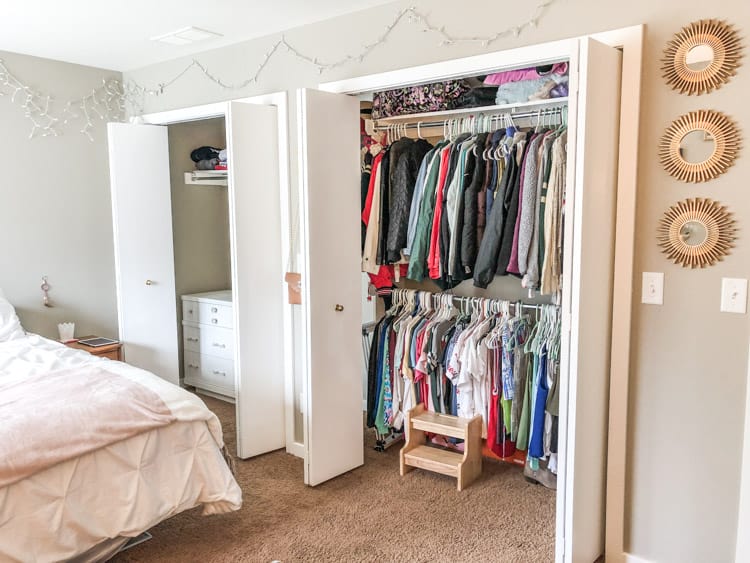
I told you this kid has a ton of clothes. But she has bought most of them herself over the last few years and I am not about to tell her she needs to get rid of any of them.
Also, please excuse the laundry basket full of dirty clothes. With this much clothing, I think this basket is ALWAYS full! #reallifepictures 😂
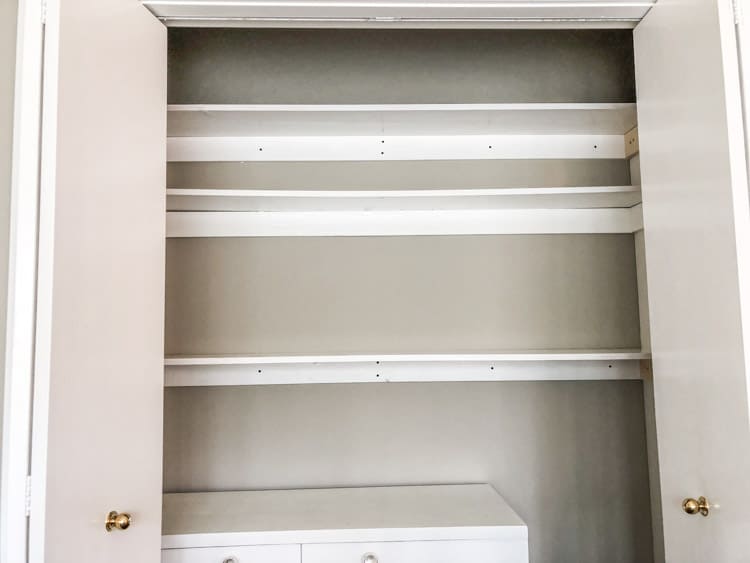
DIY Closet Organization: The Left Side
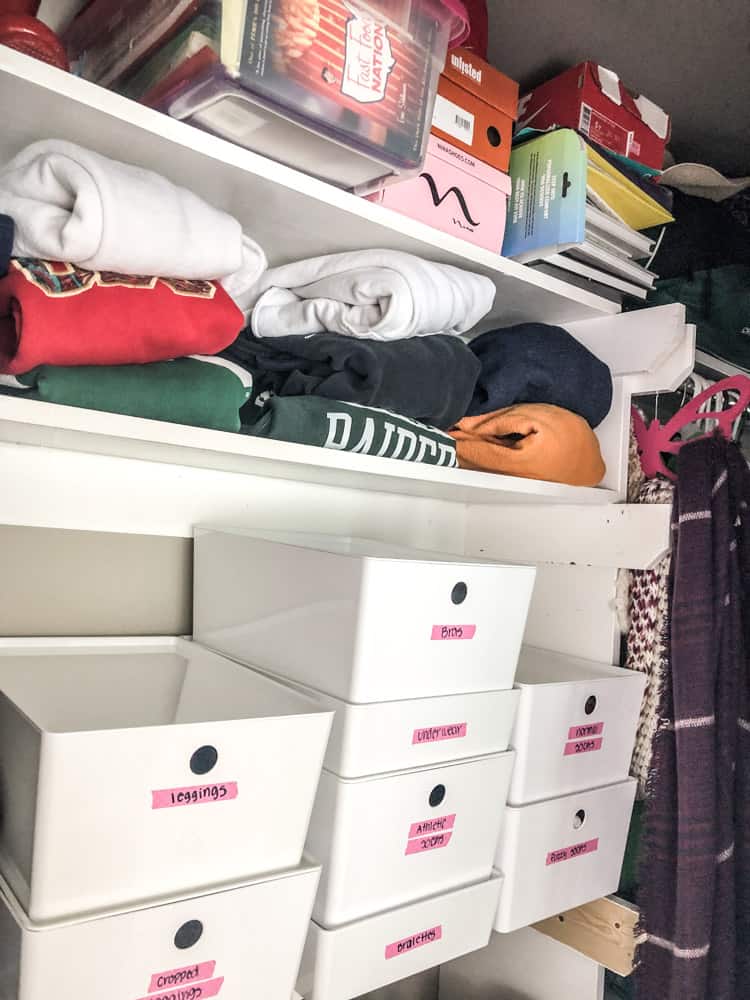
So we now have a dresser in here and have removed the hanging bar. I will be adding a shelf below and above the existing shelf to add more stacking space.
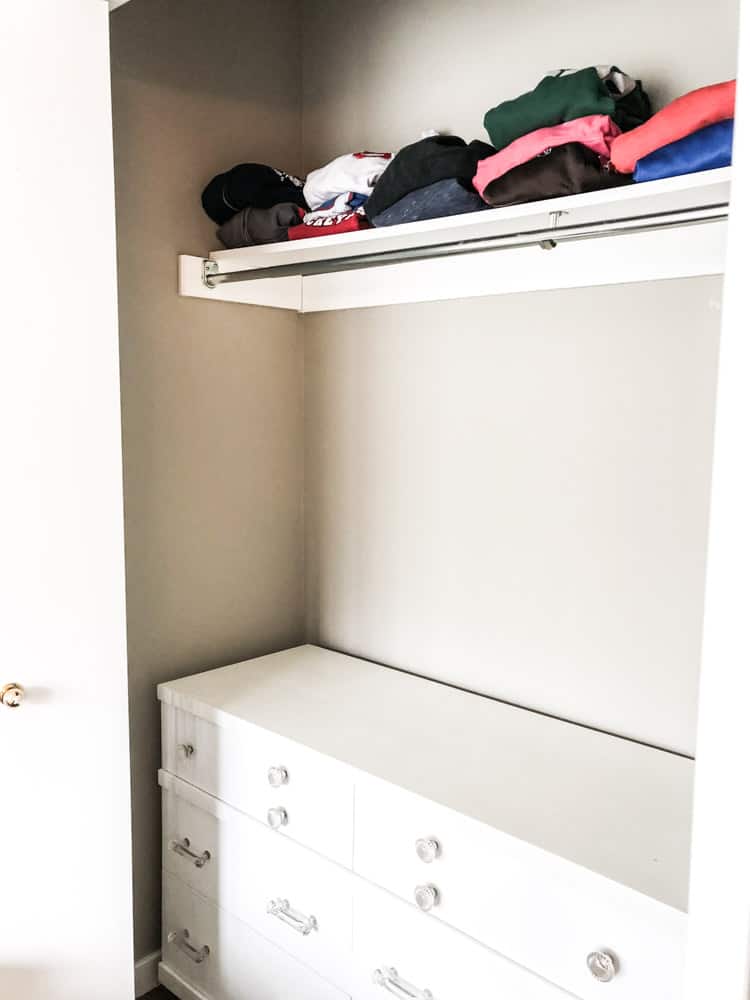
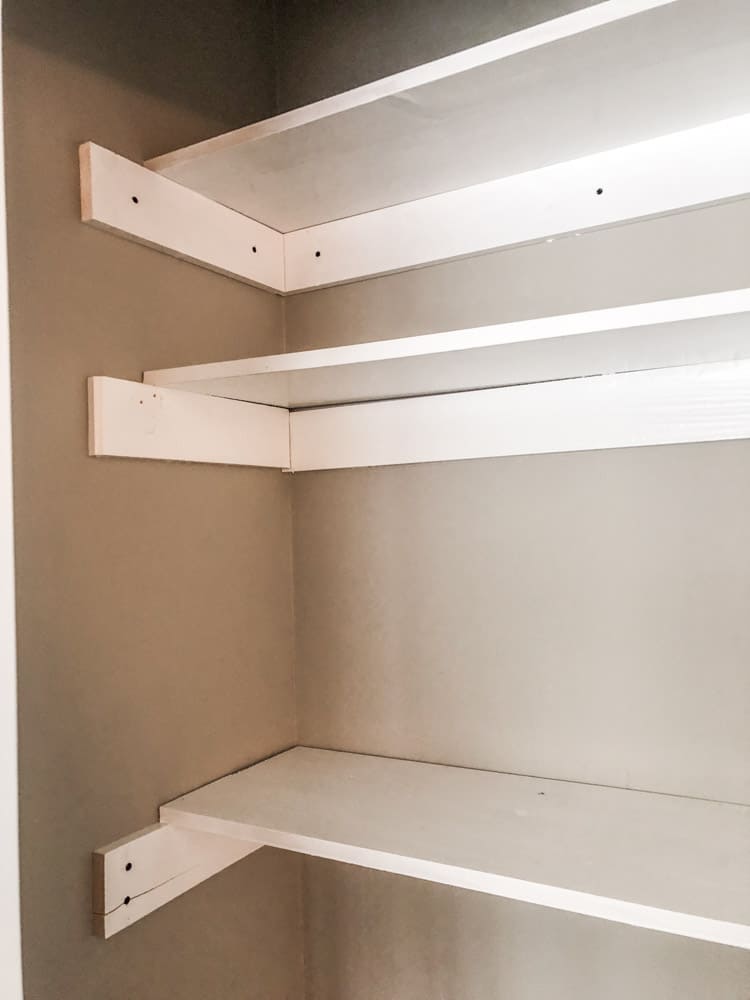
I took 1×4’s for the supports and 1×12 for the top and cut them all with my miter saw to the same measurements of the existing shelf.
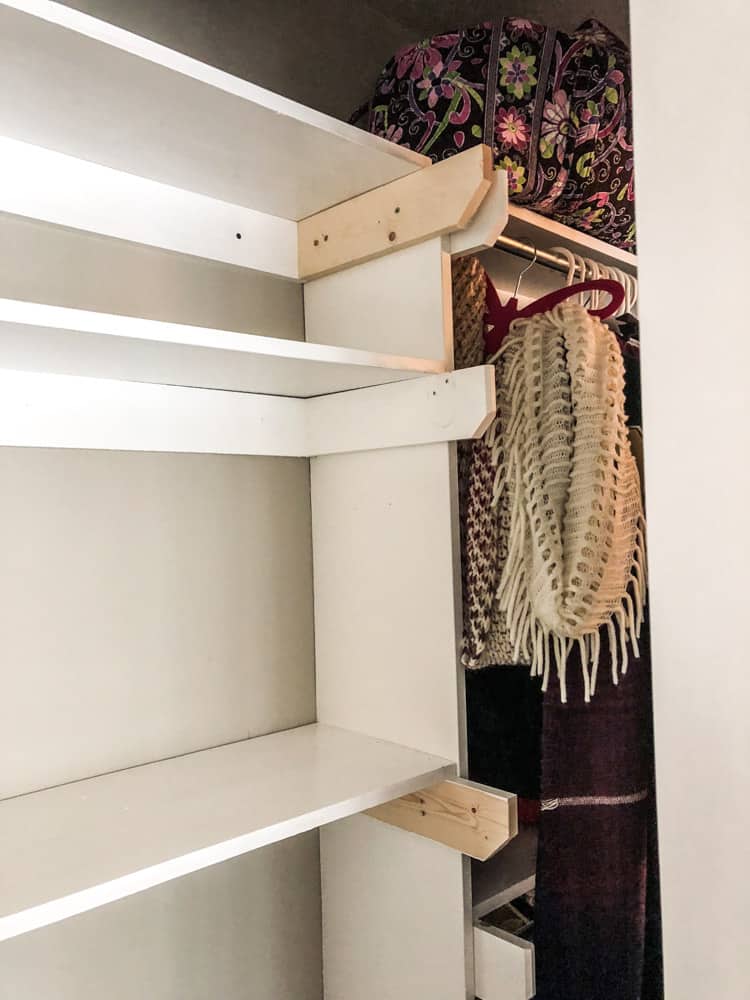
As you can see I didn’t get everything level, even though I used a level….LOL. I know, only me would do that! So to fix the gaps you see here I just used a bead of white caulk and presto, mistakes were gone!
Would you like to save this?
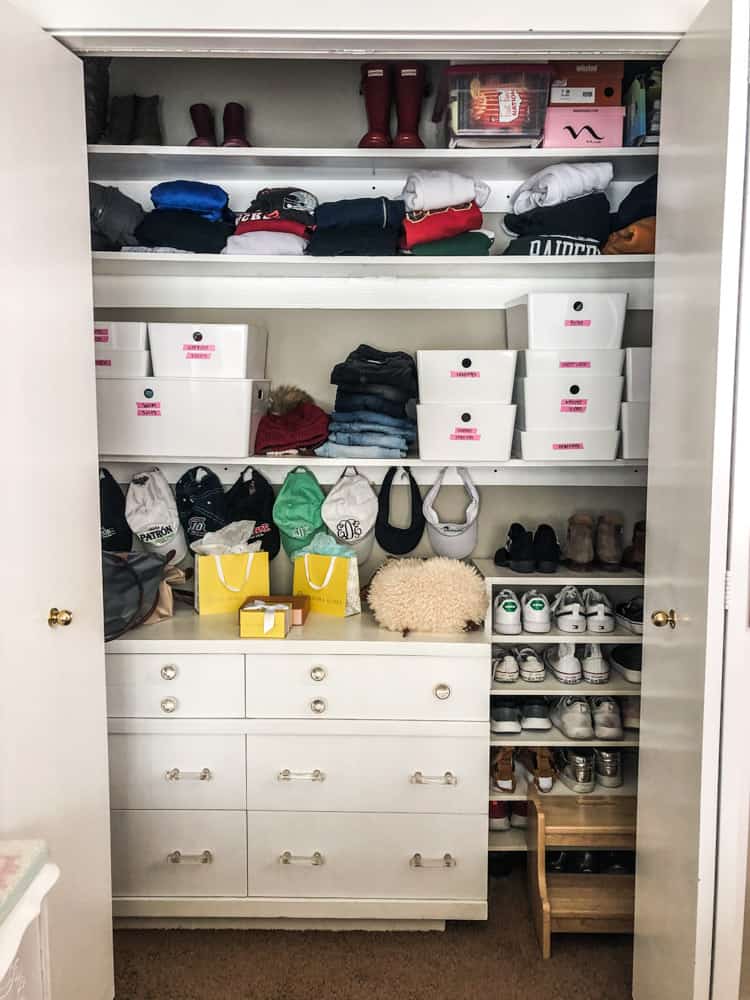
The last step was to add clothes! We went to IKEA to get these white containers. They have several sizes and they have lids that are super helpful for stacking.
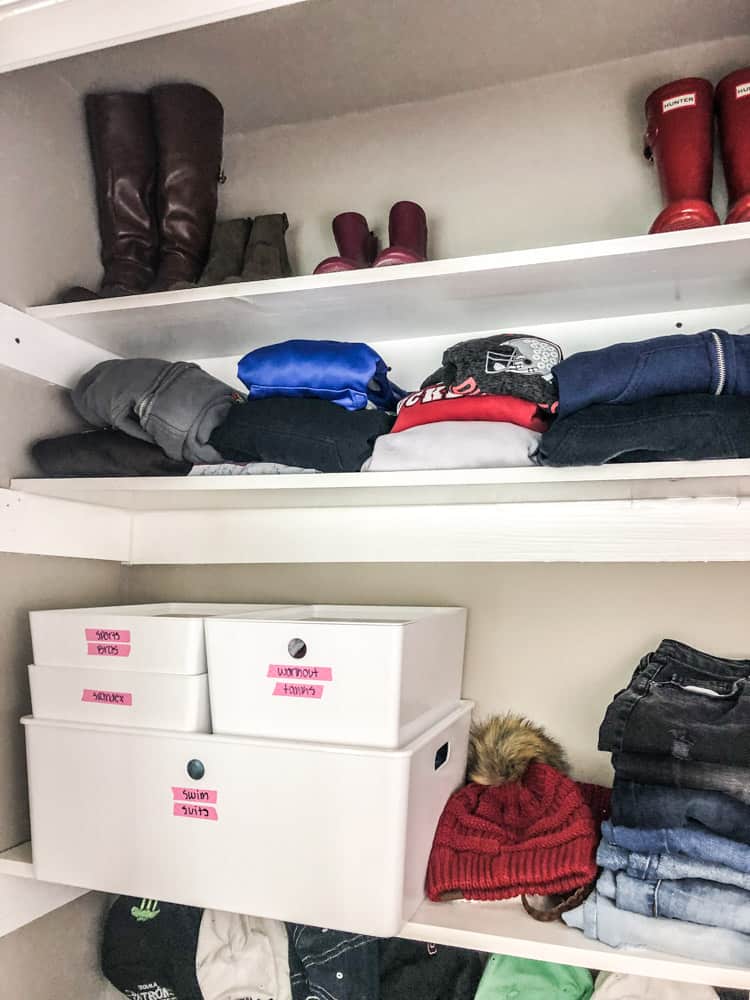
Erin added some washi tape as a label for what is in each container.
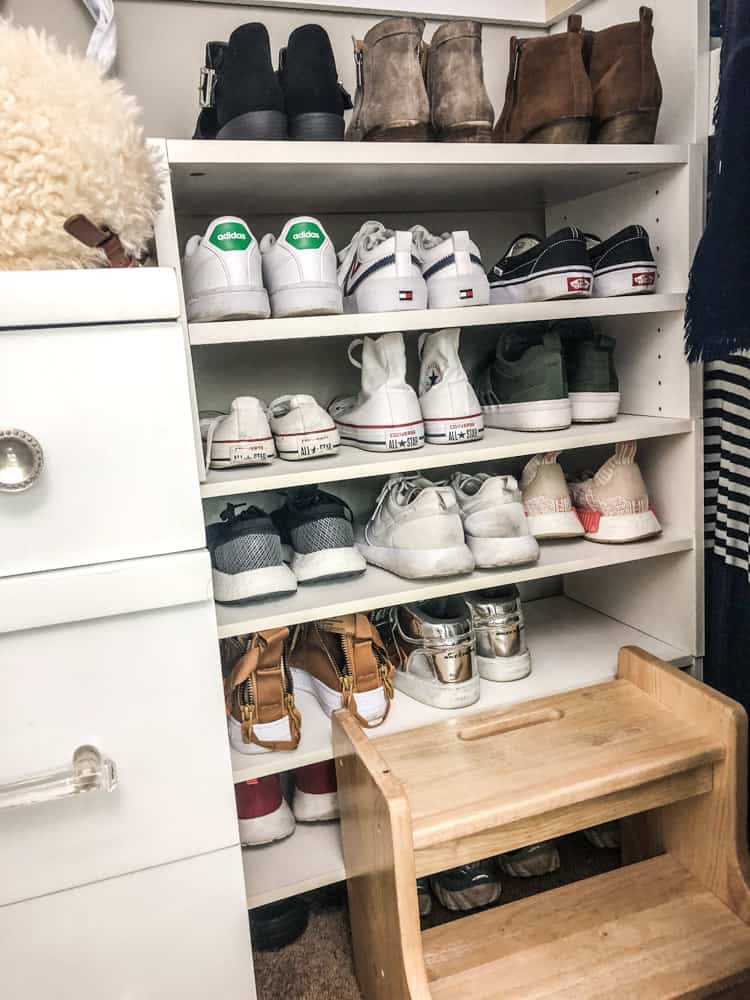
We used these inexpensive shoe racks from Target for her shoes. They are only $13 a piece! We used three, as many as we could because this kid loves shoes!
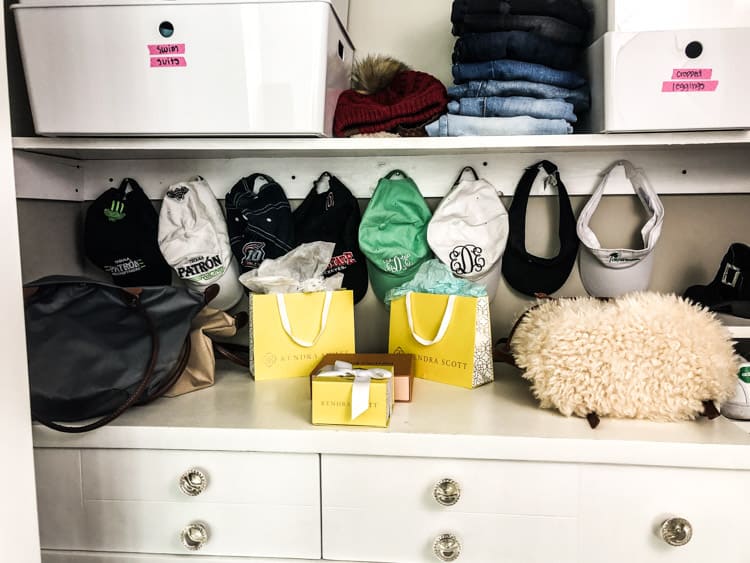
Above the dresser she put tacks into the support board to hold her hats, I thought that was a super unique idea. And her big purses sit on top of the dresser with the pretty boxes she has received from Kate Spade.
She also has that little step stool to reach the stuff on the top shelf. It fits nicely in front of her shoes so the doors can still close nicely. On a side note, this is the step stool my kids used when they were little to reach the sink so they could wash their hands and brush their teeth! 💝
DIY Closet Organization Ideas: Materials Used
For this project I used some materials I already had on hand:
White Paint
Existing shelf bracket
Here are the materials I had to purchase:
Ikea shelf organization in various sizes
That’s it! I think it took more time to paint the wood and seal it to prevent scratches than it did to do all the other steps combined!
The only reason this project went to $200 is because of all the bins we bought from IKEA. They weren’t expensive but we got a ton of them. It added up. If I only did the shelves I would have only spent about $100-$125.
As you can see, not an expensive transformation but it made a huge difference in her room. Everything is now in the closets and the rest of the room is getting the finishing touches. That reveal is soon to come!
Other Organization Posts:
- 25 Kitchen Cabinet Organization Ideas
- 15 Garage Organization Ideas You Can Do Yourself
- 21 Toy Organization and Storage Ideas from the Experts: Moms!
- 25 Craft Organization Ideas on a Budget
- The Best Jewelry Organizers
- Mind-Blowing Organization Ideas For Your Home
- 16 Gorgeous Makeup Organization and Storage Ideas
- 20 Easy DIY Closet Organizer Ideas

I hope you enjoyed my DIY closet organization! I hope you are inspired to take on an organization project of your own!

As a licensed Real Estate Agent and an avid home decorator, I strive to give my clients the very best I can when it comes to staging, selling, and decorating their homes. I have lots of experience with paint color choices and love to DIY my home so I can have everything just the way I want it. I share my ideas and projects with the world in the hopes that I can help others have their homes just the way they want as well.


You did an awesome job! I have a closet that needs that same organization…just saying… 😉
LOL Monique, let’s do it!
Great organization ideas Wendy! I need to get to the closet in my office! Extra shelves and bins like the ones you purchased from Ikea would make a huge difference. Thanks for inspiring me to get to it!
Anytime Lisa! I am so glad you feel inspired!