
How to Tile a Shower Wall
If you have a shower wall that needs some help you can easily install new tile. Today I will share with you exactly how to tile a shower wall.
We did a semi-remodel in my daughter’s bathroom, we tore down all the tile in the shower, fixed some damage then installed new bathroom wall tiles. It came to about $500 and I am sure that if I had someone come in it would have been probably 10 times that!
We moved into our house 2 years ago. Shortly after my daughter showed me in her shower where the grout was cracked on the wall tiles.
I pulled out my Dremel and completely re-grouted the tiles. Unfortunately, it didn’t last long. There had already been so much water that had gotten behind the tiles that they cracked again and started pulling away from the wall.
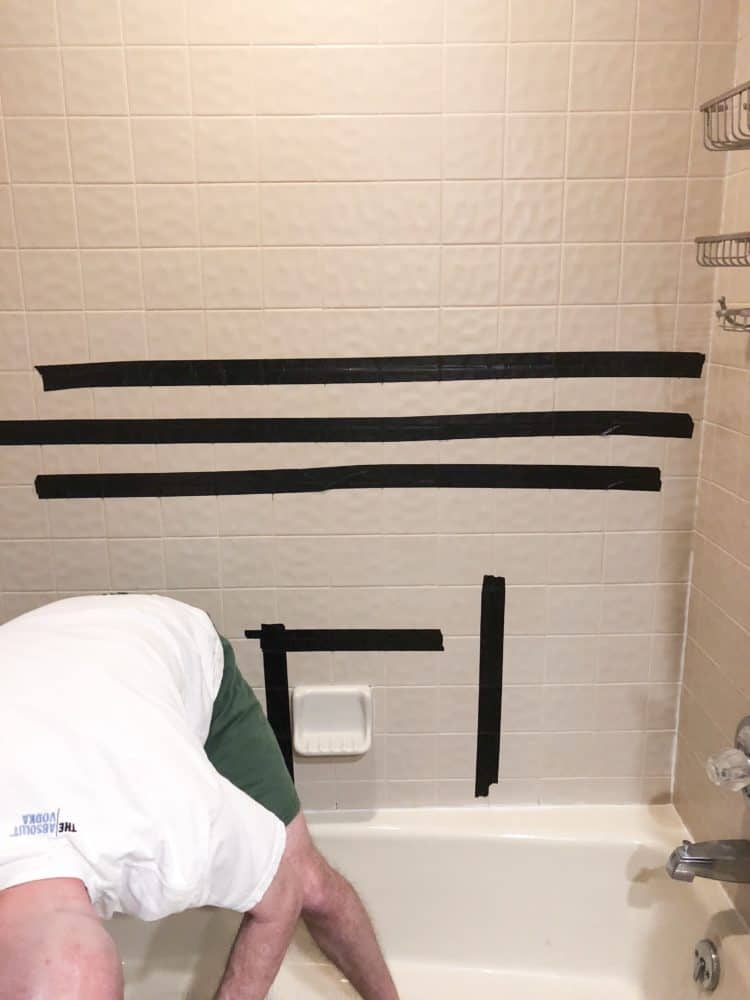
As you can see I had to use duct tape to cover the cracks to keep further damage from happening. Really cute right?! 😣
I knew it would be a fortune to have someone come in and redo all this tile. The rest of the bathroom is in great shape so we decided to tackle this project ourselves.
I am not going to lie, it was tough. This was my hardest project to date. But I am thrilled with how well it turned out!
*This post contains affiliate links, see disclosure for full details.
How to Tile a Shower Wall
Materials and Tools List:
- Hammer and screwdriver for demo
- safety glasses and gloves – do not do this project without safety glasses, they are super important
- tile
- white caulk and clear caulk
- mortar and grout
- Mixer attachment for drill
- Drill bit for drilling into tile
- wet saw or tile cutter
- backer board
- backer board cutting tool
- screws
- Backer Board seam tape
- drill
- spacers
- tiling kit
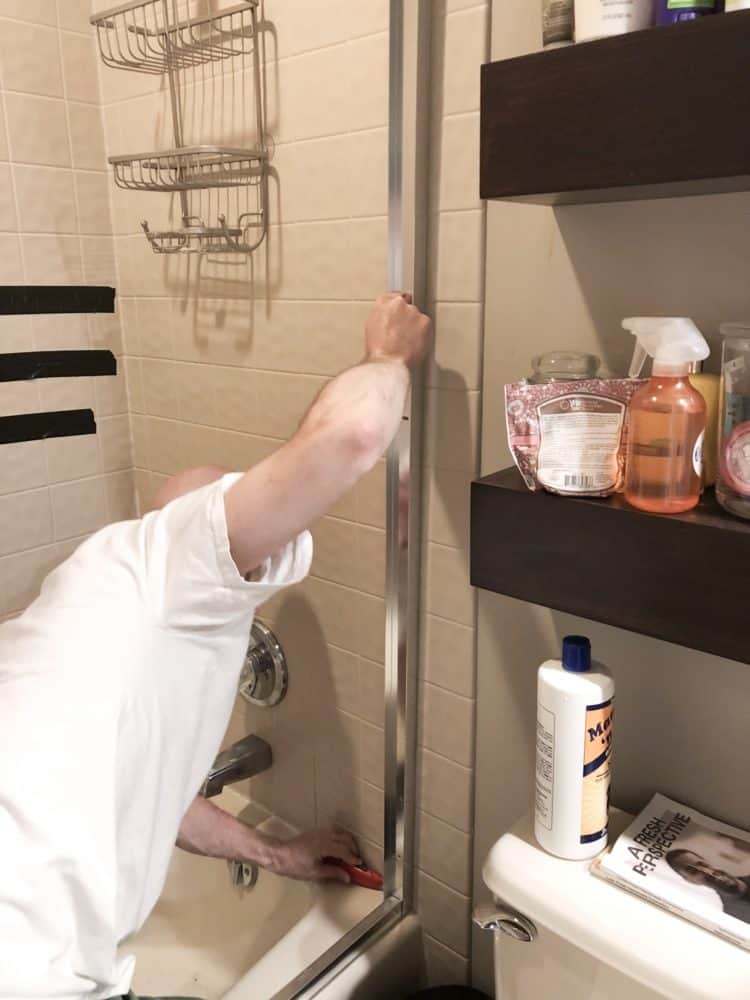
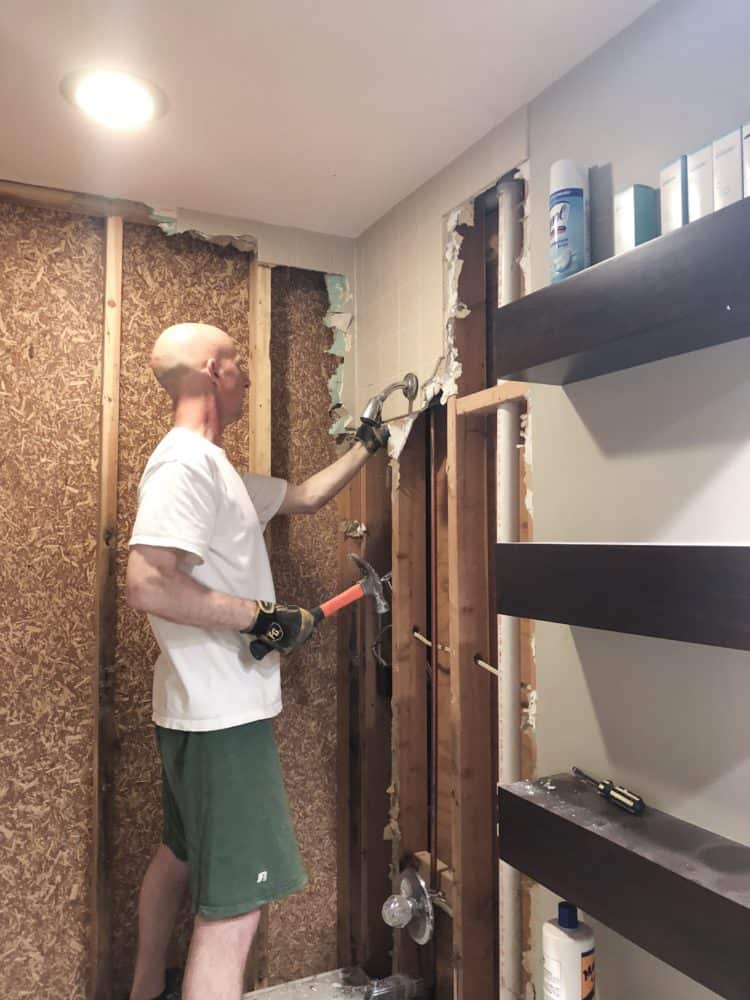
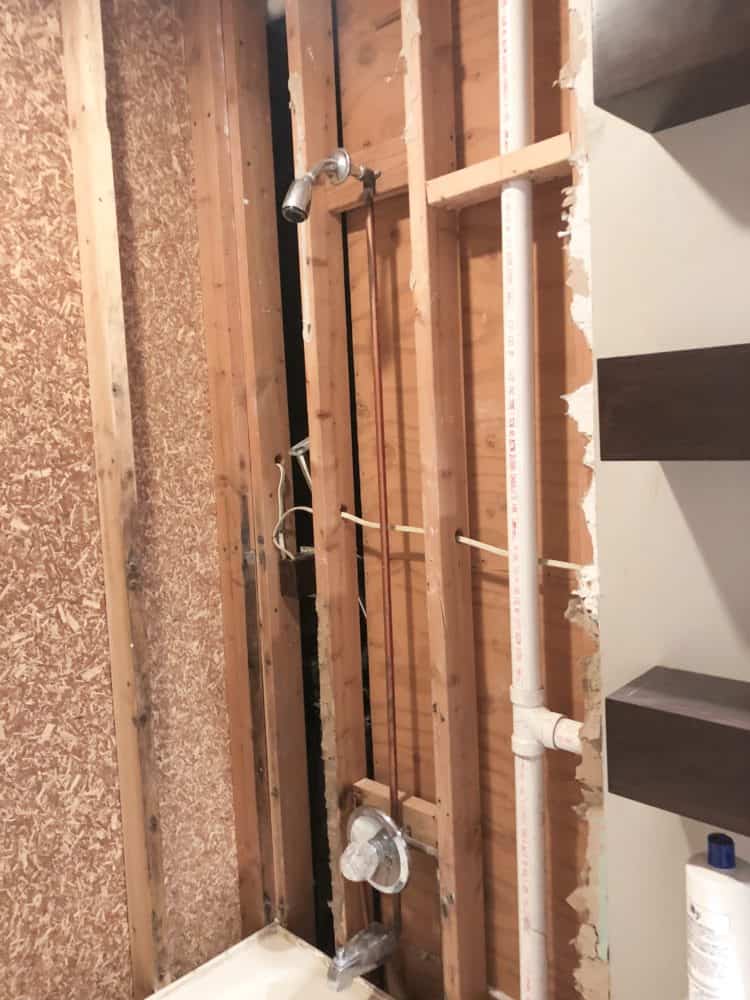
Step 1 – Demo the existing shower wall tile.
My husband was in charge of the demo. First, he had to remove the shower doors.
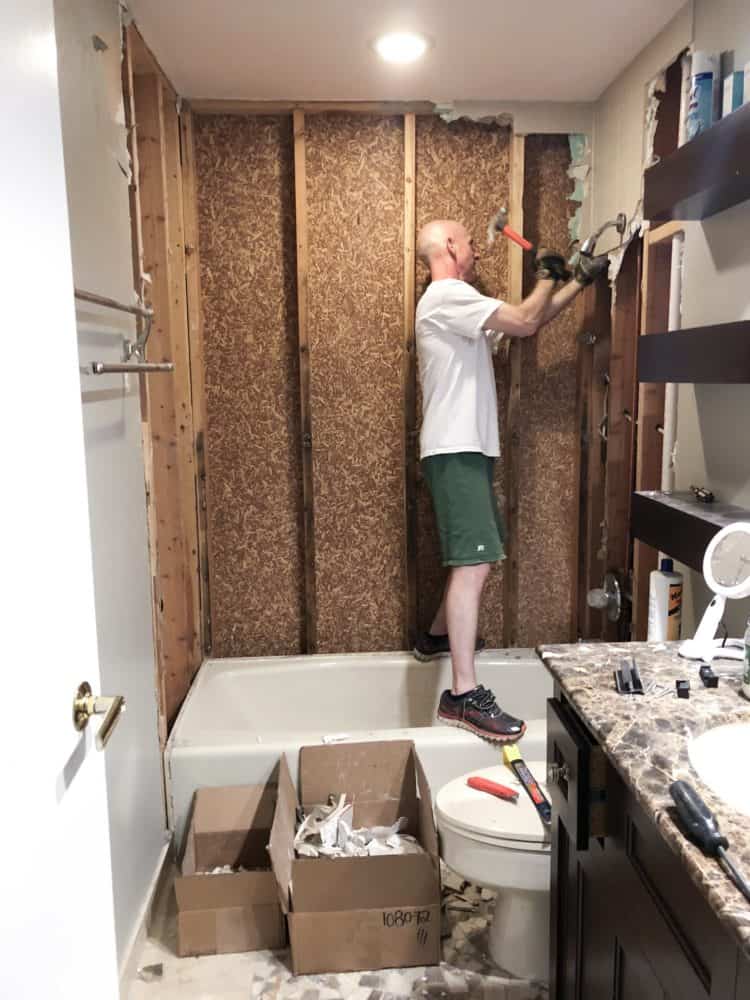
Next, it was time to remove the tile. He started very carefully, then got out the hammer and went to town.
He had to be careful though because we didn’t want to scratch up the bathtub. So we put a bunch of old towels and blankets down to protect it.
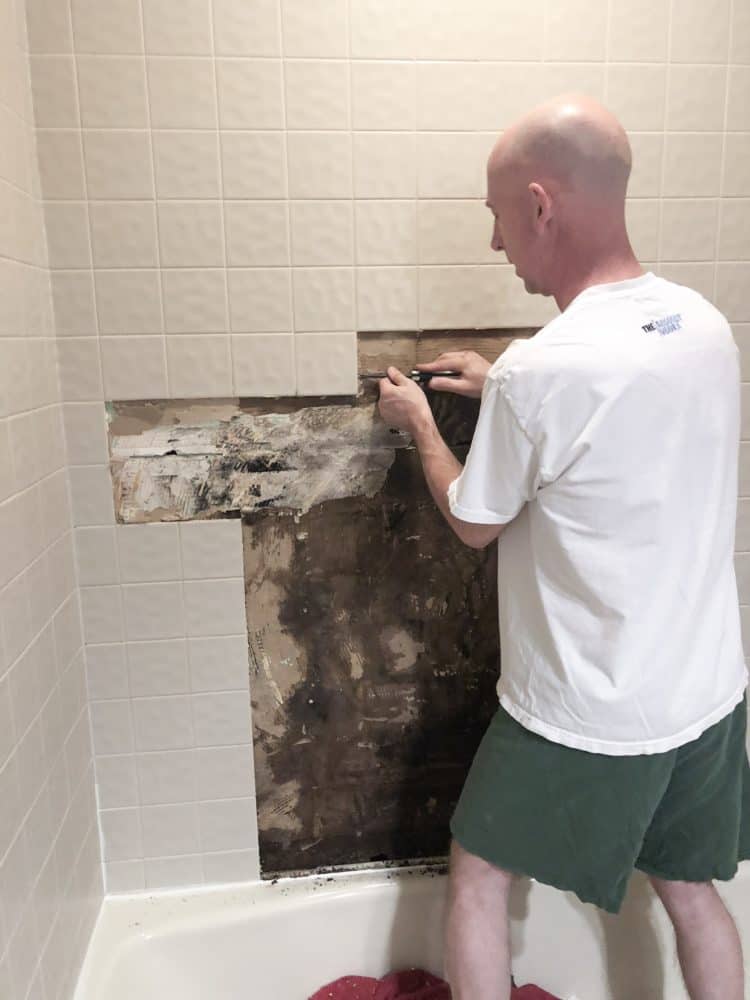
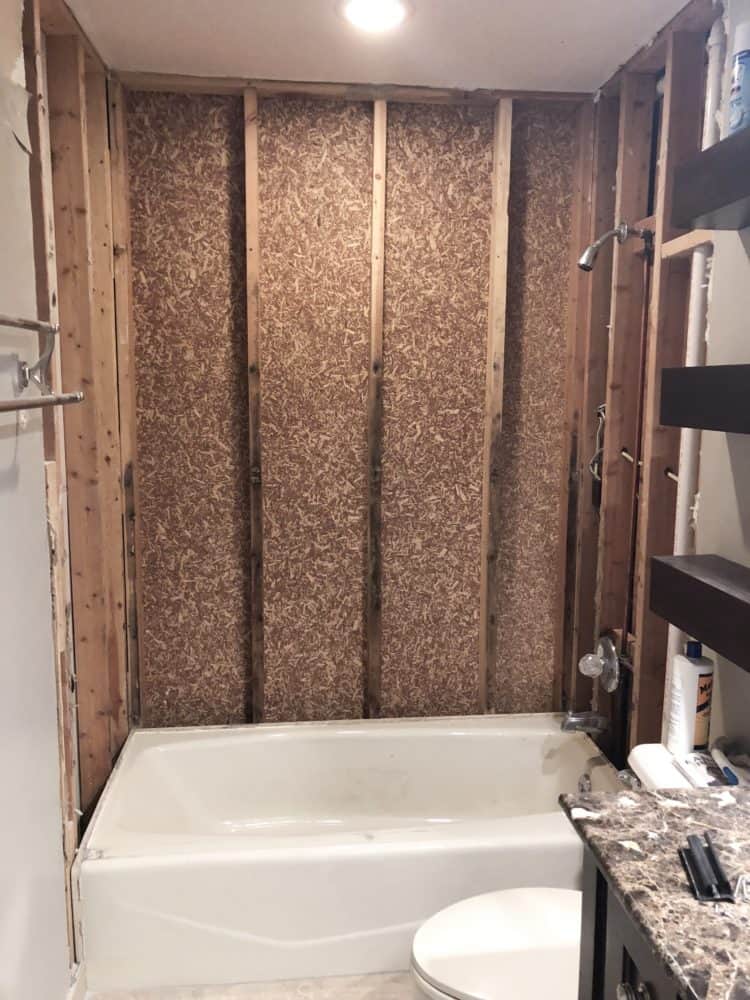
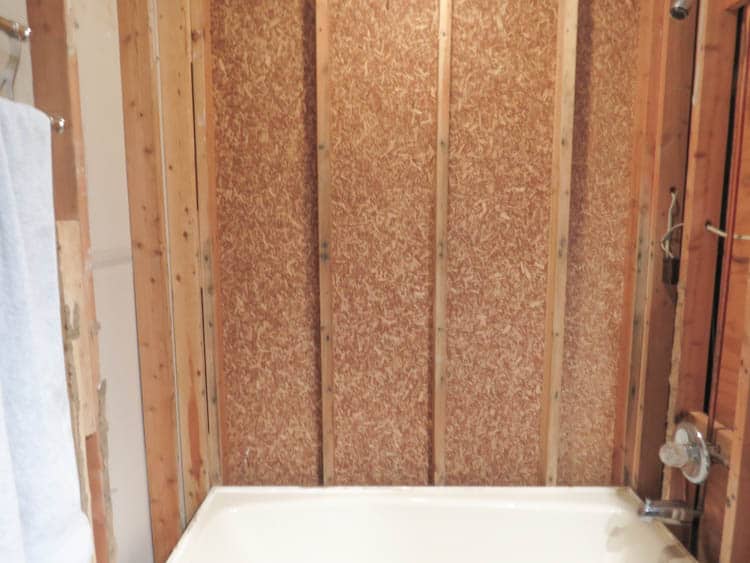
Once it was all done you could see some surface mold on the studs so I used a solution of one part bleach and 10 parts water with a scrub brush and scrubbed them down. Once they dried the mold was all gone.
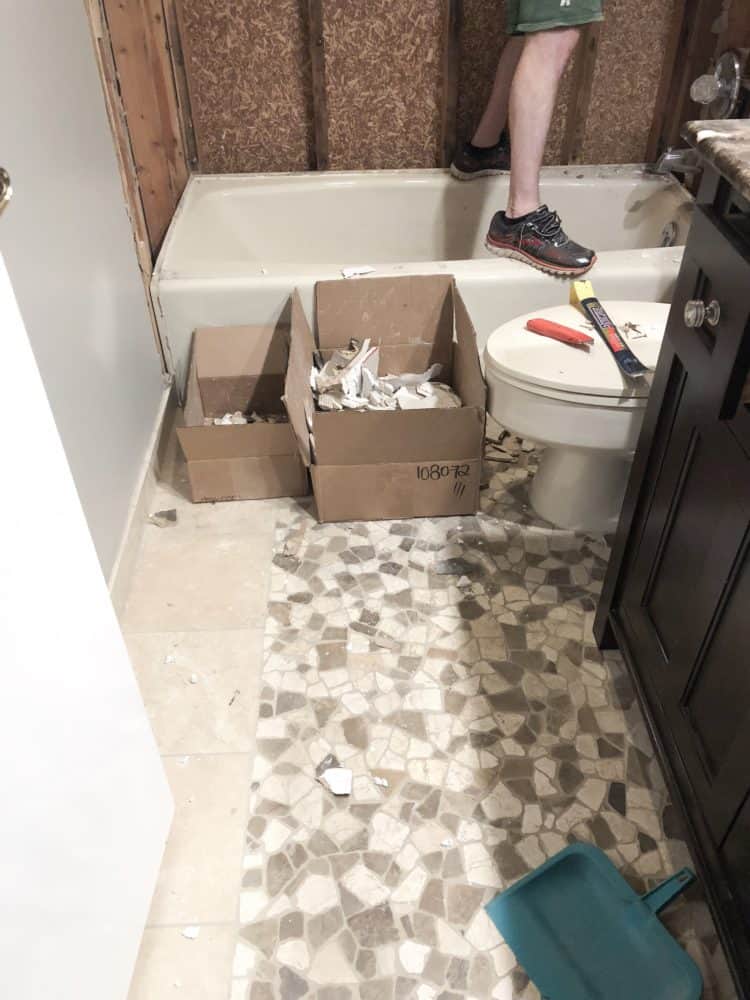
Hubby would tear the tile off and put it in these boxes and I would haul the boxes up the steps to the garage. I did a million trips! Got my leg and butt workout in that day!
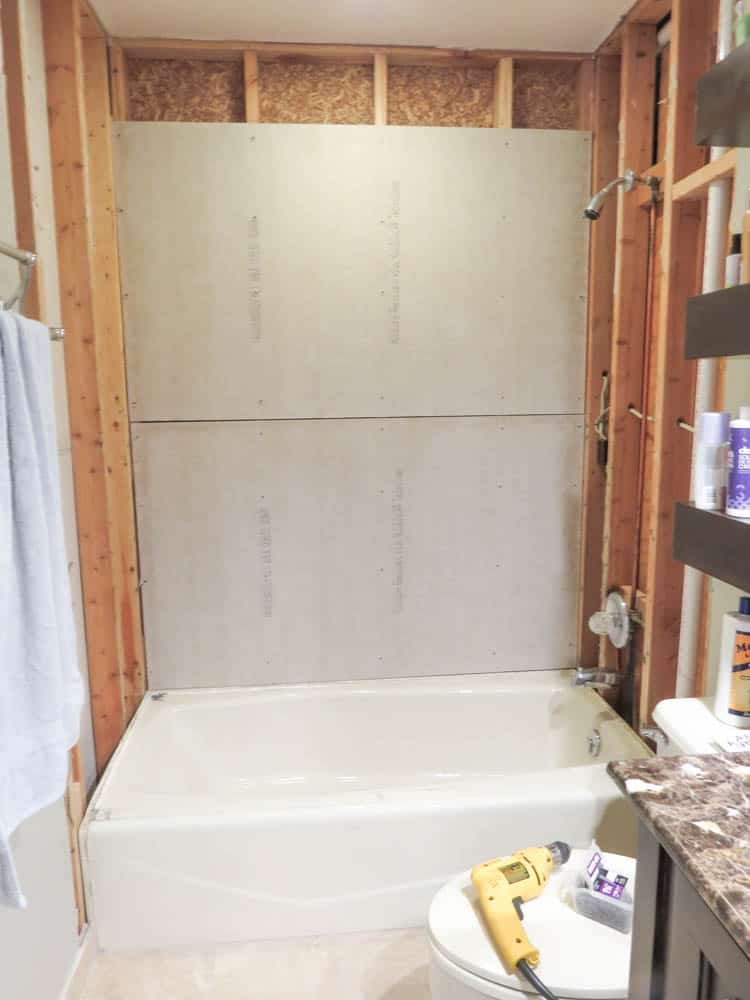
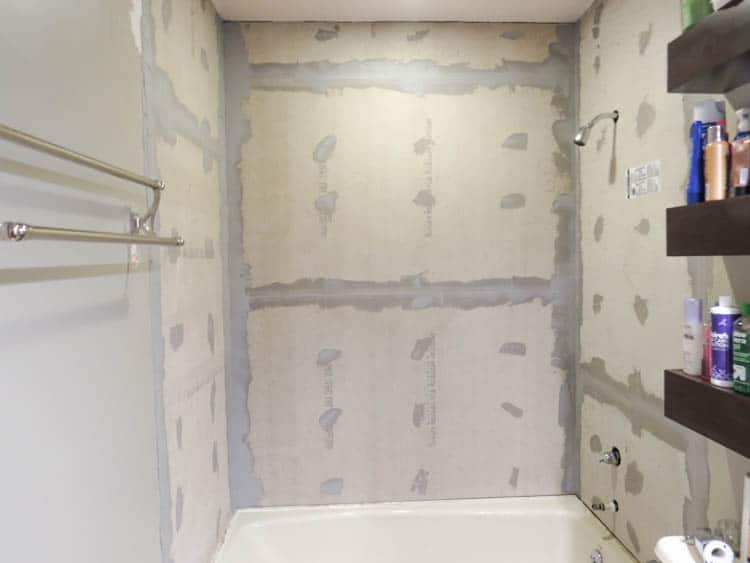
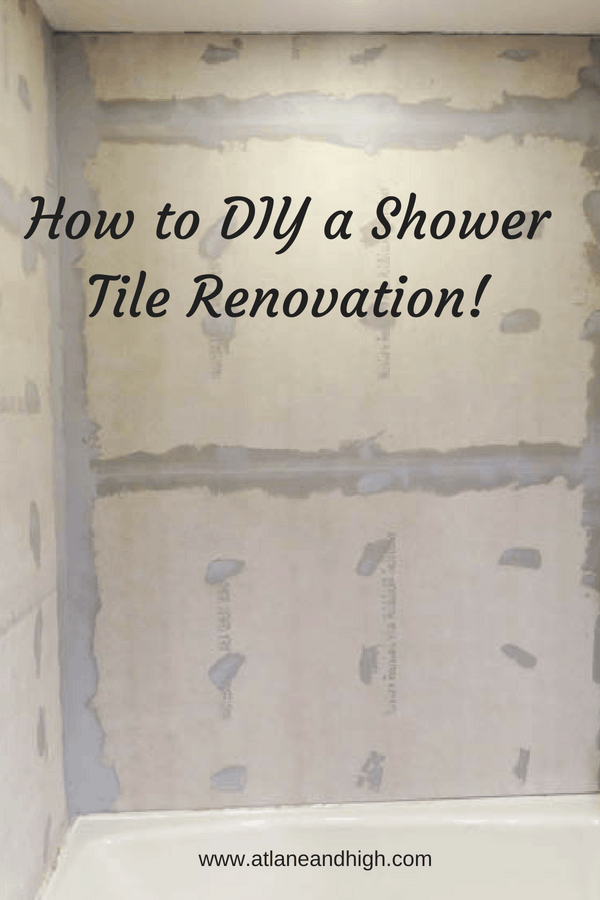
Step 2 – How to prep a shower wall for tile.
Backerboard is the material that goes on the studs, kind of like drywall. But it’s made of cement particles, can be very heavy, and it is used to hold up your new tiles.
This stuff was not easy to cut. I highly suggest getting the backerboard cutting tool. My utility knife was quite inefficient.

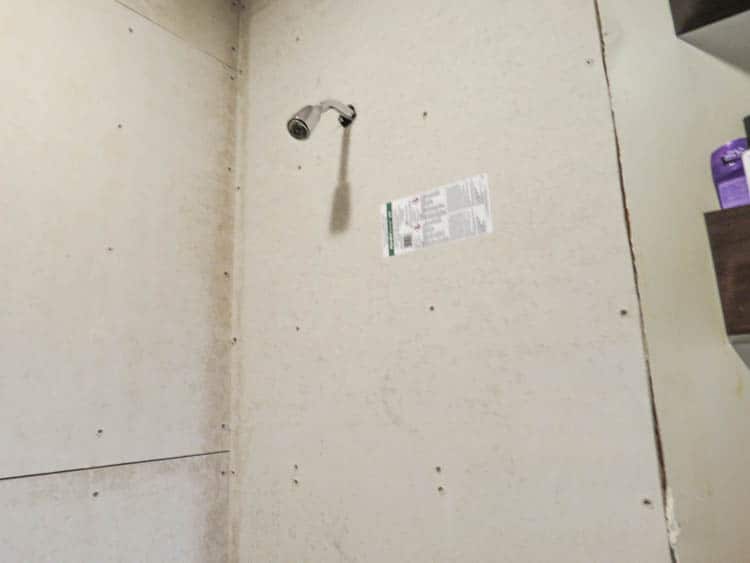
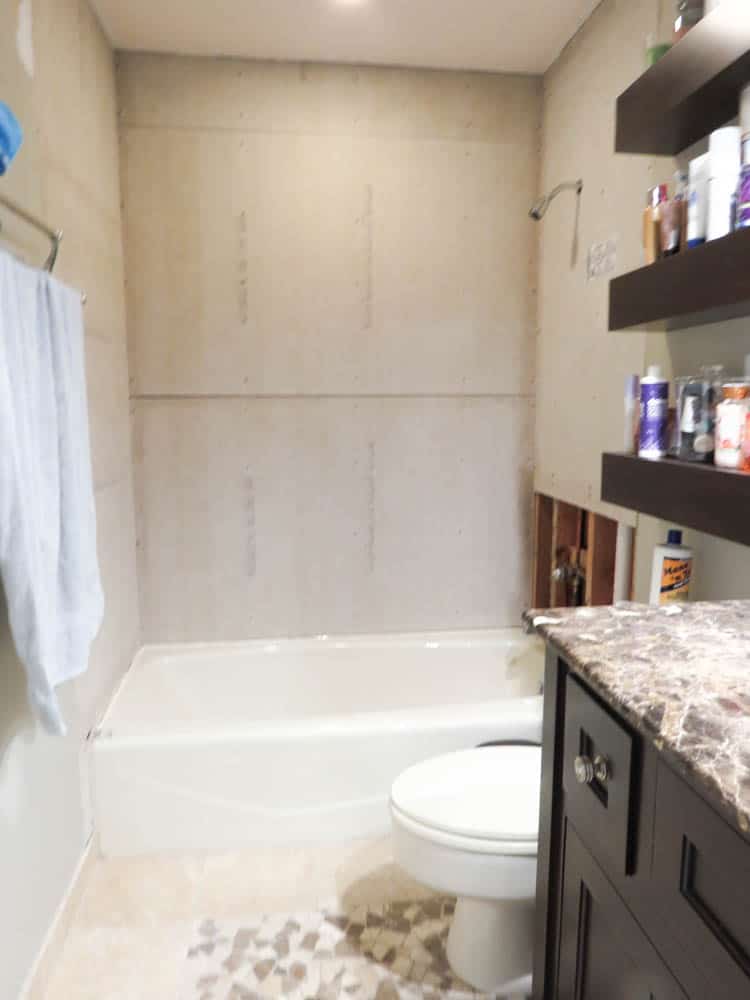
Sorry, this pic is a little blurry, I think my camera was focused on the vanity, not the shower walls. I am still working on learning how to use this thing!
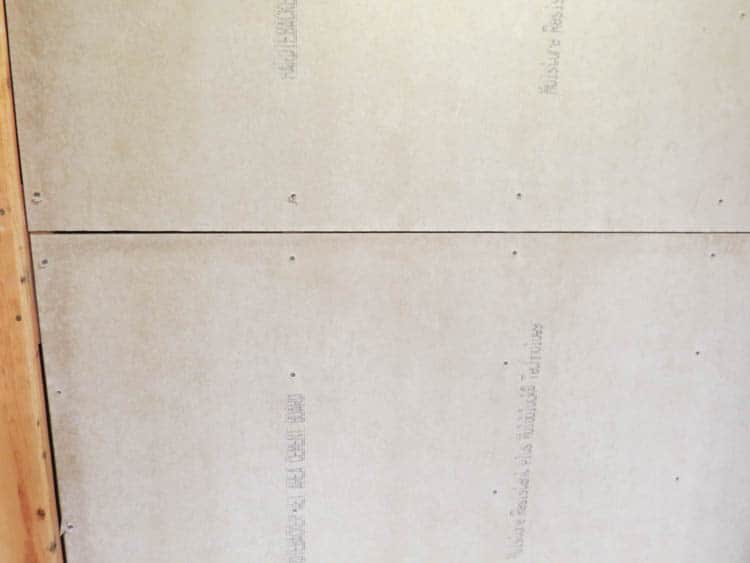
You have to use specific screws for backerboard. There are directions on the backerboard to tell you which screws to use. Make sure you follow the directions on the board for placement of the screws as well.
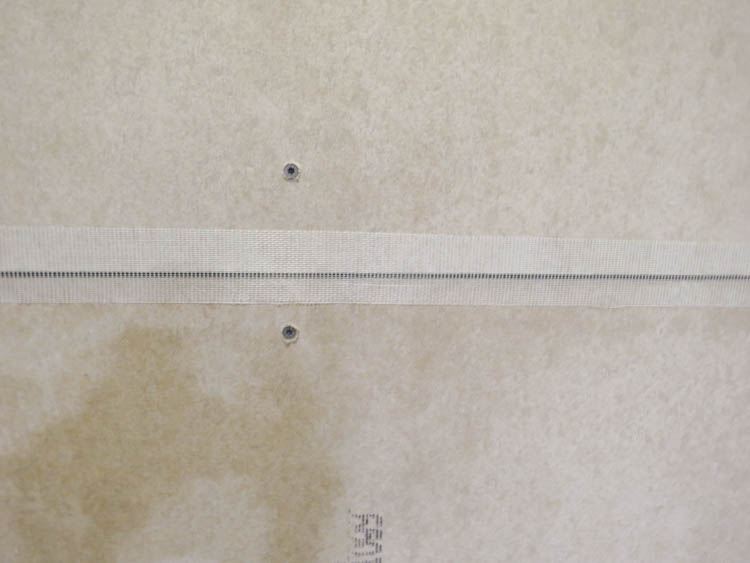
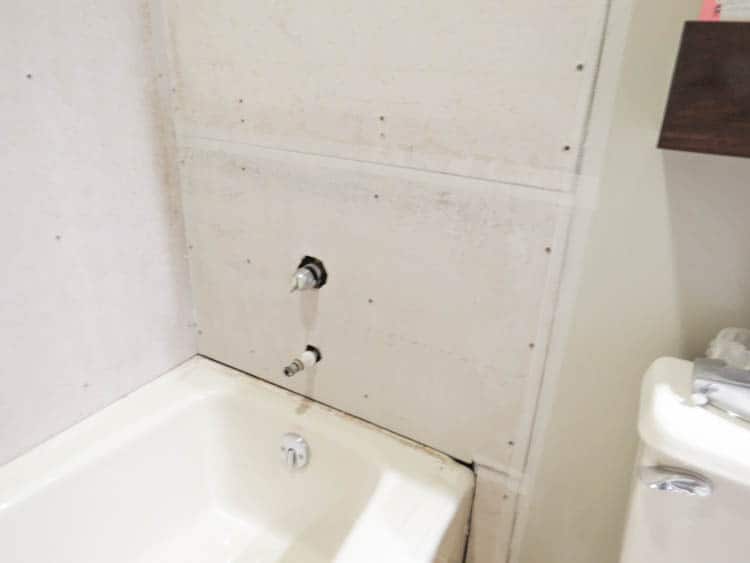
After you have cut it all and attached it to the wall it’s time to tape and mortar the seams and screw heads. You have to do this so that no moisture gets behind the wall, or we will have exactly the same problem again.
Would you like to save this?
\
Step 3 – How to Install bathroom wall tiles.
I chose a rather large tile for this project because I have never tiled a wall and I knew I was going to be slow.
If I had done subway tile this project would have taken me a year to do!
I was on a deadline because my older daughter was traveling abroad for college and we needed this done before she got home. My youngest is using her bathroom right now and we need to get her out before the older one gets home.
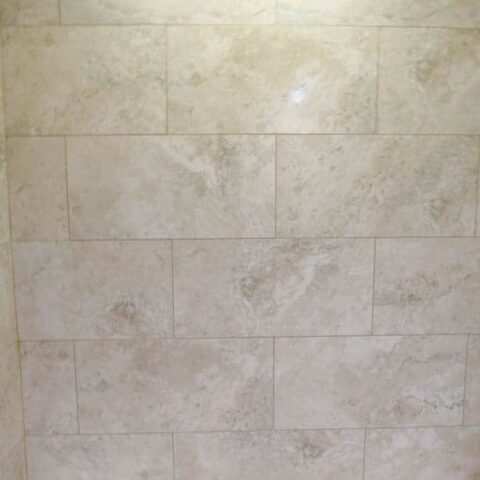
I also chose a tile that would match the rest of the bathroom since we weren’t gutting the room, just doing a minor remodel.
We used the premixed mortar, I wish we hadn’t now though. It’s a lot more expensive to buy premixed. It’s sooo easy to mix it yourself and much more cost-effective. Next time I won’t buy the premixed stuff.
Using your trowel spread the mortar on the wall, kind of like icing a cake. I did a 3X4 foot section roughly at a time. Then use the notched side to make the grooves.
Take your tile and put it up and make sure you push it into that mortar. I also used a level to make sure it was straight, especially in the first row.
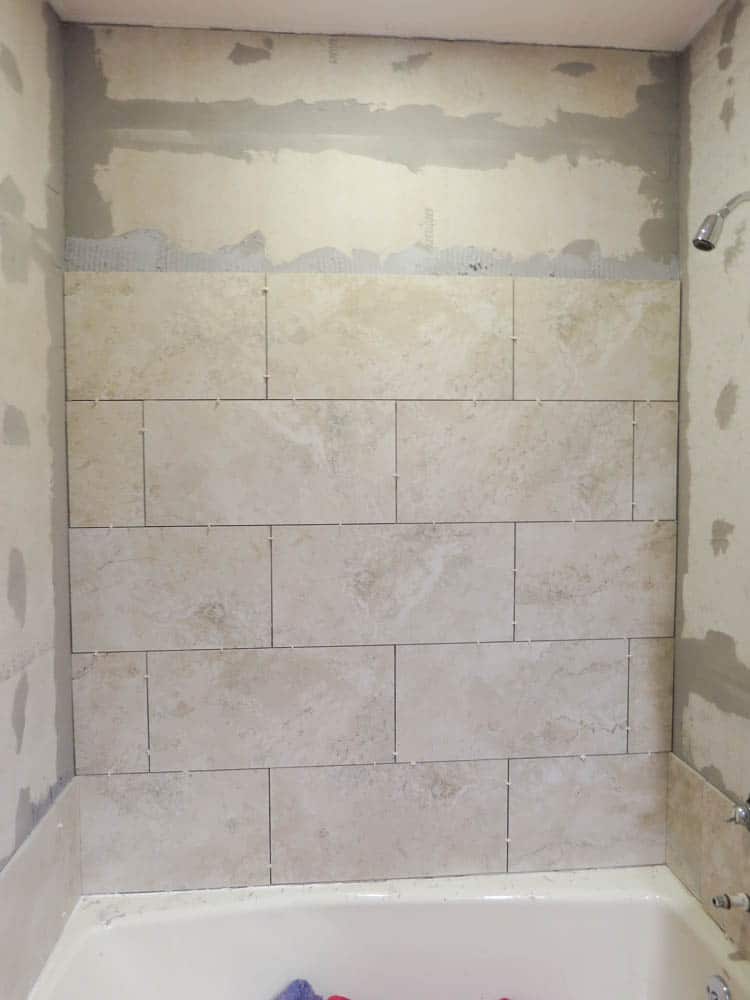
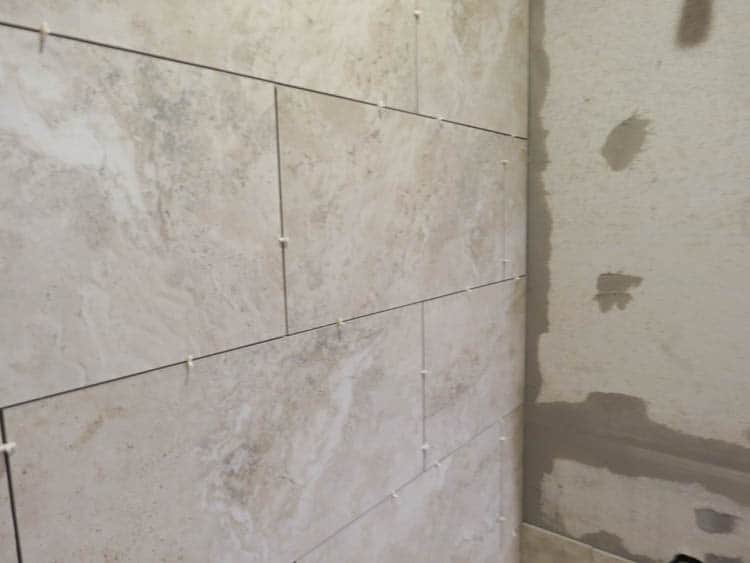
Using spacers in between each tile continue on until you have finished the wall.
I used 1/8 inch spacers, I personally don’t like the look of 1/4 inch, they are just too big of gaps. But do whatever you like for your room.
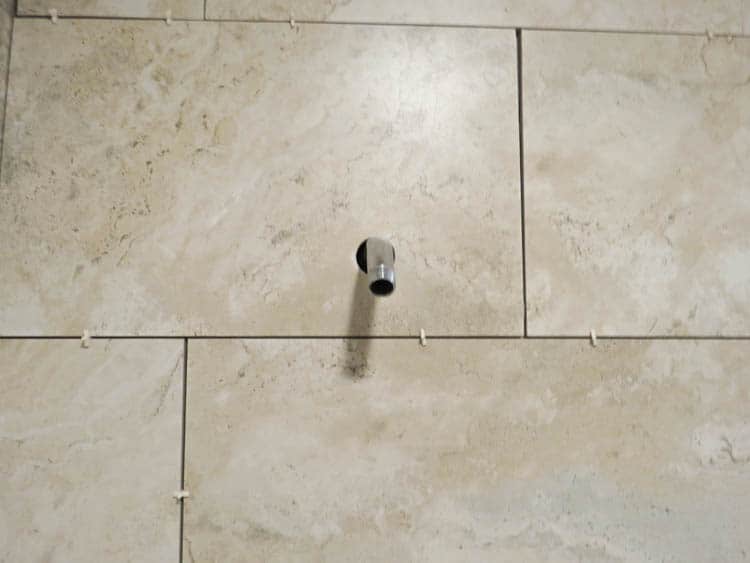
How to cut shower wall tile.
To cut the tile I used a tile saw that I rented from Home Depot. I could have used a manual tile cutter which I might try next time.
I just had never used one and since I was already outside my comfort zone here I wanted to stick with what I knew.
For the holes around the showerhead and faucet, you have to get this bit to cut the holes into the tile.
They come in different sizes depending on how big of a hole you need and there is an adapter you need to attach them to your drill. I didn’t figure that out until we were halfway home! UGH!
At this point, you need to let everything dry for a day. And you will need to rest your weary bones! This part of the project took us 10 hours. That included lunch and 1 1/2 trips to the Home Depot. LOL
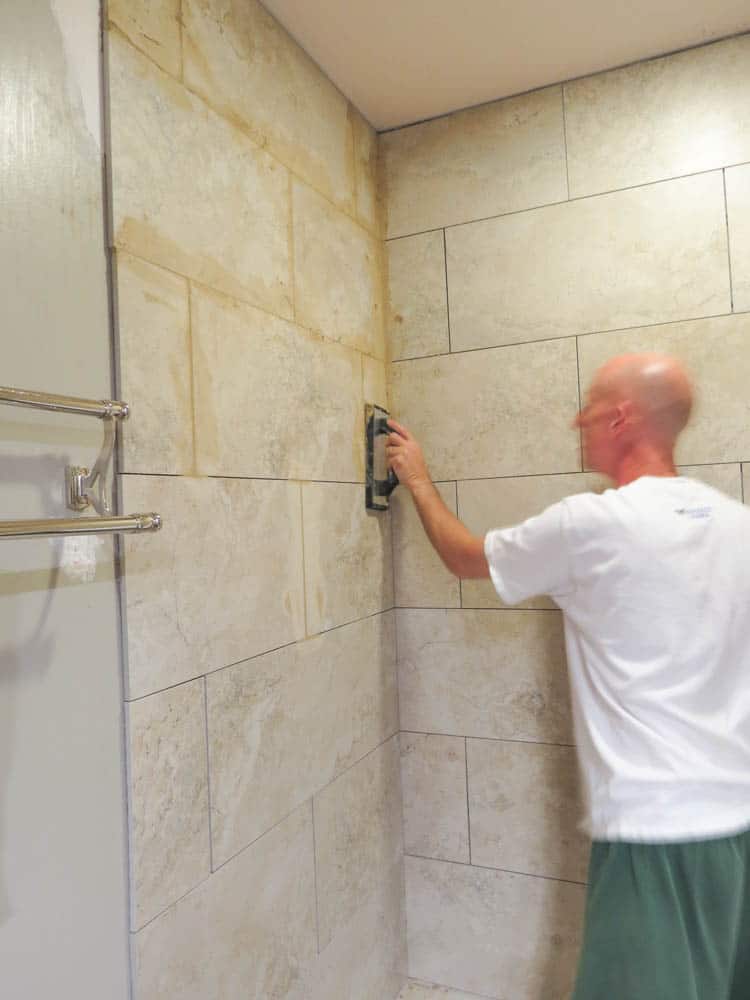
Step 4 – How to grout shower wall tiles.
This was our favorite part and my husband did a great job on it! Here is where your project starts to get pretty! You can actually see it come together.
It’s kind of like spackling, you use the grout float and push the grout into the gaps then come in at a 45-degree angle to remove any excess.
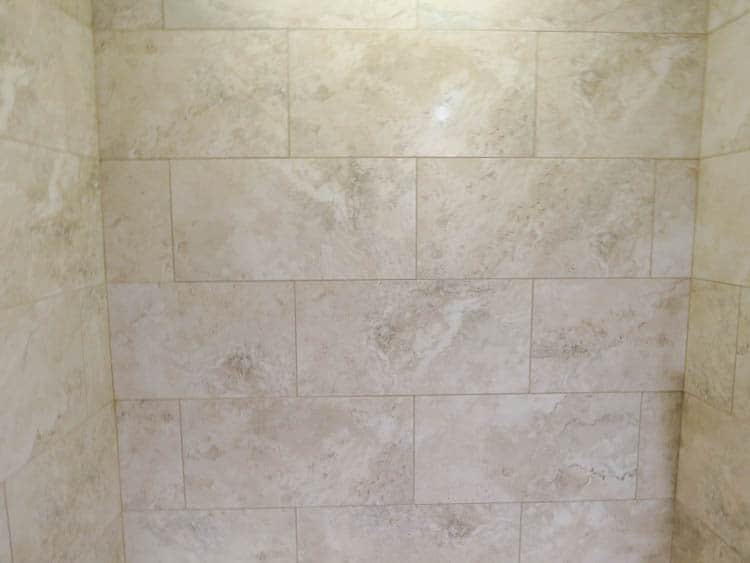
Then you come with a bucket of water and sponge and wipe it down. You should wait about 10 minutes before doing this though.
You might notice a little haziness on the tile and if so you need to come in with the water and sponge one more time and wipe the tiles down. I had to do it and it worked like a charm.
Wait 24 hours to let it dry.
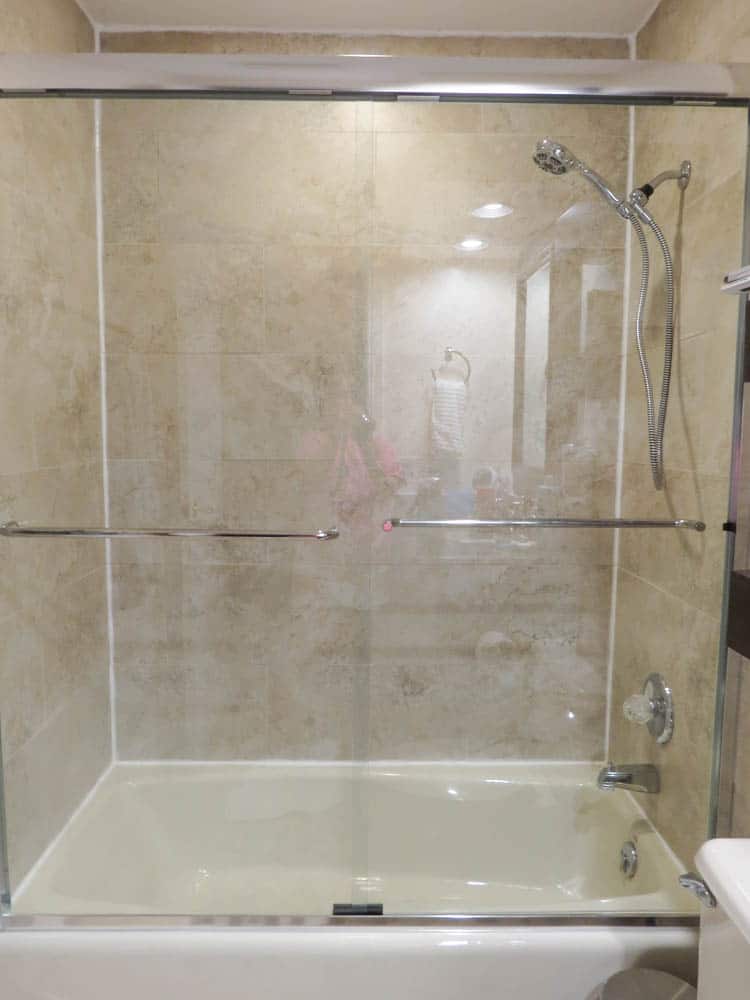
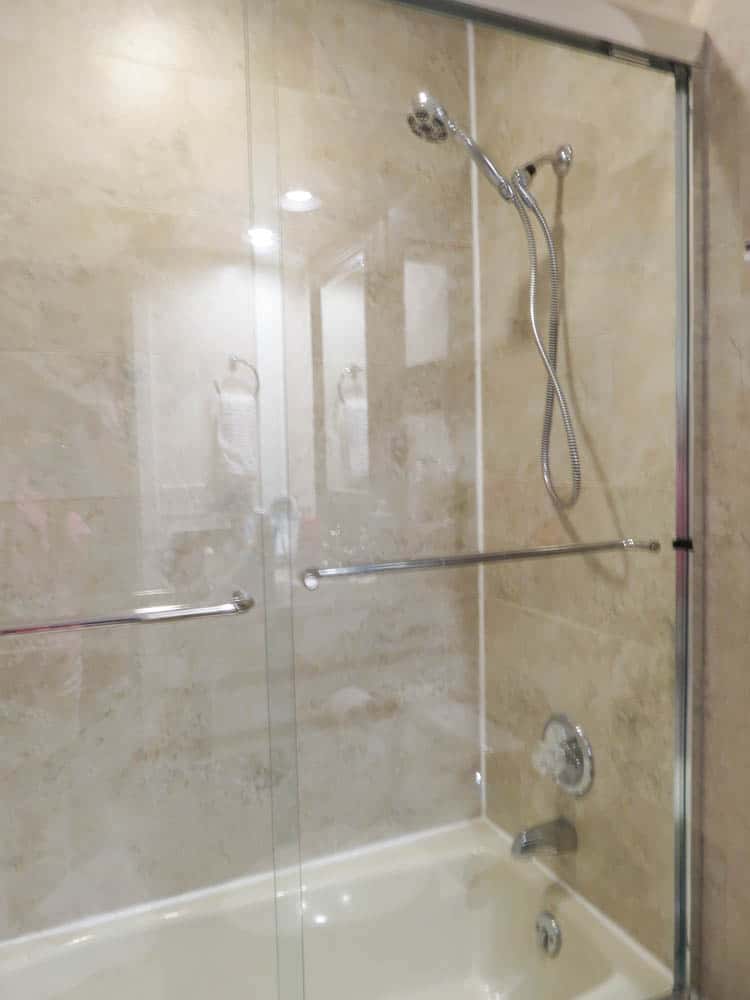
Step 5 – Put it all back together.
It’s time to re-install the shower doors, put the shower head up, and all the stuff around the faucet and water spout.
Caulk all the corners and around the shower doors. I used white on everything except the doors, we used clear there.
Here is the finished product! It looks so much better and I have peace of mind that there is no damage being done to my house.
Other Related DIY posts:
- How to Choose the Right Grout Color for Your Tile
- Everything You Need to Know About Black Grout
- DIY Board and Batten
- How to Inexpensively Install Shiplap for a Farmhouse Look
- How to Stain Concrete Floors
- Cheap Flooring Ideas For An Instant Update
- 8 Bathroom Flooring Trends

I hope you got something out of this post and are confident to tile a shower wall yourself. It takes some time but it really isn’t all that difficult. If you have the right tools anything is possible!
How to Tile a Shower Wall
Learn how to tile a shower wall.
Materials
Tools
- Wet Saw or Tile Cutter
- Hammer
- Screwdriver
- Drill
- Mixer Attachment for Drill
- Drill Bit for Tile
- Backer Board Cutting Tool
- Screws
- Tiling Kit
- level
Instructions
- Demo Existing Tile off the shower wall.
- Attach Backerboard to the studs of the shower using screws for backer board.
- Put seam tape over where all the pieces of backer board come together.
- Apply mortar to all the seams and screws to waterproof them.
- Let dry for 24 hours.
- Apply mortar to the wall and install the tiles pushing slightly to adhere. Make sure each tile is level.
- Use spacers in between tiles.
- Let dry 24 hours.
- Apply grout in between tiles at a 45-degree angle and wipe off excess with a damp sponge.
- If there is a haze on your tile you might need to wipe it with a damp sponge again.
- Let dry 24 hours.
- Caulk the corners of the walls where the tile meets.
- Reinstall shower head and handle, doors too if applicable.

As a licensed Real Estate Agent and an avid home decorator, I strive to give my clients the very best I can when it comes to staging, selling, and decorating their homes. I have lots of experience with paint color choices and love to DIY my home so I can have everything just the way I want it. I share my ideas and projects with the world in the hopes that I can help others have their homes just the way they want as well.


This is amazing Wendy! I love how it turned out. Tile is something I’ve never tackled, but I’ll definitely refer back to this when I do! Great job!
Great job! I can’t believe the tile was holding with tape before! haha It looks so great now!
Hi, I love how it turned out. This is amazing Wendy! I amazed to see that the tile was holding with tape before! You did a great job. Thanks for the sharing this.
The rest of us have definitely used duct tape to “temporarily” cover tub cracks for six years or so. I’m tired just thinking about this. It looks great. Bravo!
Thanks Walter!
Thank you so much for sharing such beautiful inspiration. I look forward to seeing all you share in the coming year. Brilliant article. Keep up the great job.
Thank you Mary!
This was so helpful! I’ve been wanting to redo the shower and wasn’t sure about hiring someone. You made it easy to understand and I appreciate you sharing your experience! It looks great you guys good job!
Oh Ashley thank you so much! I am glad it was easy for you to understand and I hope you feel you can tackle it yourself. Good luch!
Make sure you seal your grout! Otherwise moisture can still get through!
I can’t believe you DIY’d this! Looks great. How is it hanging after these few years?
So far so good! (Knock on wood!). Looks like my other daughter’s bathroom might need some TLC soon too. LOL, never ends!
Your DIY is awesome. I do not like drilling but love your work.
Good work mate!!
Keep it up
This is very helpful article for all those who want to renovate their bathroom. This is very useful article and I hope all the readers will love this article.. Thanks for sharing this useful article to us..
Its really not easy to install bathroom wall tiles. Your article is very informative regarding the installation of tiles. I really enjoyed it. Thanks for sharing…
Thanks so much for sharing your tiling tips! We are having some water damage restoration done in our bathroom; I want to make a few design changes with our tile when we do! Totally using this as inspo!