DIY Advent Calendar
Advent Calendars are a great way to count down the days until Christmas. Today I am sharing my DIY Advent Calendar and will give you all the details on how you can make your own!
I remember when I was a kid my Mom would buy this cardboard advent calendar and my brother and I would take turns opening the little doors and revealing the days of December counting down to Christmas. It was so fun and the memory makes me really happy.
A few years ago I found this advent calendar (at Kroger of all places!) which is the shape of a house and you can put little candies behind the doors. My husband and daughter loved it (actually I think they just liked the candy but I will take it).
I was looking through some leftover wood and got inspired to make my own DIY advent calendar!
Stick around to learn how to make these gorgeous advent calendars for your family!
*This post contains affiliate links. For more details see my full disclosure.
DIY Advent Calendar
My first piece of inspiration for this was a leftover piece of wood from my DIY Reversible Fall and Christmas sign. I had a one-foot by two-foot piece leftover and it was stained on one side and painted on the other.
I wanted to use it somehow and when I saw my own advent calendar I thought what a great piece to use to make my own! But what side do I use, the stained or painted?
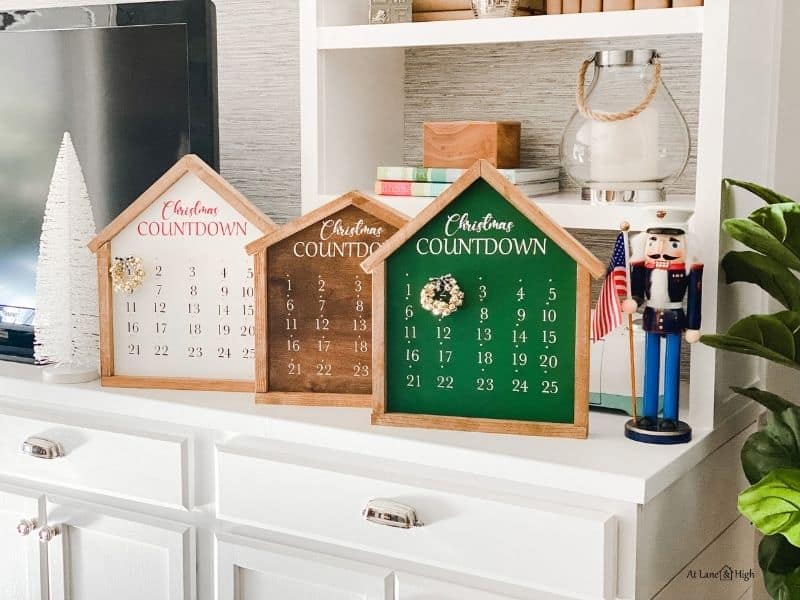
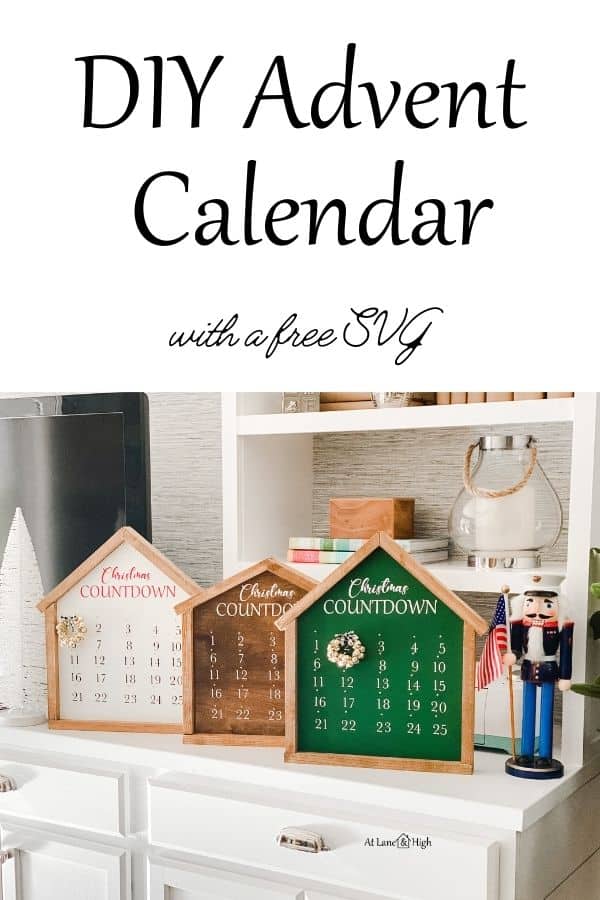
Well, I couldn’t decide so I grabbed more leftover wood and made some cuts, and made three advent calendars! One will go to my daughter for her college apartment and the other two will go as Christmas gifts this year.
*This post contains affiliate links. For more details see my full disclosure.
Supplies:
- 1/2 inch sanded plywood
- 1X2 pieces of wood
- wood stain in the color of your choice (this is what I used)
- pins
- vinyl – I used red, black, and white
- transfer tape
- white and green acrylic paint
- polycrylic
- jingle bells
- floral wire
- bows
- nails
Tools:
- Miter Saw
- Cricut machine (or Silhouette)
- hammer
- pliers
- wire cutters
- Nail gun
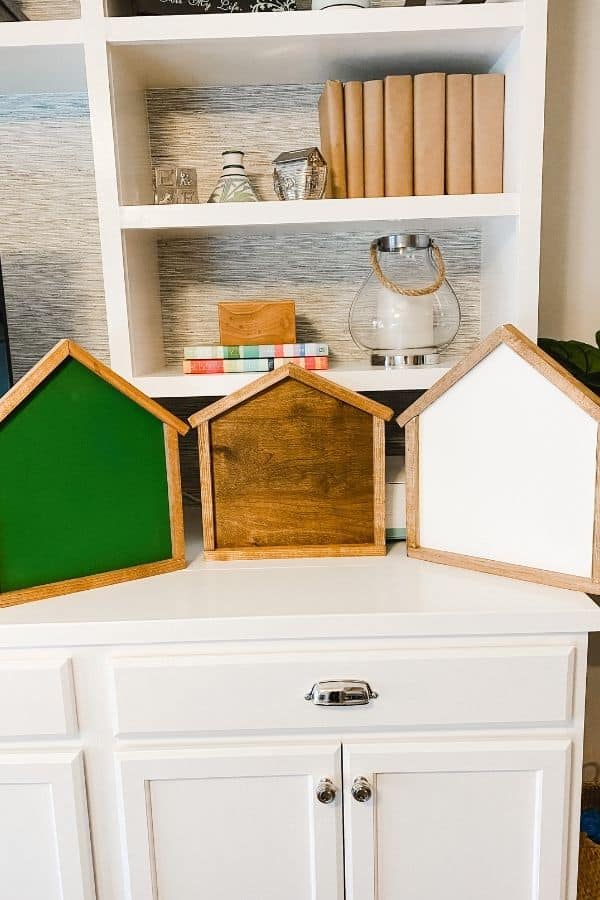
Step 1 – Making the house
First, you need to decide how large you want your advent calendar to be. I made mine 12 by 12 with the peak of the roof being 15 inches high.
You need to cut the wood using a compound miter saw. For the angles, I made a mark at 15 inches and drew a line from that mark to the edges at the 12-inch mark. This made for about a 41-degree angle on the miter saw.
I used the same angle to cut the 1X2’s at the top of the roof and the side walls where it meets the roof.
You can check out my post on how to make a farmhouse sign frame for more information on how to make a frame.
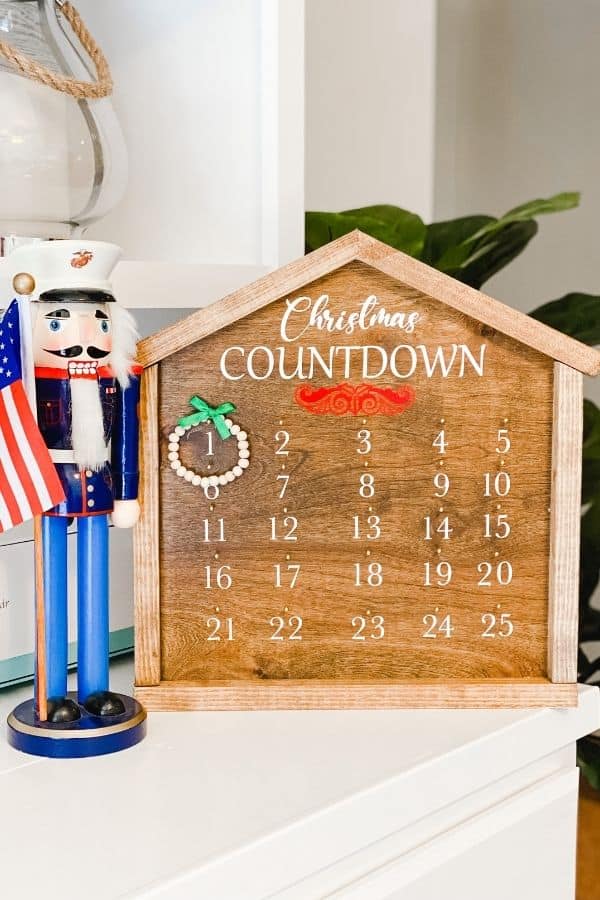
Once you have all the cuts made, stain and paint the wood according to the look you are going for.
If you are staining the plywood you will also need to apply a coat of polyacrylic or else the vinyl will not stick to it. If you are painting the wood this step is not necessary.
Assemble the houses using the nail gun and 1 1/2 inch nails.
Would you like to save this?
Step 2 – Creating the Countdown
I used my Cricut machine to put together this part. If you don’t have a Cricut you can always find stencils and use them instead.
But I swear the Cricut is the most amazing purchase I have made in a long time! I have done so much fun stuff with it I highly encourage you to get one.
First I chose the font for the Christmas Countdown then created the numbers. If you want a free download of the SVG for this part click here.
All you need to do when you upload it to Cricut is adjust the size, which you can do according to the size of advent calendar you are making. You can also ungroup and move the words around if you want them in a different order.
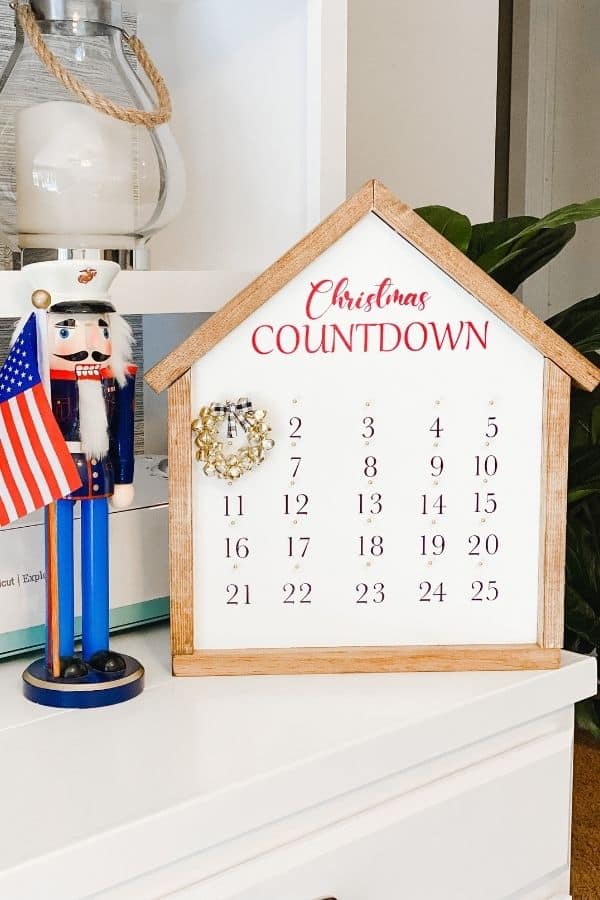
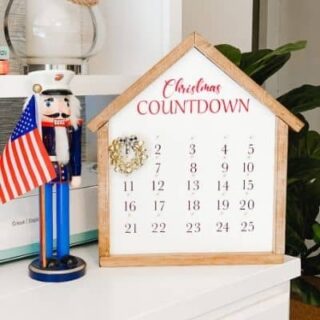
I used white vinyl for two of the signs but on the white sign, I decided to mix it up a bit. I used red for the Christmas Countdown section and black for the numbers.
Once you get your vinyl cut, weed out the parts you don’t need. Using transfer tape remove from the cricut mat and apply to your wood.
Step 3 – Attach the pins and make the wreath
I got these really cute gold pins from Amazon and I used a pair of tweezers and a hammer to attach them above the numbers. Be careful not to hold them at an angle or they will bend, I ruined a few pins by doing this.
Now by using the same technique I used as in my jingle bell wreath ornament create a little wreath to hang on the pins.
All you need to do for this part is make the wreath a bit smaller than I did in the ornament. Just keep testing it on your sign to see if it’s big enough for you to hang and still see the number.
Once you have it the size you want tie off the floral wire and make a small loop with the excess wire in the back for hanging. Attach a bow to hide all the wire. (I picked up my bows from Hobby Lobby.)
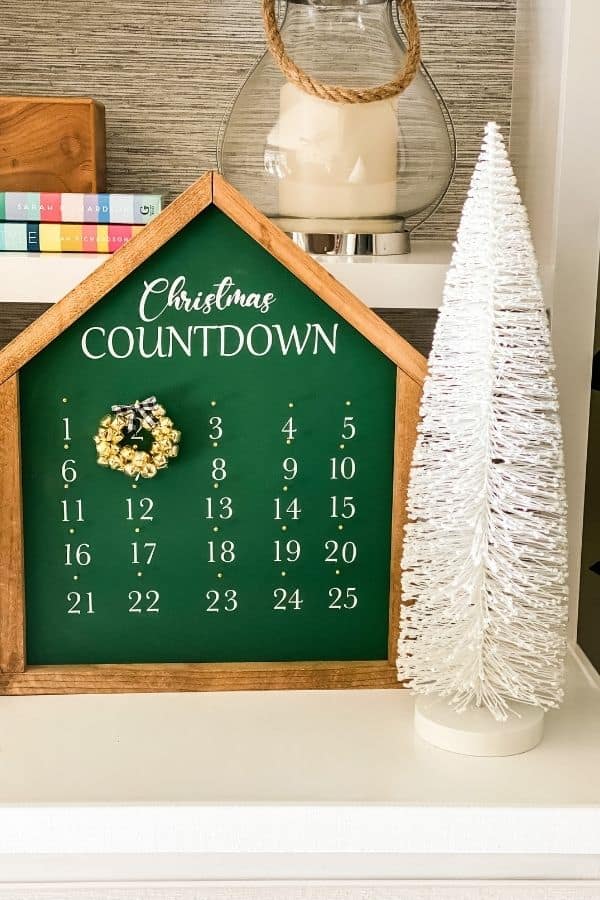
The finished DIY Advent Calendar
And there you go! The finished calendars are super cute and by using leftover wood I was able to make a really nice Christmas gift for very little money. I hope you give these advent calendars a try. I am very pleased with them.
Don’t forget to grab the free SVG file!
Other Christmas DIY’s you might like:
- DIY Flocked Christmas Tree
- DIY Wood Slice Ornament; Easy and Customizable
- How to Make Red and Silver Marbled Ornaments
- How to Make Salt Dough Ornaments for Christmas
- DIY Wood Bead Ornaments
- How to Make Pinecone Gnome Ornaments

DIY Advent Calendar
Create this adorable DIy Advent Calendar for your family today!
Materials
- 1/2 inch plywood
- 1X2 inch wood
- wood stain or acrylic paint
- vinyl for Cricut in your color of choice
- jingle bells
- floral wire
- little bow
- transfer tape for Cricut
- nails
- gold pins
- polycrylic
Tools
- miter saw
- Cricut machine (or Silhouette)
- Nail Gun
- hammer
- pliers
- wire cutters
Instructions
- Cut your plywood to the desired shape. . Mine is 12 inches wide, 12 inches tall with the peak at 15 inches tall.
- Cut the 1X2's for the frame. The angles I used are approximately 41 degrees. Use the plywood as a template to be sure of the angle you need.
- Stain and paint the wood pieces.
- If you are staining the plywood you need to add a coat of polyacrylic to make sure the vinyl sticks. If you are painting this step is not needed.
- Attach the frame to the plywood using the nails and nail gun.
- Use the SVG fine cut with your Cricut machine. Wee out the excess vinyl.
- Using transfer tape apply the vinyl to the wood and remove the transfer tape.
- Using pliers to hold the pins and a hammer to nail them in, attach the pins just about 1/2 inch above each number.
- Make a jingle bell wreath with floral wire using the same instructions from my jingle bell ornament post.
- Attach the bow to hide the wire and hang on the pin for each day of the month.

As a licensed Real Estate Agent and an avid home decorator, I strive to give my clients the very best I can when it comes to staging, selling, and decorating their homes. I have lots of experience with paint color choices and love to DIY my home so I can have everything just the way I want it. I share my ideas and projects with the world in the hopes that I can help others have their homes just the way they want as well.