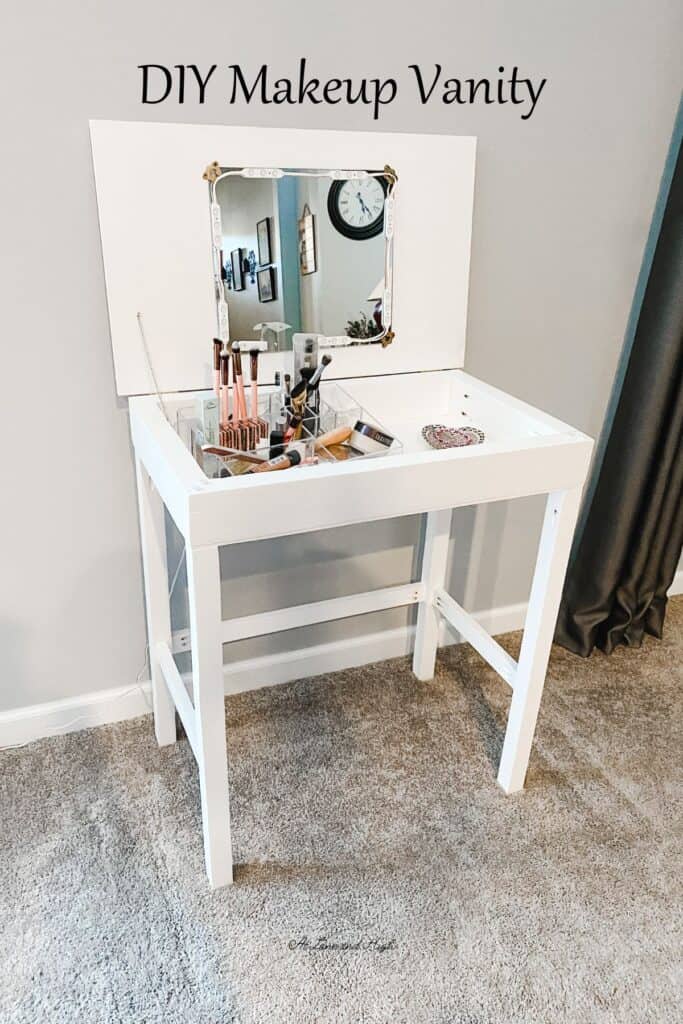
DIY Makeup Vanity
I am so excited to share this DIY Makeup Vanity that I built for my daughter’s college bedroom. Space was tight and she needed something that would double as a desk and a vanity. This is what we came up with!
This year at college my daughter will be in an apartment. It’s so incredibly small and the bedrooms are tiny! She is trying to make everything in there do double duty so she has everything she needs.
This vanity will act as a vanity when it’s open and a desk when it’s closed. The seat she is using when she is sitting at the vanity/desk is a storage ottoman that she also uses to stand on to reach high things in her closet.
As you can see it’s all about function here. Now let’s get to the good stuff!
*This post contains affiliate links. For more details see my full disclosure.
DIY Makeup Vanity
This vanity was easy to build and my daughter thought it was amazing! Here is how you do it:
Materials
- 1/2 inch plywood – a four by four sheet cut down to the dimensions you want for the final piece
- 3/4 inch plywood – a four by four sheet cut down to the dimensions you want for the final piece
- 2×4 piece of wood – how much you need depends on the final dimensions you want for your vanity
- chain – I bought mine from Michaels in the jewelry-making department but here is one from Amazon
- hinges
- 2x2s – 2 eight foot pieces should be perfect
- 1x2s – The amount you need will depend on the final dimensions you want for your vanity
- mirror
- primer
- paint – or stain if you prefer…totally up to you
Tools
- Miter saw – This is the most use and my absolute favorite tool I own!
- Kreg Jig – This thing has more than paid for itself since I got it.
- Kreg Jig screws
- Drill
- Hammer
- Nails
- nail gun – this is another one of my most favorite tools that I use all the time!
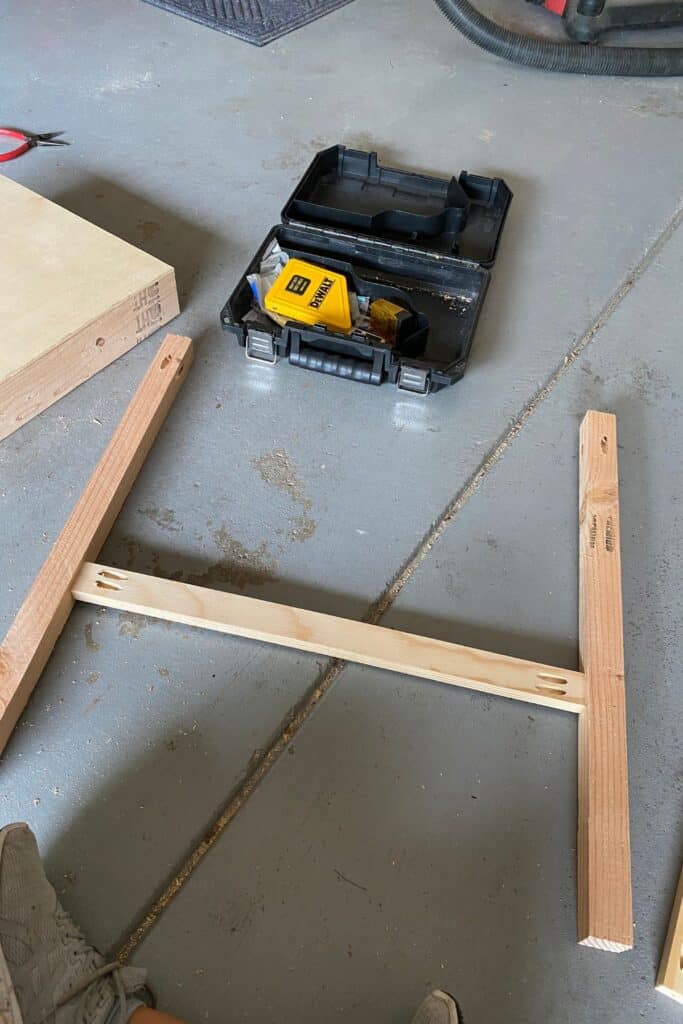
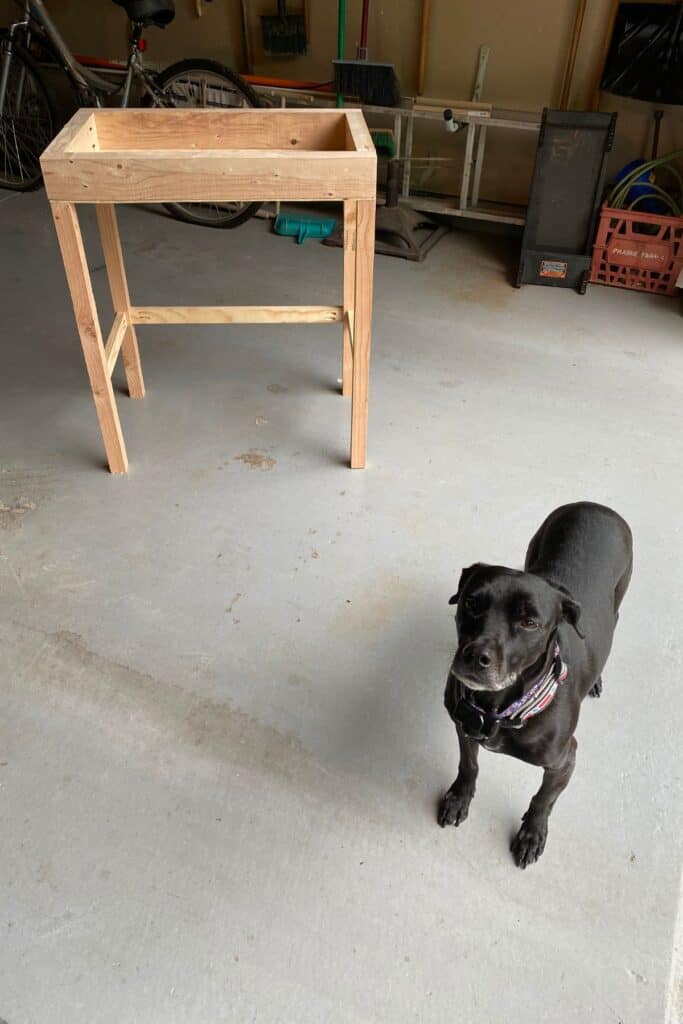
Build the base
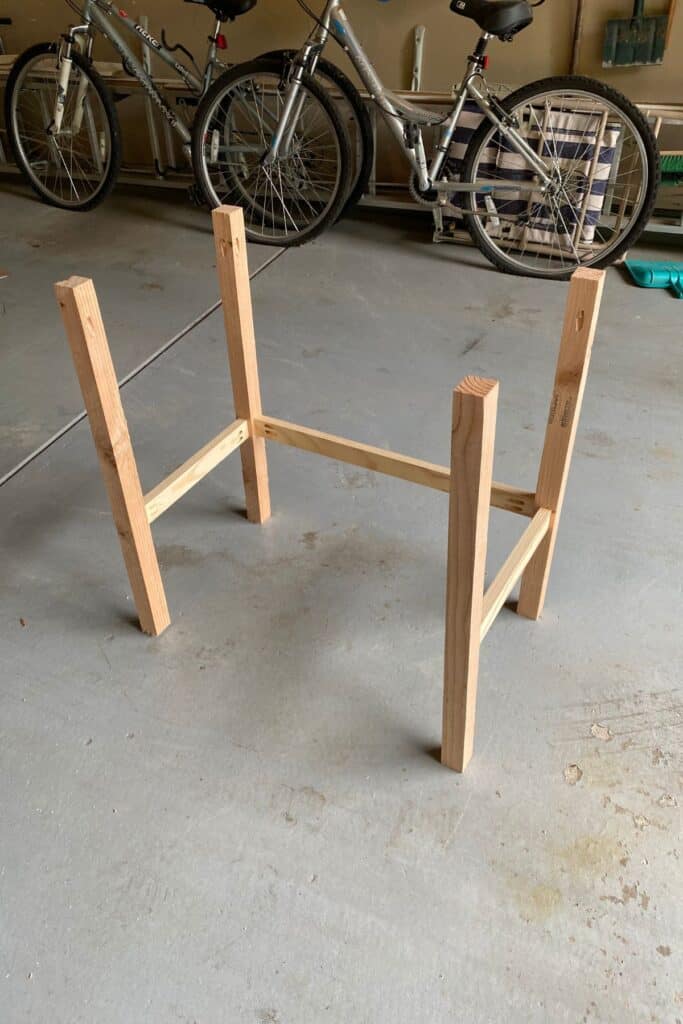
The first step is to cut your legs down to the correct size. I wanted the vanity to be 30 inches tall and the top part where my daughter can store her makeup is 4 inches so the 2×2 legs needed to be 26 inches.
Also, decide your dimensions on length and width then cut your 1X2s accordingly.
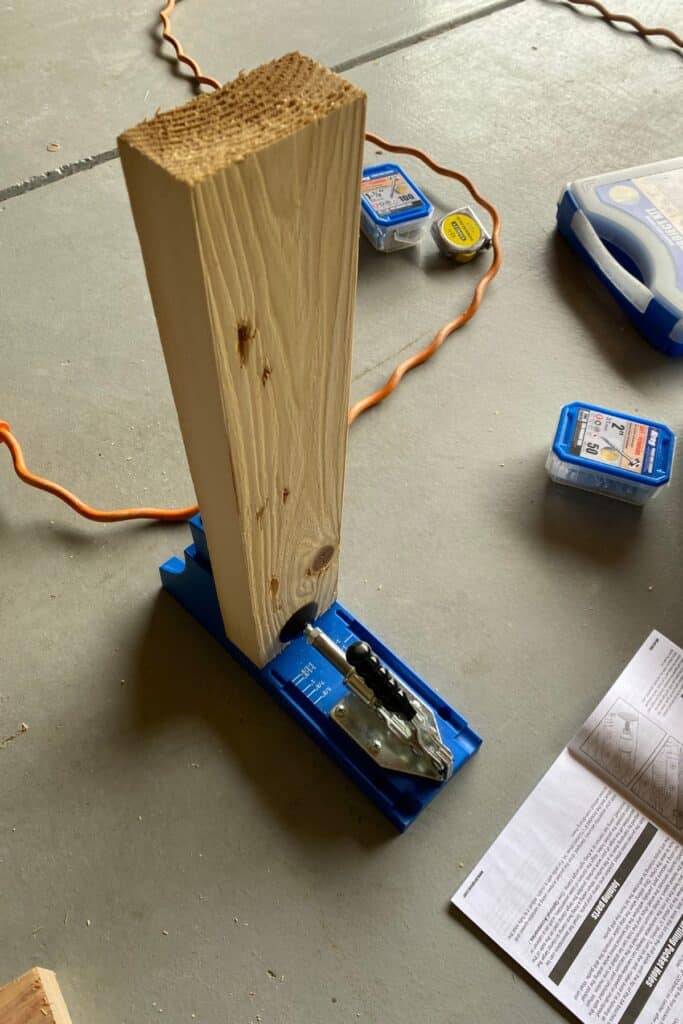
Using a Kreg Jig I attached the 1x2s about 1/3 the way up the leg in the back and on two sides as braces. You don’t want the front to have a piece going across or you won’t be able to fit your legs underneath.
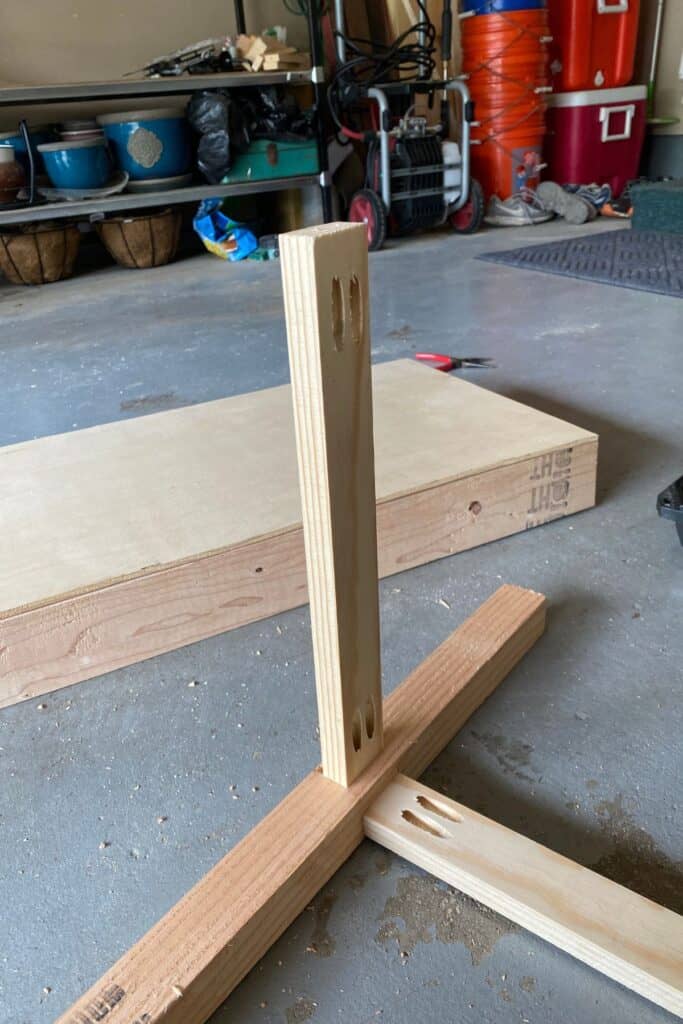
Here is the base of the vanity all screwed together.
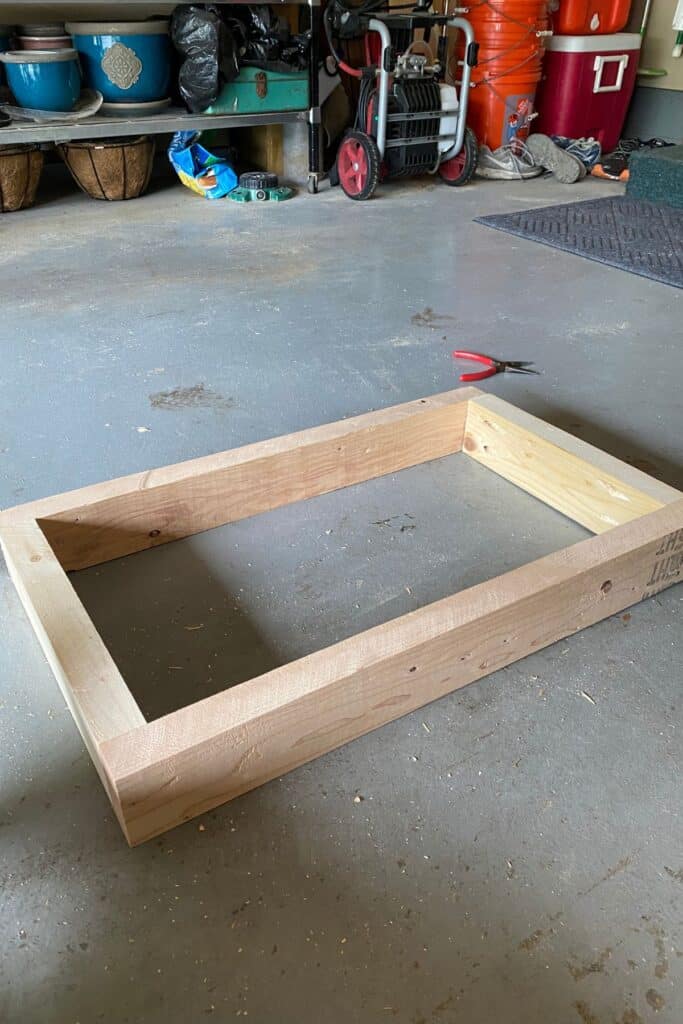
Build the top
The top of the vanity is made with 2x4s and a 1/2 inch piece of plywood. Depending on your dimensions cut your 2x4s and plywood accordingly.
Using the Kreg Jig screw together the 2x4s to make a rectangle.
Would you like to save this?
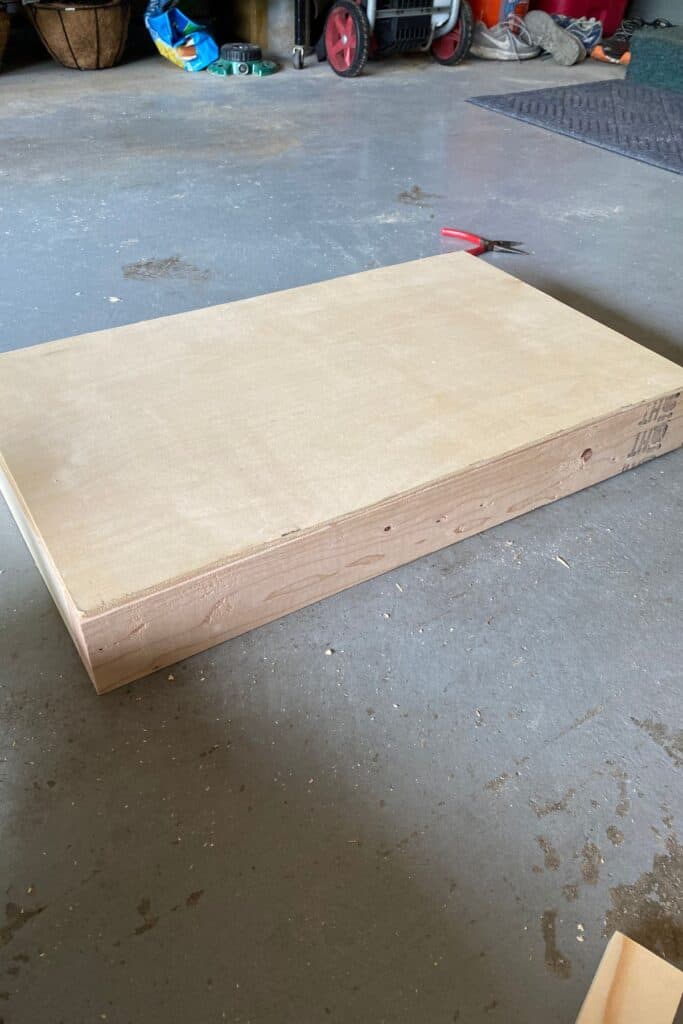
Now take the 1/2 inch plywood and lay it on top of the 2x4s (if you want to you can use 3/4 inch plywood for this step as well). Using a nail gun attach it to the rectangle you made with the 2x4s.
Attach the top to the base
Again I used my Kreg Jig to attach the legs to the top.
The top of the vanity that will flip open is a rectangle made with 3/4 inch plywood. This needs to be thicker because you don’t want it to bow in the middle if you use it as a desk.
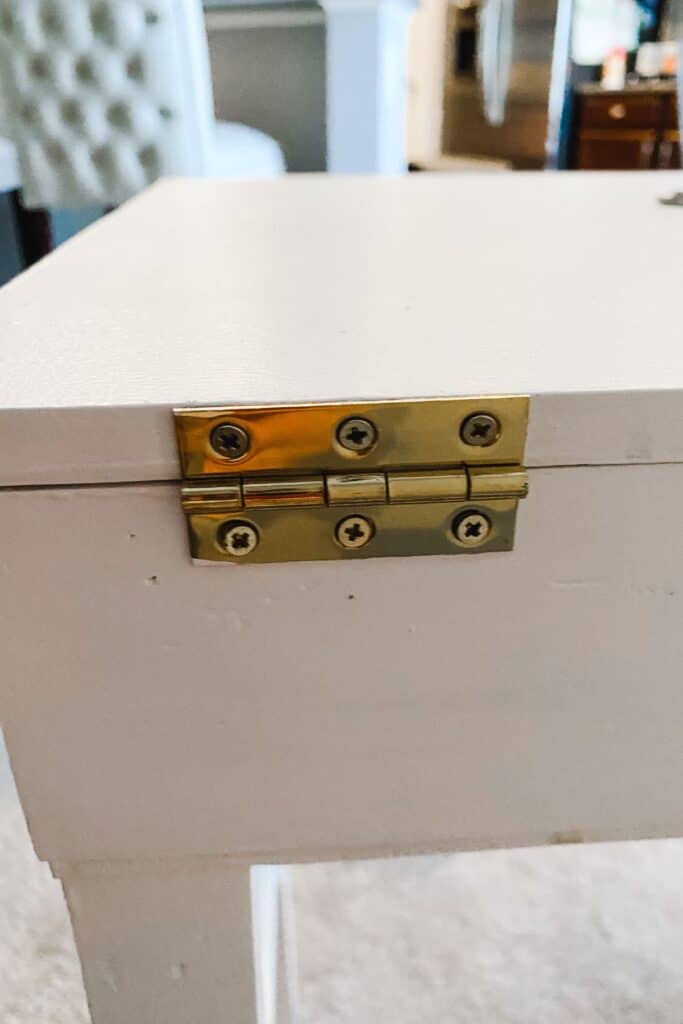
Screw the top piece of plywood onto the base with hinges on the back side so you can easily open and close it. (I am sorry I forgot to take photos of this step.)
Attach the mirror to the underside of the top piece at the right height for when you will be sitting at the vanity.
I decided to use a piece of chain that I had leftover from another project and just nailed one end to the base and one end to the underside of the top piece of plywood. When you open the vanity the chain will keep it from opening too much and you can see yourself in the mirror.
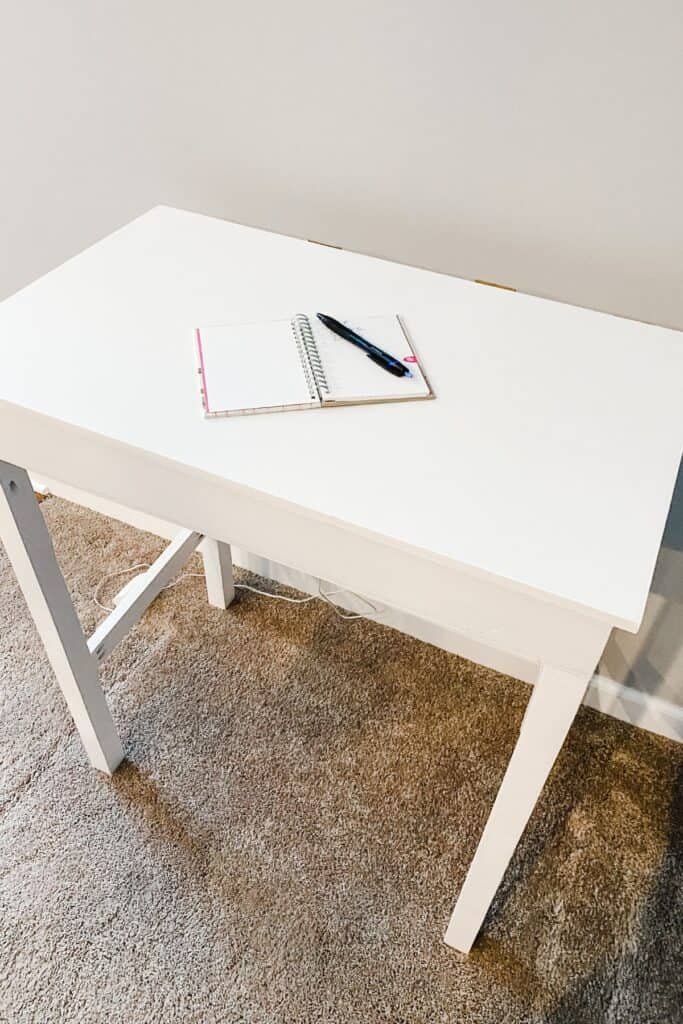
Once it is all done all you have to do is prime and paint! I painted this vanity white per my daughter’s instructions but you can go with whatever you like. You can even stain it if you want!
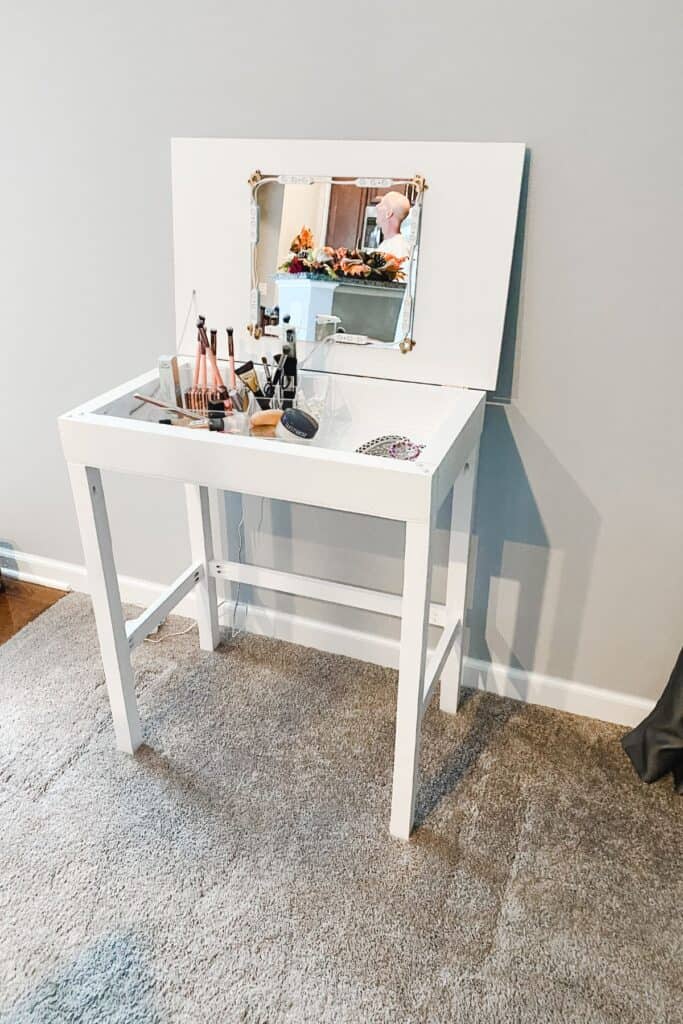
The Finished DIY Makeup Vanity
Here it is! The finished makeup vanity is all ready for my daughter to take to school. This will be perfect in her tiny apartment.
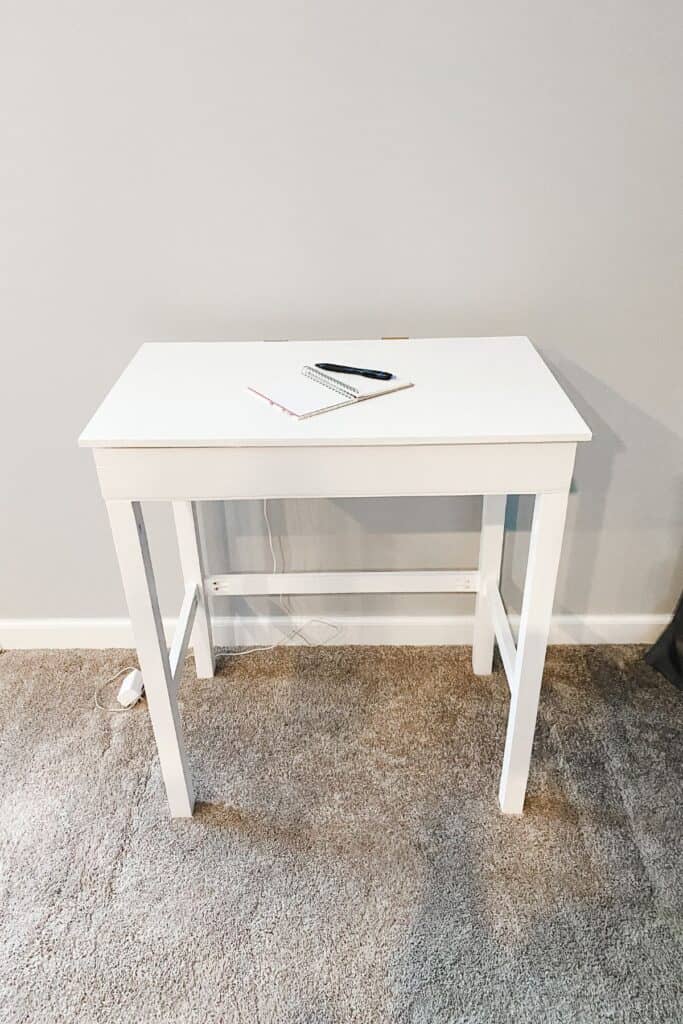
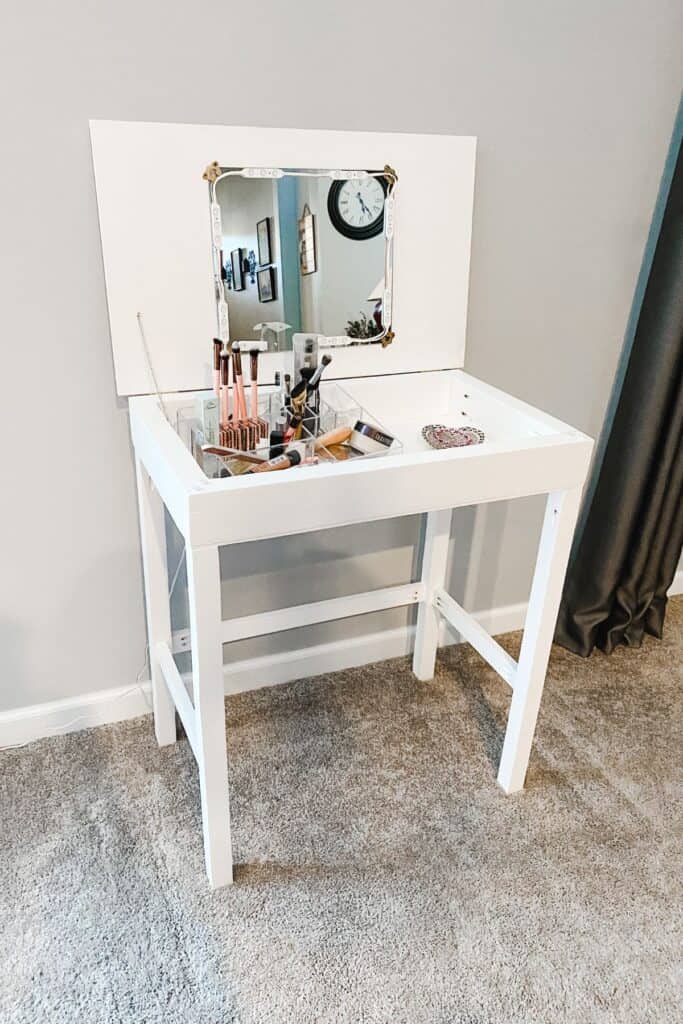
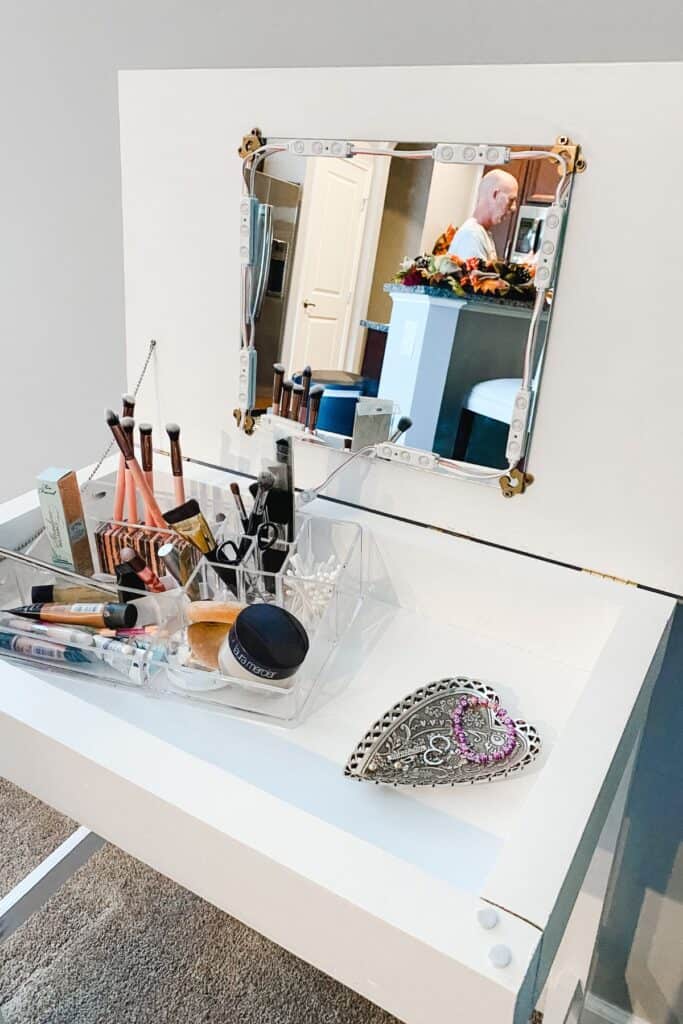

I added the mirror and my daughter added the led lights. I suggest finding a mirror that already has lights built in. It would look a little better.
Other DIY Furniture Posts You Might Like:
- How to Fix a Missing Chunk of Wood with Bondo
- Best Paint Roller for Furniture and Cabinets
- How to Build a DIY TV Stand
- DIY Herringbone Headboard
- DIY Blanket Ladder
- DIY Upholstered Bench
- DIY Built-Ins Using Big Box Store Cabinets


As a licensed Real Estate Agent and an avid home decorator, I strive to give my clients the very best I can when it comes to staging, selling, and decorating their homes. I have lots of experience with paint color choices and love to DIY my home so I can have everything just the way I want it. I share my ideas and projects with the world in the hopes that I can help others have their homes just the way they want as well.